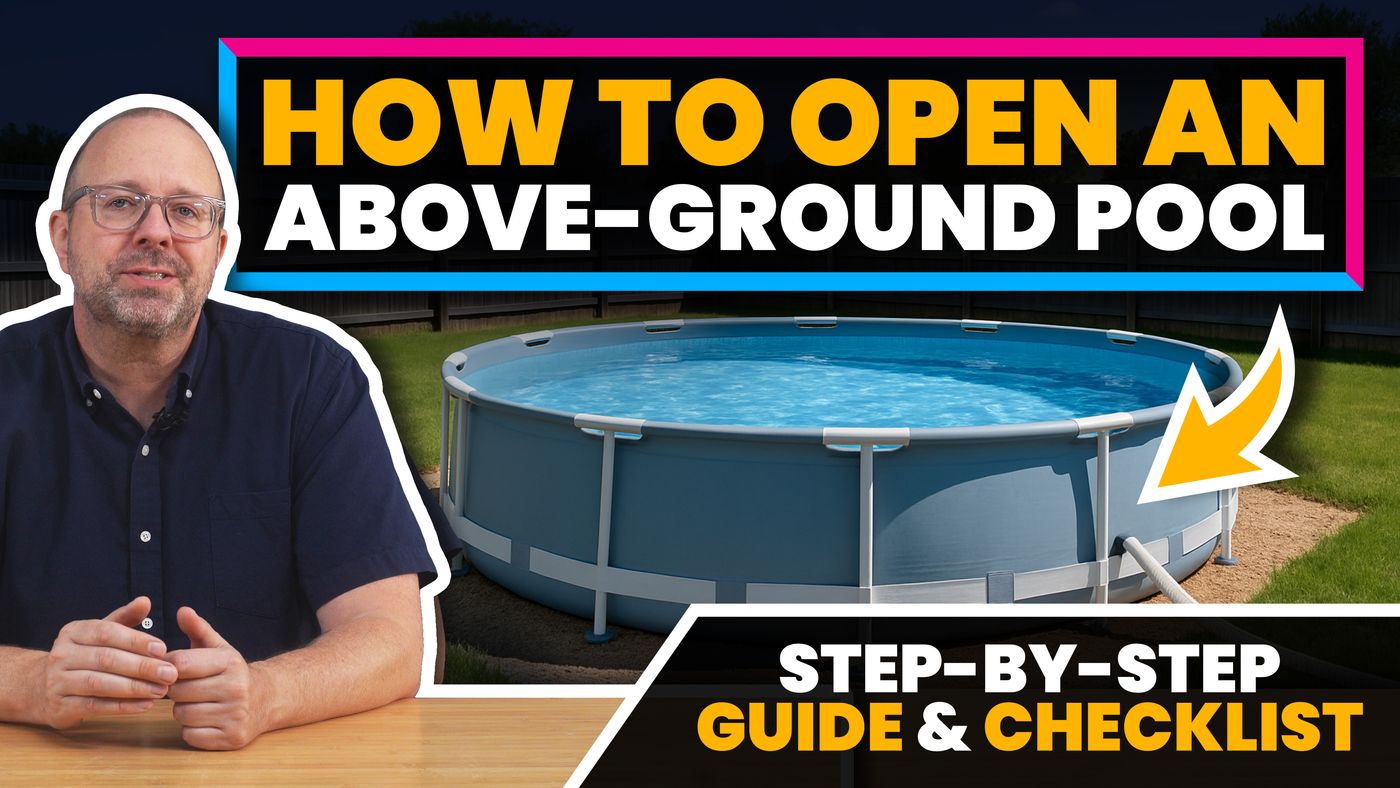
Introduction
If you've ever pulled off a winter cover only to stare into a swamp, you know the feeling. Brown water. Mystery debris. That faint smell somewhere between "pond" and "regret."
Here's the thing — opening your above-ground pool doesn't have to be a disaster. If you do it in the right order, with the right supplies on hand, you can have swim-ready water in a matter of days. Do it out of order, and you'll spend a week chasing chemistry readings and buying stuff you don't need.
THE GOLDEN RULE: You cannot chemically treat your way out of a physical debris problem. Net first, balance second.
Opening Your Pool: What You Need Checklist
Shock + balance (pH/TA) + CYA-aware chlorine plan—test before you dump so opening weekend isn’t a chemistry roulette.
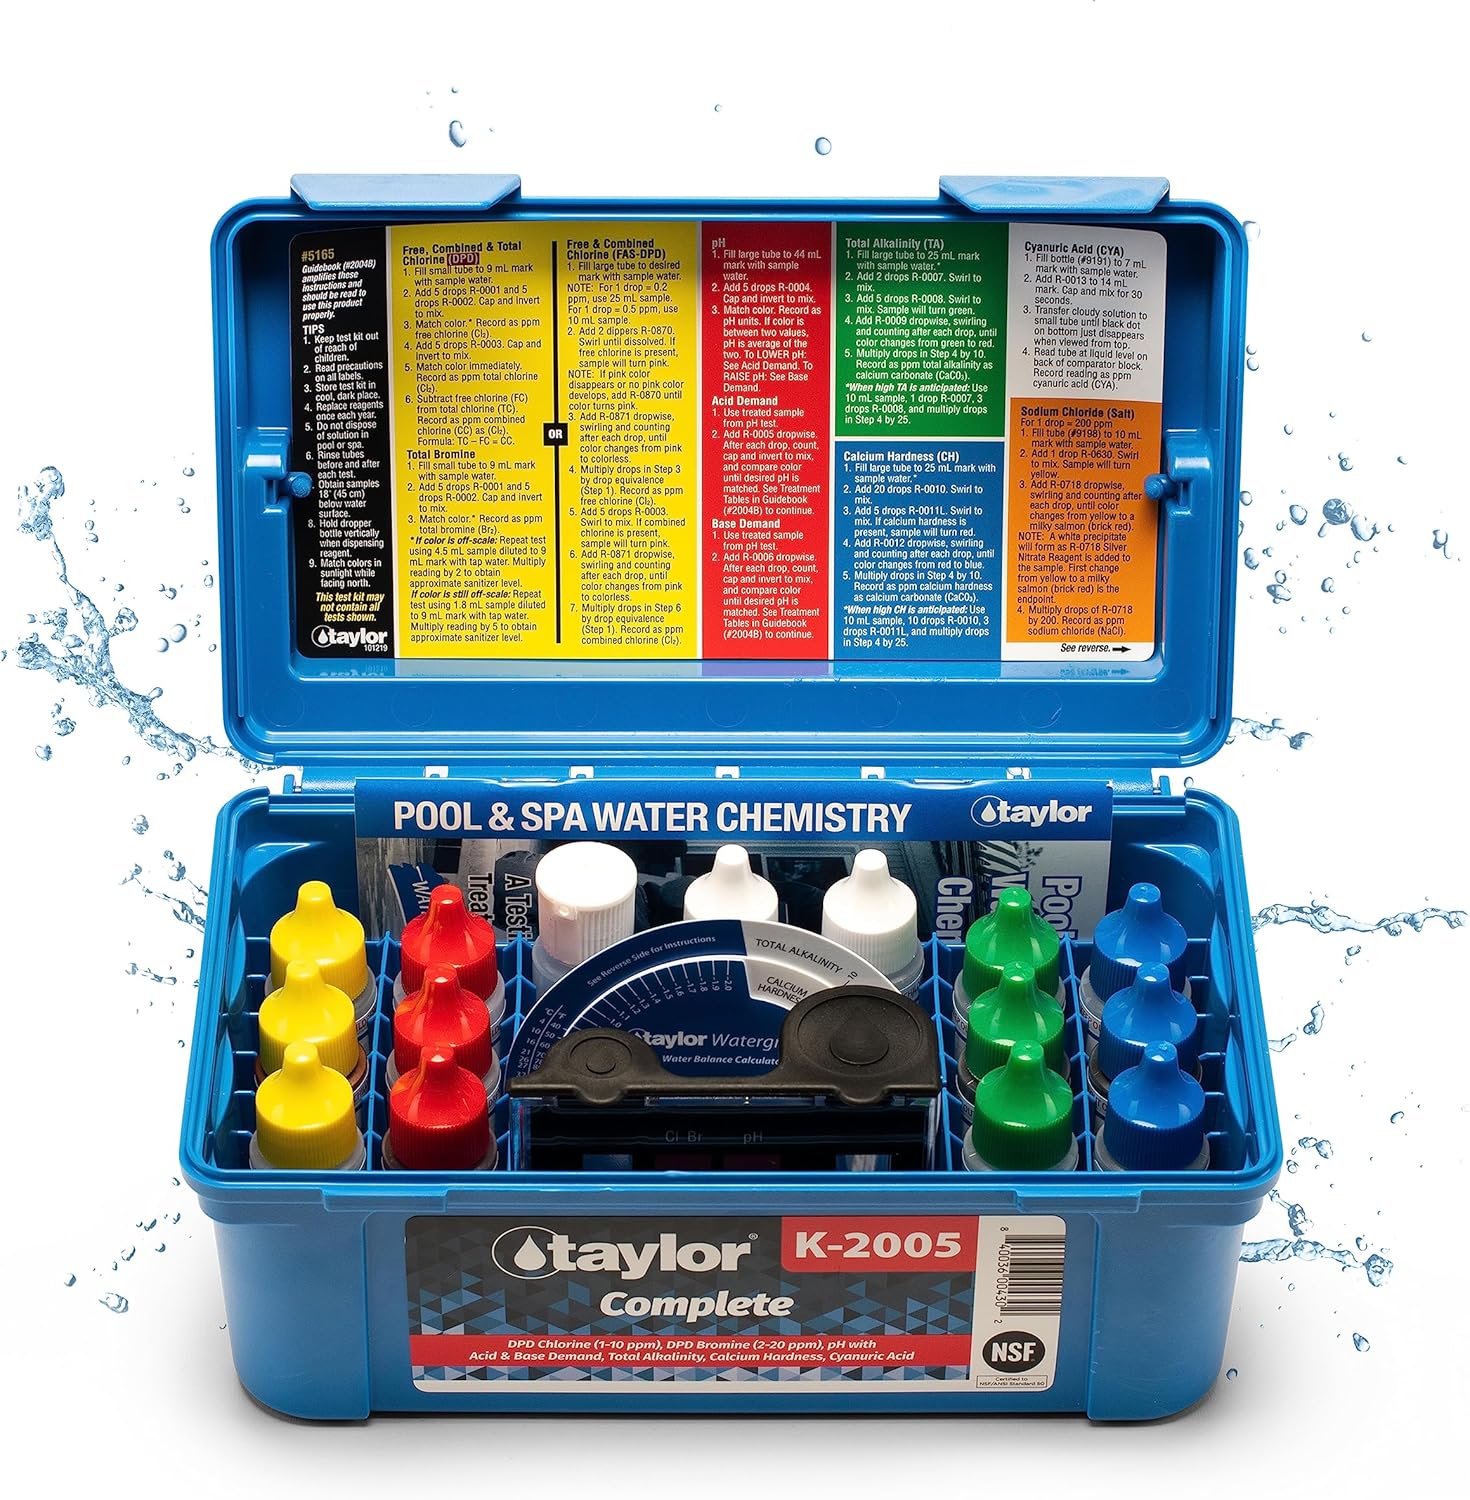
Taylor K-2005 Test Kit
What it is: A professional drop (titration) kit for chlorine, pH, alkalinity, calcium hardness, and cyanuric acid.
Why you need it: You can’t SLAM or balance blind—especially CYA, which handcuffs chlorine. This kit gives numbers you can trust, not strip guesswork.
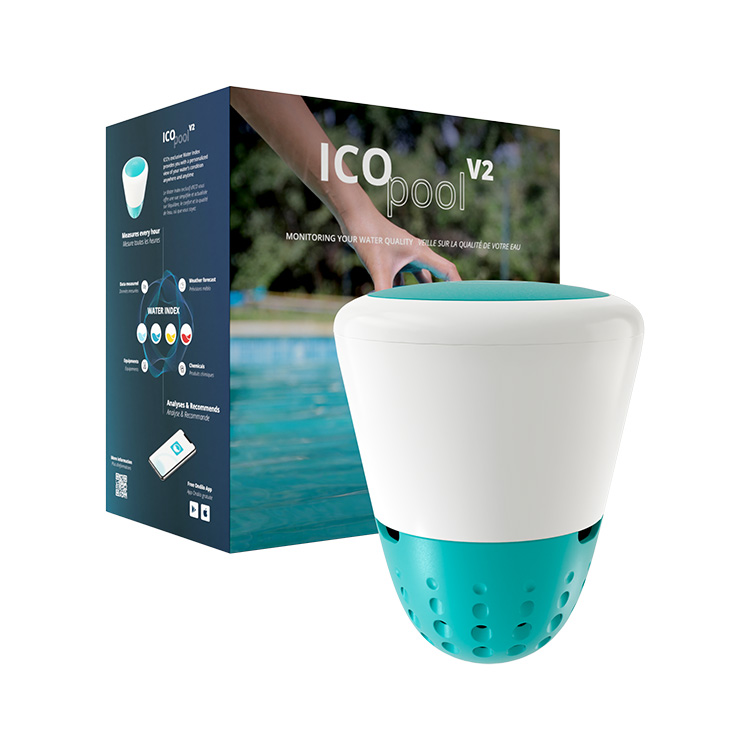
Ondilo ICO Pool Water Monitor
What it is: A floating smart monitor that samples pH, ORP (sanitizer effectiveness), and temperature on a schedule and sends trends to your phone.
Why you need it: You still need a real drop kit for parameters the ICO doesn’t replace (like TA and CYA), but hourly ORP/pH catches drift and dosing mistakes long before weekly strip checks do.
Read the full ICO review — Shop ICO direct (no Amazon listing for the hardware we run).
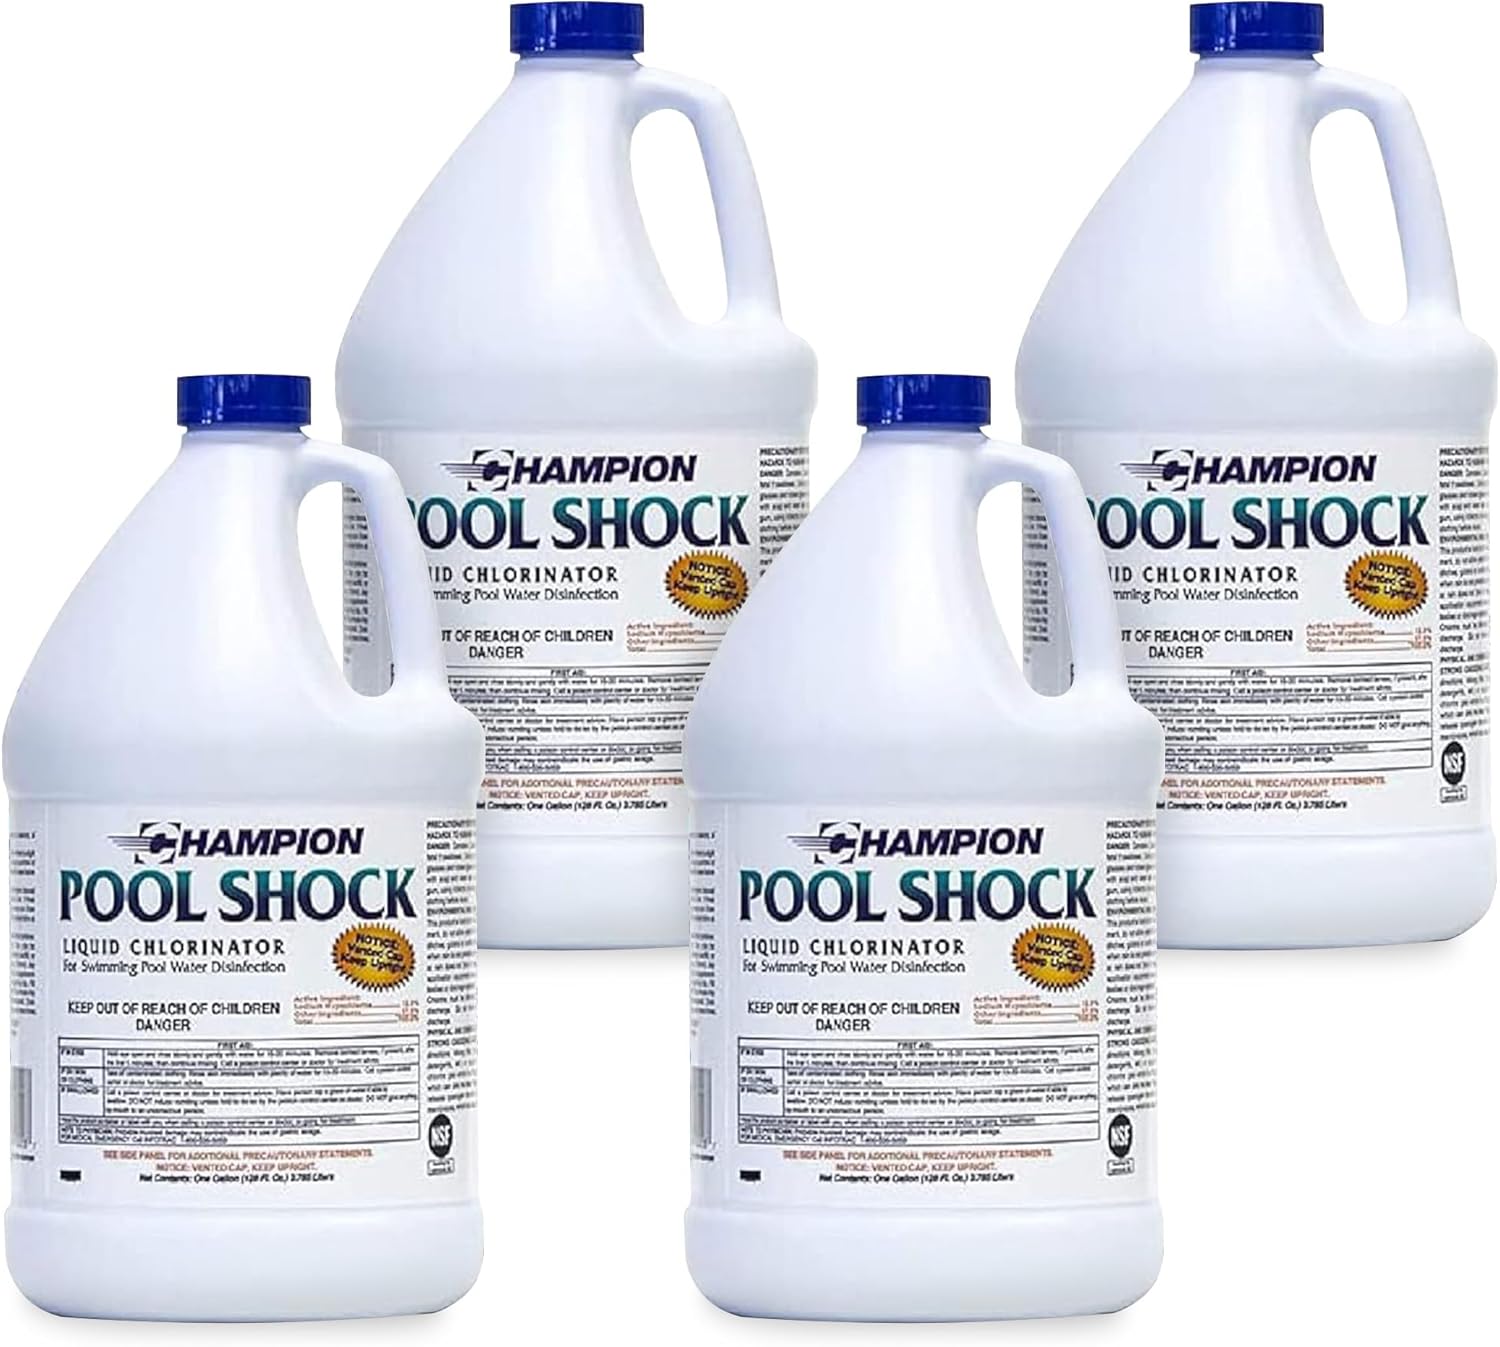
Champion Pool Shock (4 Pack)
What it is: A case of liquid pool chlorine (sodium hypochlorite)—not cal-hypo granules. Confirm strength on the listing and jug label (often around 10–12.5%).
Why you need it: Same upside as other liquid shock: no CYA from the product, easy to pour with the pump running—useful to keep stocked for openings, algae pushes, storms, or parties.
How to use: Treat it like any liquid shock (pour with circulation; big doses still work best at dusk). Store cool and shaded; opened jugs lose strength over time—plan to use them within a few weeks.
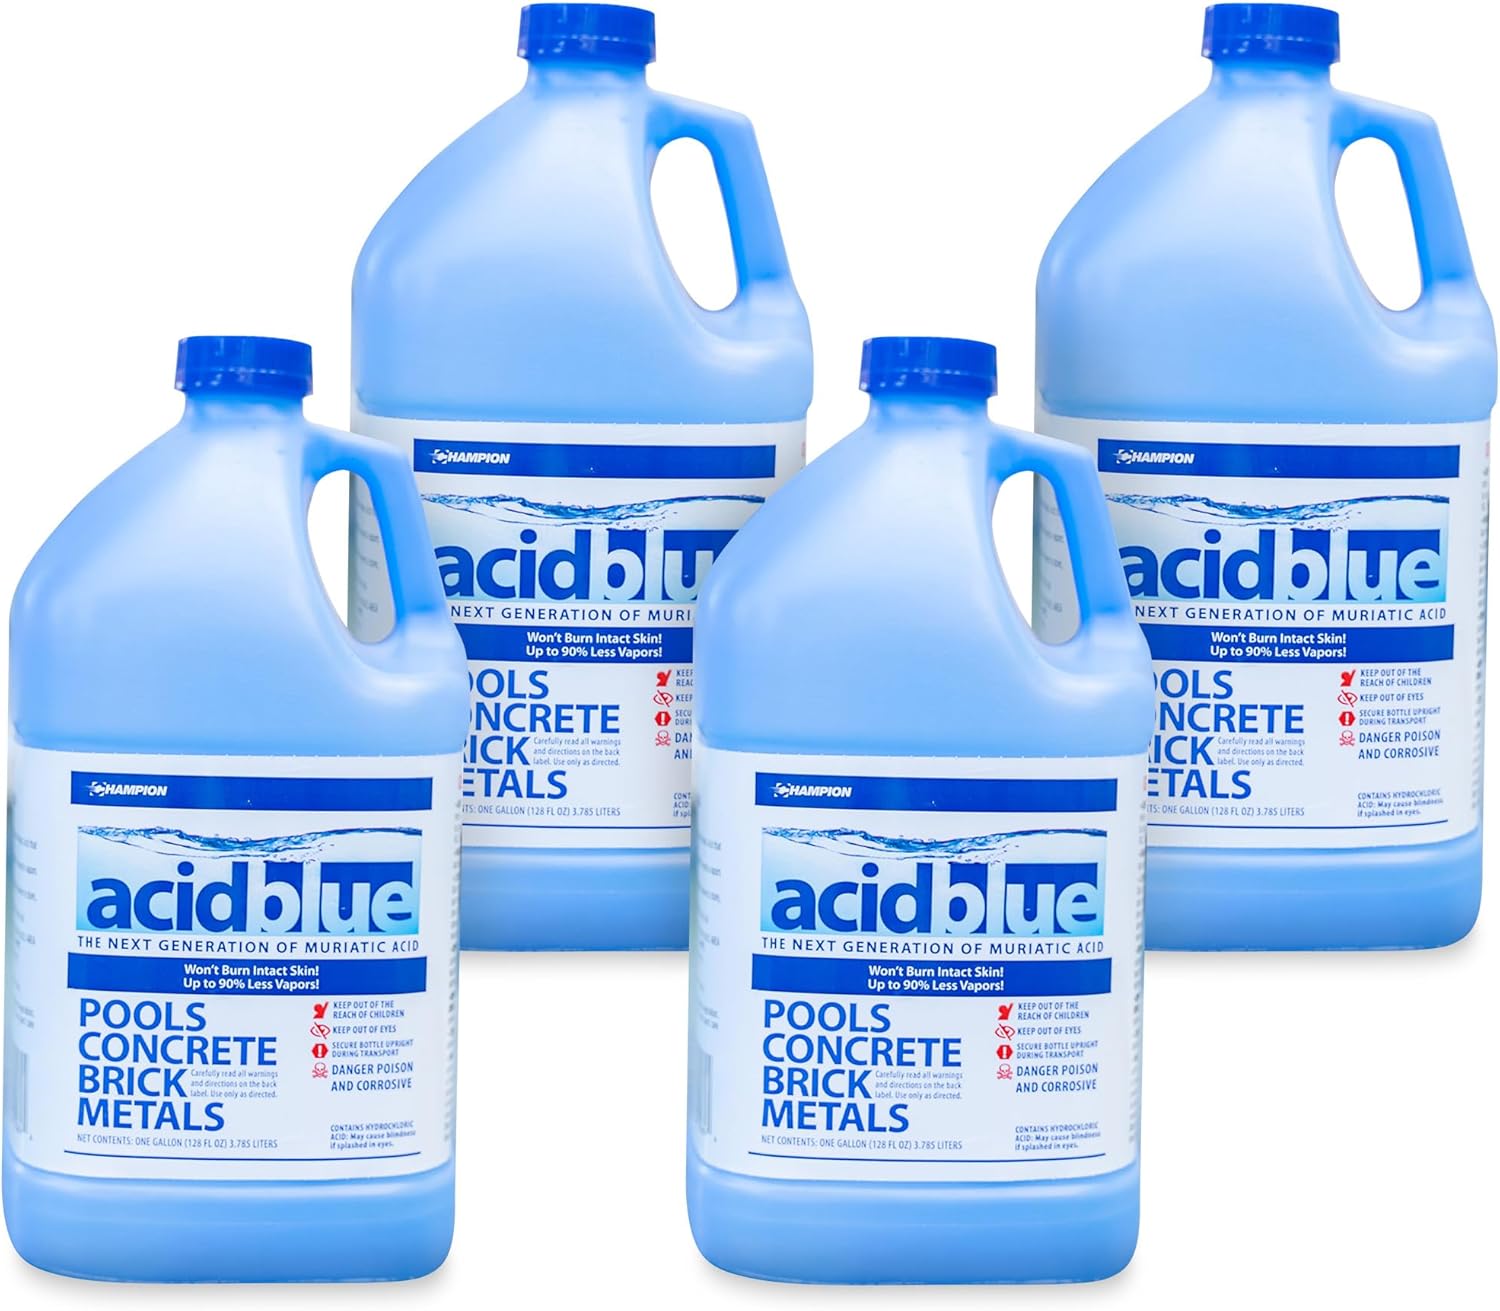
Champion Muriatic Acid
What it is: Dilute hydrochloric acid—standard for lowering pH and, with the right method, total alkalinity.
Why you need it: High pH destroys chlorine efficiency. Always follow the label; never mix acid with chlorine.
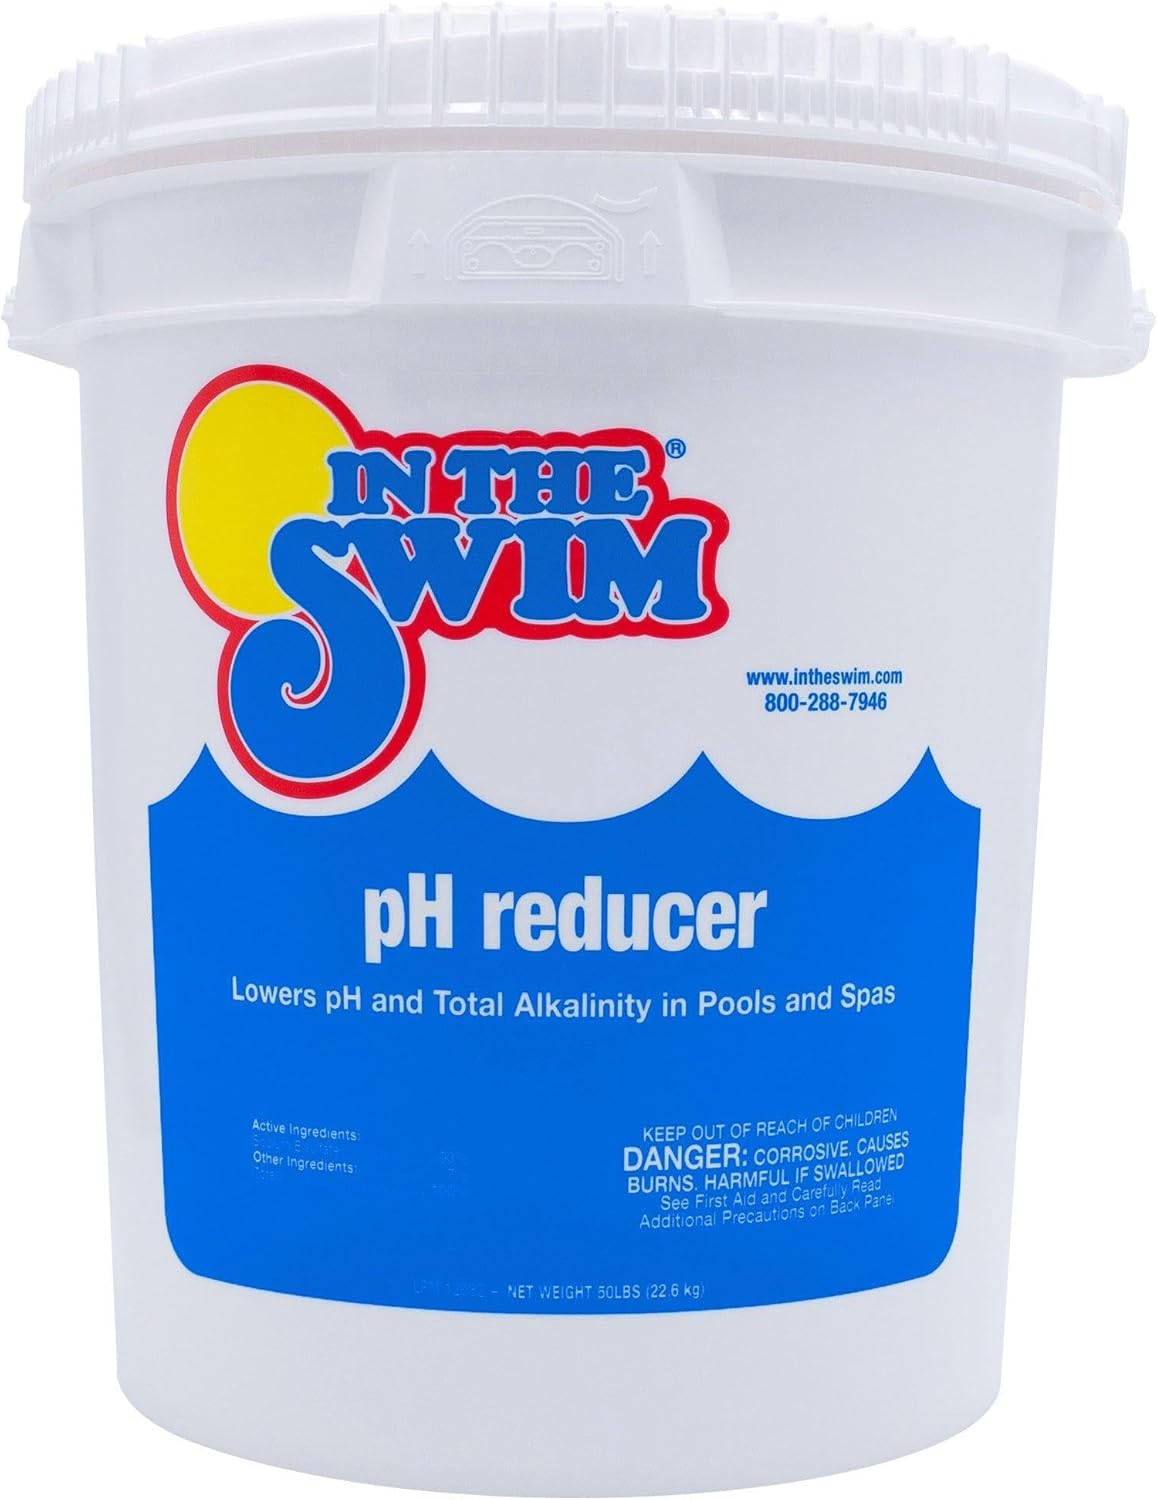
In The Swim pH Reducer (dry acid)
What it is: Sodium bisulfate (dry acid)—lowers pH (and can pull TA down when used in controlled steps).
Why you need it: Easier to handle and store than jugs of muriatic acid for small, precise corrections; still an acid—never mix with chlorine, follow the label, and retest after circulation.
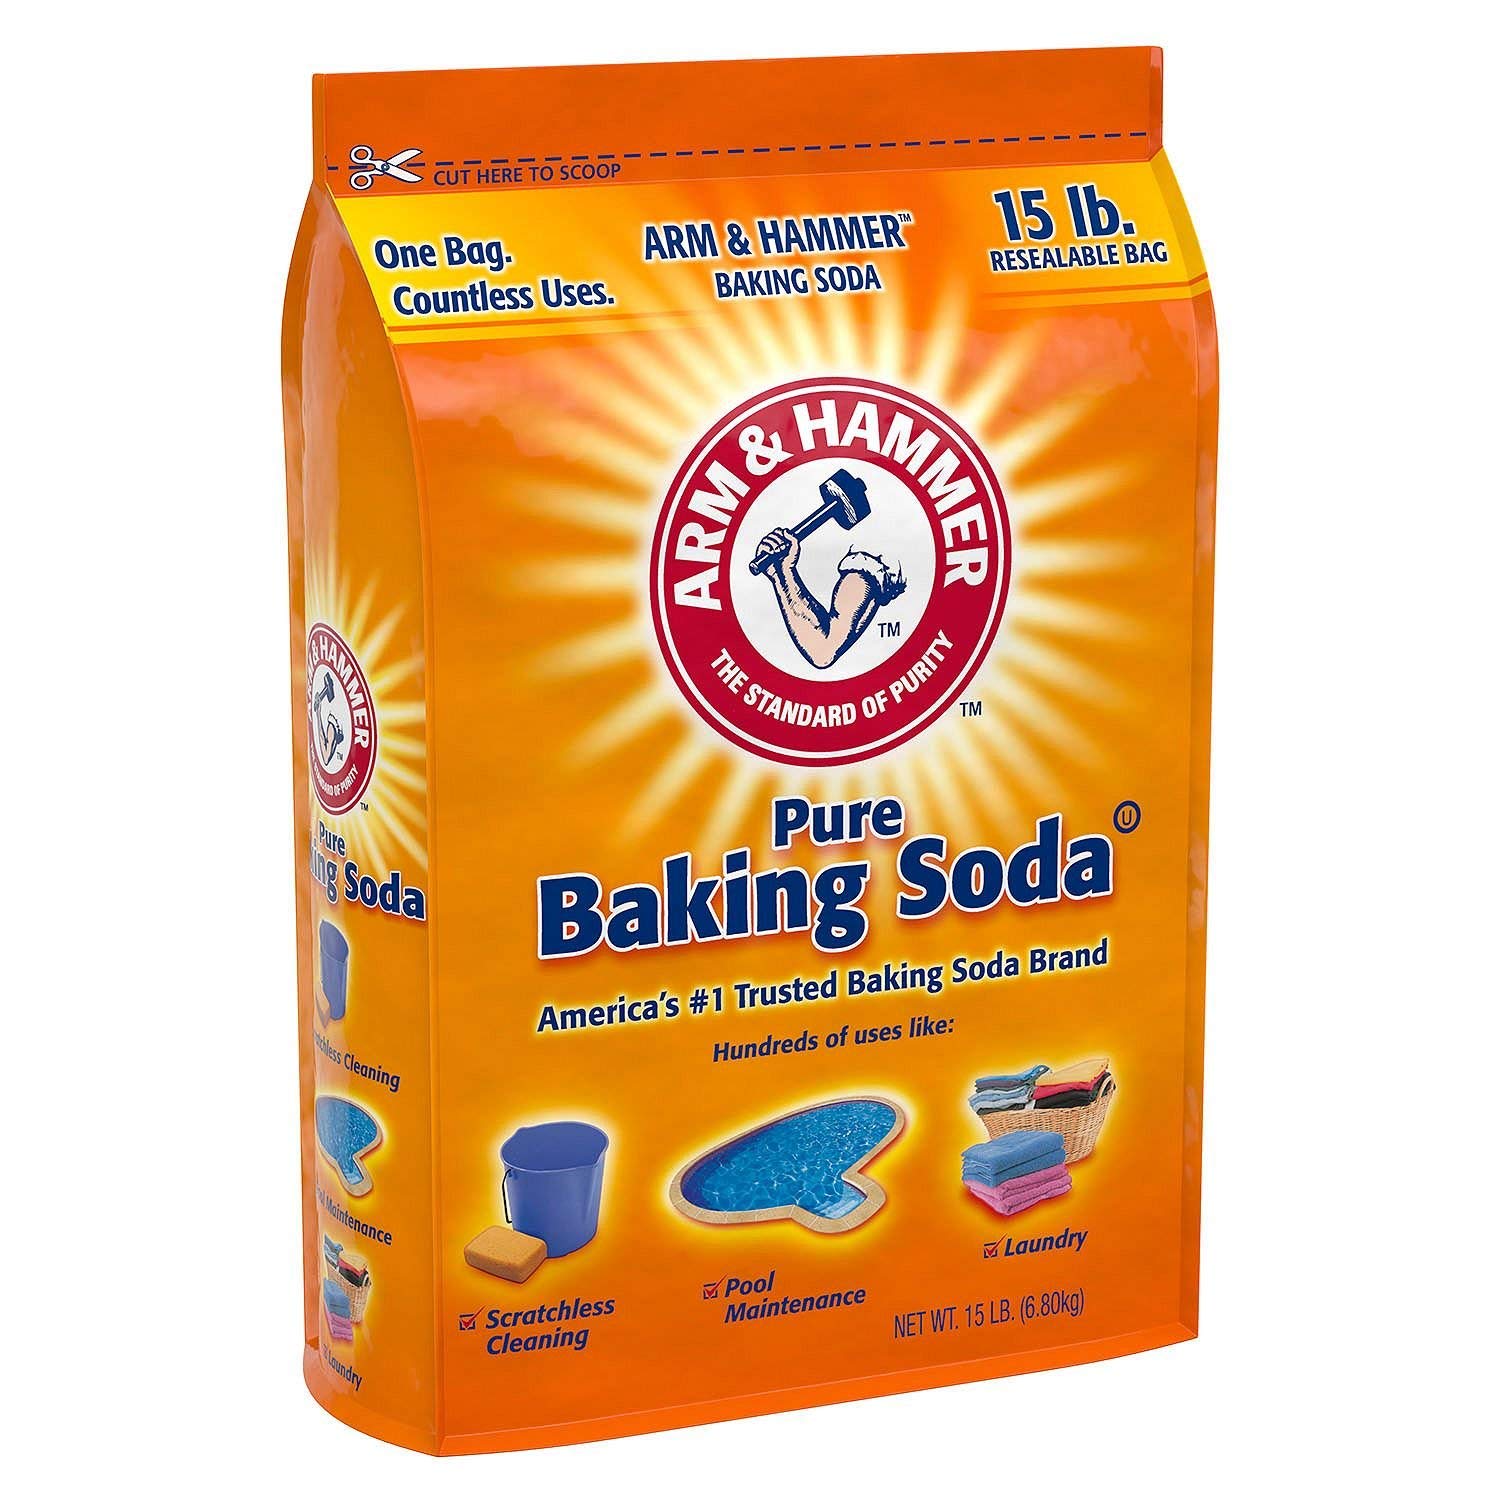
Baking soda (alkalinity increaser)
What it is: Sodium bicarbonate—the same compound as pool-store “alkalinity increaser.” Arm & Hammer 15 lb is a practical mid-size bag; USP pure 50 lb bucket is the usual pick when you want the lowest $/lb; grocery or pool-store bags work if the label is plain bicarbonate.
Why you need it: It raises total alkalinity with a gentler pH bump than soda ash. Do not use soda ash here if you only need TA up.
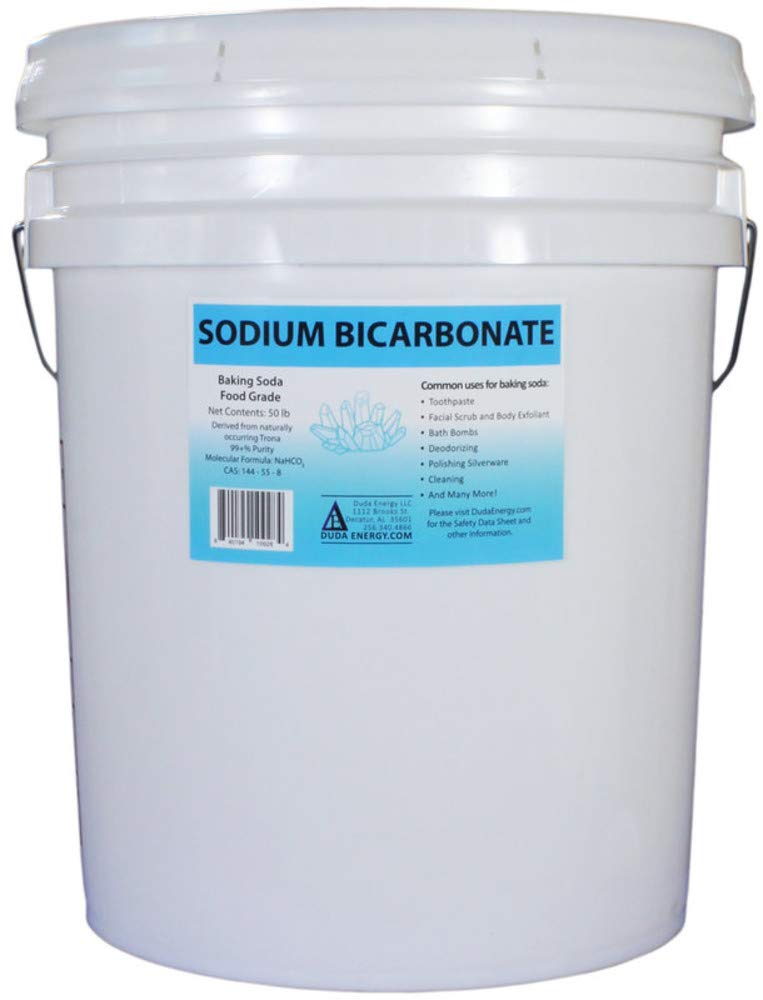
USP Pure Baking Soda (50 lb bucket)
What it is: Sodium bicarbonate in a large sealed bucket—often labeled USP/food-grade pure bicarbonate.
Why you need it: When you correct TA often or run a big pool, the cost per pound usually beats small retail boxes. Same dosing rules as any pure bicarbonate: add in stages, circulate, and retest.
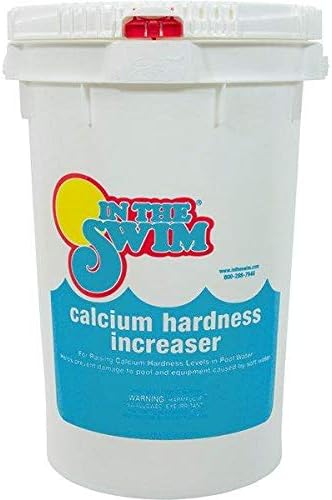
In The Swim Calcium Chloride (hardness increaser)
What it is: Calcium chloride—raises calcium hardness (CH) without messing with CYA the way some other products can.
Why you need it: Plaster and equipment are happier when CH sits in range; very soft fill water, new plaster, or winter dilution often needs a bump. Test CH before you dose.
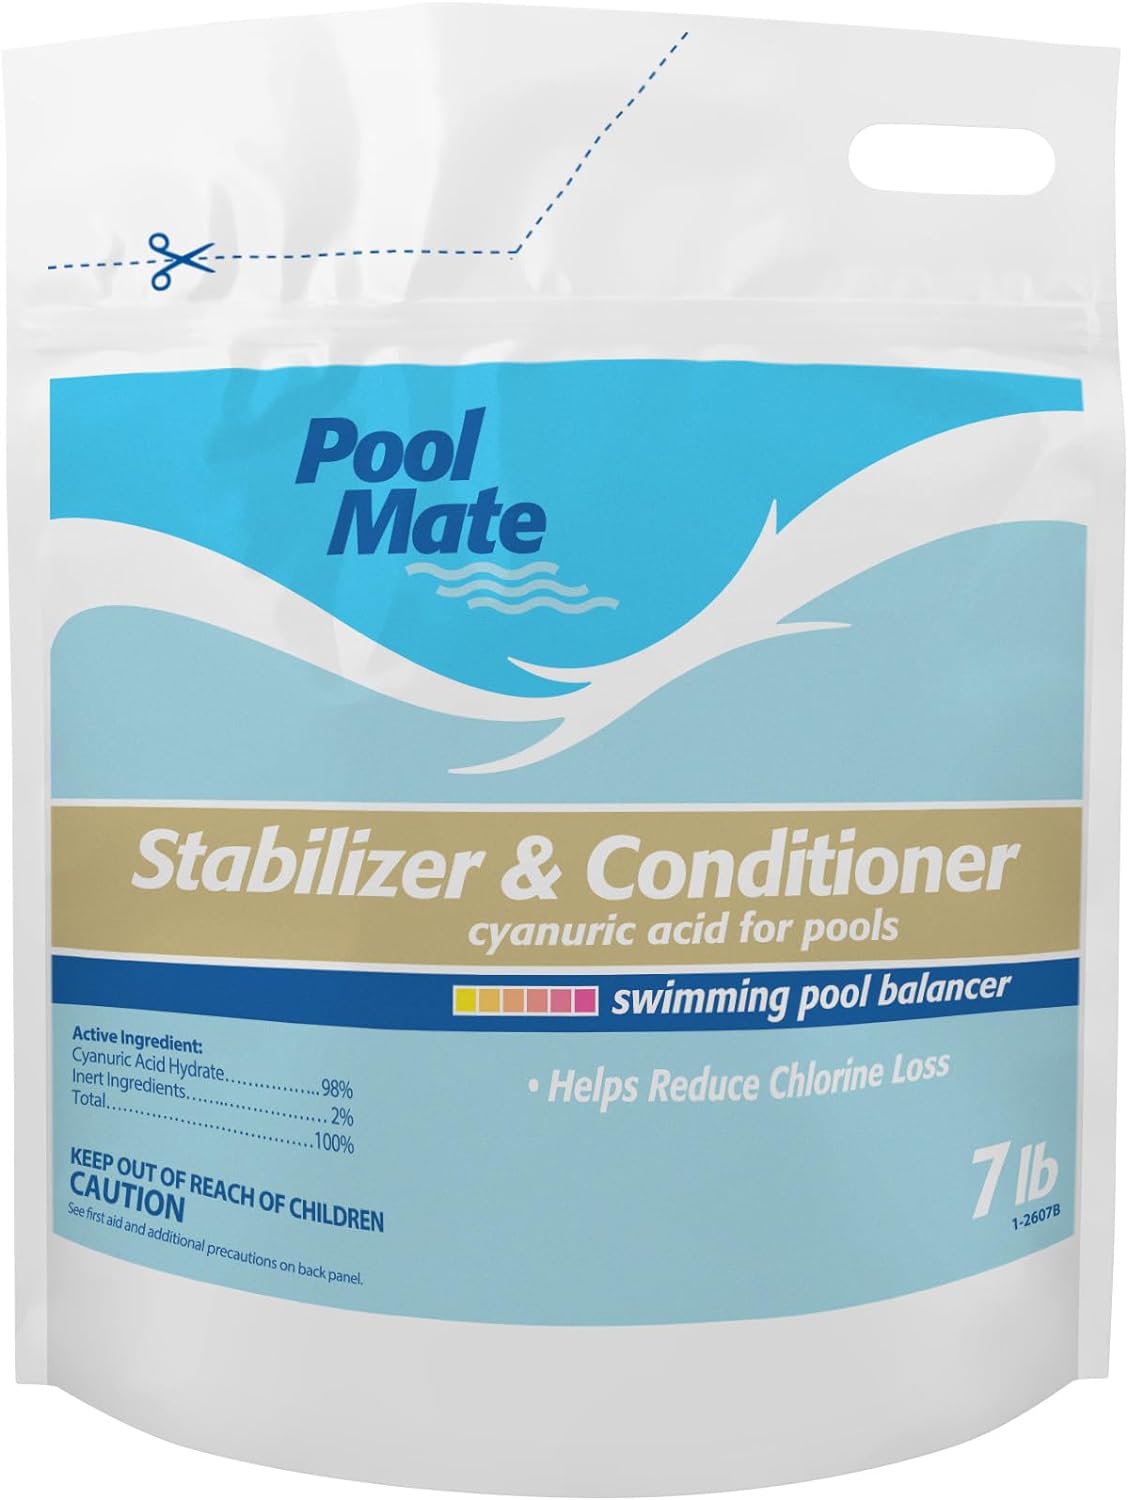
Pool Mate 7 lb Cyanuric Acid Stabilizer
What it is: Granular CYA (chlorine stabilizer)—protects free chlorine from sunlight.
Why you need it: New fills, heavy rain dilution, or unstabilized liquid programs often land below ~30–50 ppm CYA; without it, the sun burns chlorine fast. Add slowly per label (skimmer or predissolve) and retest after circulation.

In The Swim Cyanuric Acid Stabilizer (25 lb)
What it is: Bulk granular stabilizer for larger pools or owners who prefer fewer restocks.
Why you need it: Same job as smaller bags—raise CYA into range so daily chlorine survives UV. Weigh or measure carefully; CYA is hard to remove without dilution.
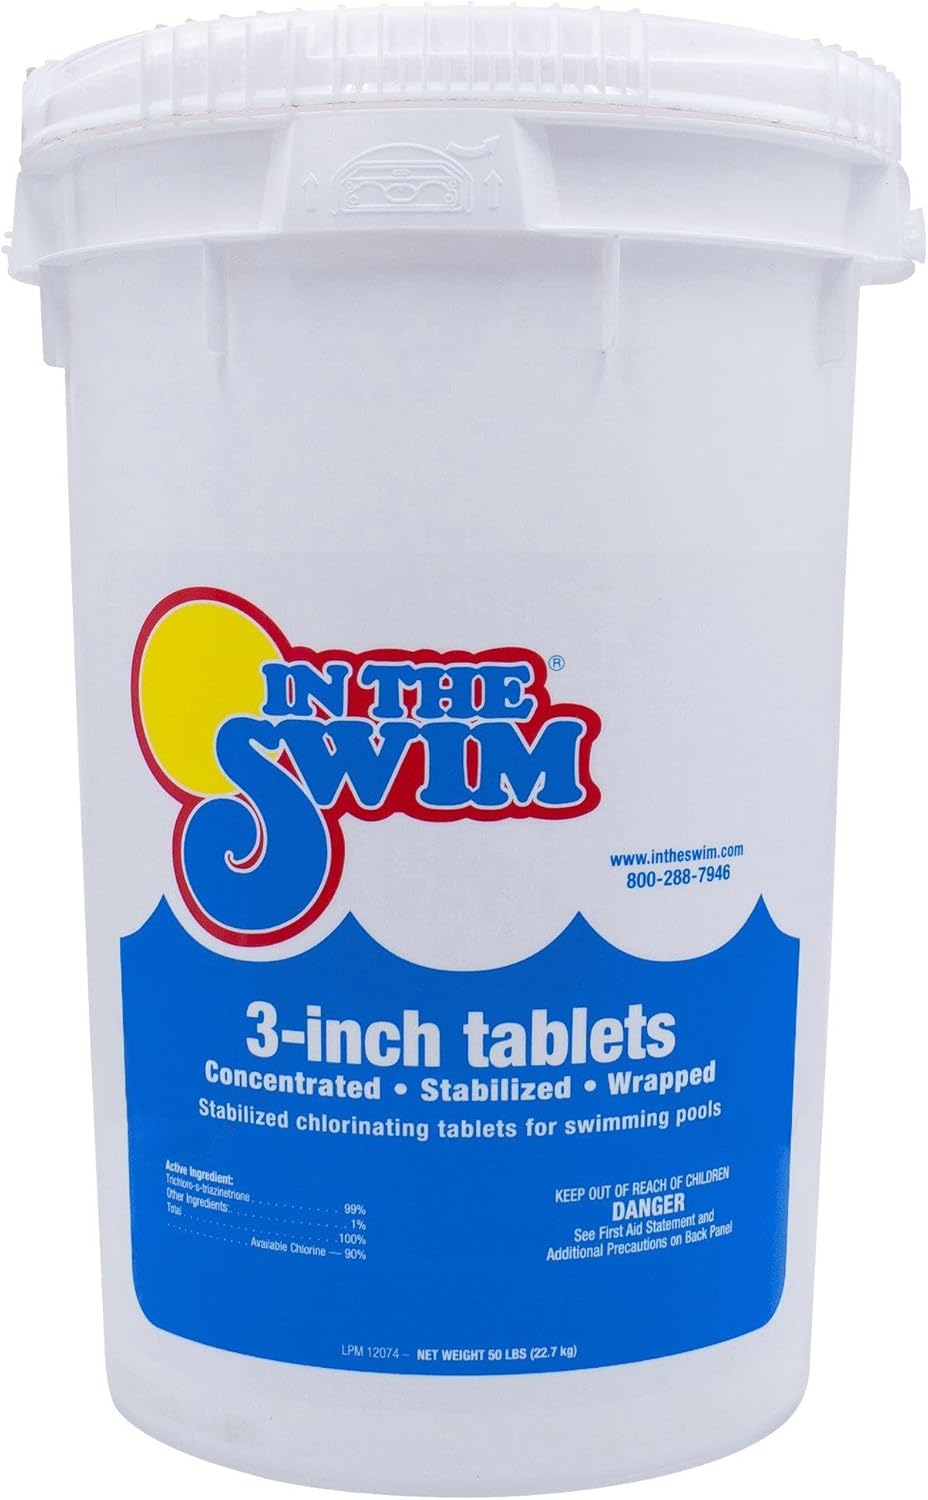
In The Swim 3" Chlorine Tablets
What it is: Slow-dissolving sanitizer pucks (usually trichlor) for feeders/floaters—adds CYA over time.
Why you need it: Fine for steady maintenance when CYA isn’t already high; back off if CYA creeps up.
Pool Nerd Tip: Open Earlier Than You Think
Most pool owners wait until the weather is warm and they actually want to swim. Dead wrong. Algae gets moving once your water temperature climbs above 60°F — and if your pool saw any warm spells during the winter, there's a good chance algae already started working under that cover.
The fix? Open before that 60°F threshold — even if there's still a chill in the air. A cold-water opening takes a fraction of the effort of a green-water recovery.
PRO TIP — Liquid Chlorine Through the Cover: If you know a warm thaw is coming before you're ready to open, pour some liquid chlorine under the cover — either by lifting a corner or dropping it in through the skimmer with a funnel. Don't dump it in one concentrated spot near the liner. This keeps residual chlorine active during warm spells and dramatically improves your odds of opening to clean water.
Step 1: Remove the Winter Cover (Without Dumping the Mess In)
The number one opening mistake is yanking the cover off and sending a winter's worth of debris straight into the pool. Everything you're about to do gets harder the moment that happens. Don't do it.
Here's the right sequence:
Pump off any standing water on the cover first. A submersible cover pump handles this fast. If you're using it to drain the cover, keep an eye on it — you don't want it pulling pool water out through the cover and dropping your level.
Clear debris before the cover moves. A leaf blower or soft broom knocks off dry debris. A leaf rake handles the wet stuff. The goal is to move as little debris as possible when the cover comes off.
Pull the cover off slowly, with help if you have it. Fold it as you go. Set it out on the lawn, clean it off, and treat it with a cover storage product before folding for storage — skip this step and you'll be shopping for a new cover next spring.
Step 2: Remove Winter Plugs & Reinstall Your Return Fittings
If you used a winter skimmer plate, your water level is probably already at or above the skimmer — skip ahead to Step 3 and circle back here after. If you didn't use one, here's what to do:
- Remove the rubber or threaded plug from your return outlet.
- Install your return fitting with the directional eyeball — point it down and angled to one side. This drives water in a circular pattern around the pool and maximizes circulation. It's a small thing that makes a real difference.
- Check that your skimmer basket is seated properly and the weir flap swings freely. A stuck weir door is a surprisingly common cause of low flow and weak filtration.
While you're at it — inspect the liner, the skimmer housing, and your return fittings for cracks or damage. Small problems caught before you fill are inexpensive. The same problems discovered under full water pressure are not.
Step 3: Reconnect Your Pump and Filter
Now it's time to reassemble your circulation system. This is where a little attention pays big dividends — most startup headaches trace back to something skipped during reassembly.
Connection order for most above-ground setups:
- Skimmer → pump (front port)
- Pump (top port) → filter inlet marked "pump"
- Filter outlet marked "return" → return fitting on the pool
Before you tighten anything:
- Lubricate every O-ring, every threaded plug, and your pump lid with silicone-based lube — not petroleum-based. Petroleum eats O-rings. Silicone lube is cheap and available at any pool supply store. This single habit prevents half of all startup air leaks.
- Install the pressure gauge — thread it in snug, but don't crank it. Over-tightening cracks the filter head.
- Confirm all unions are hand-tight and hose clamps are seated before startup.
PRO TIP — The Wet Start: Before you tighten your pump lid, fill the pump housing with a bucket of water. This "wet start" protects the mechanical seal from running dry and helps the pump prime dramatically faster. One bucket now saves 20 minutes of frustrated priming later.
Now fill the pool to mid-skimmer level with a garden hose if you haven't already. Starting the pump below the skimmer opening is the fastest way to suck air into the system and lose prime.
Quick Pre-Startup Checklist
- All hoses connected and clamps tight
- O-rings and threaded fittings lubricated
- Pump lid O-ring seated and lubricated
- Filter drain cap installed
- Pressure gauge installed (snug, not cranked)
- Water level at mid-skimmer
Step 4: Start the Filter System
Time to fire it up — but before you flip the switch, confirm your multiport valve is set to FILTER. Do not change the handle position while the pump is running. Both Hayward and Bestway are explicit about this. Moving the handle under pressure damages the valve and can crack the spider gasket inside.
Sand filter owners — run this sequence first:
- BACKWASH — 2 full minutes, or until the sight glass runs clear. This flushes out anything that settled in the sand over winter.
- RINSE — 30 to 60 seconds. This resets the sand bed and clears the backwash line.
- FILTER — Now you're ready to actually filter water.
Note your clean pressure gauge reading immediately. Write it on a piece of tape and stick it on the filter if you have to. You'll backwash again when pressure rises 20–25% above that baseline — not a fixed PSI number, because smaller above-ground filters can be starved for flow long before that.
TRICHLOR FEEDER WARNING: If you have an inline chlorinator — those gray cylinders that feed trichlor tabs into the return line — keep it completely OFF until your water is balanced and shocked. Never let highly concentrated trichlor mix with fresh shock near your equipment. This is how check valves get damaged. Balance first, then bring the feeder online gradually.
Check for leaks at all connections as soon as the pump is running. Look at hose fittings, the pump lid, unions, and the filter valve. A small drip now is a five-minute fix. Left alone, it's a much bigger problem by the end of the week.
Step 5: Clean the Pool Before You Touch the Chemistry
Your filter is running. Water is circulating. Now — before you add a single chemical — physically clean the pool.
This is where the Golden Rule actually saves you money: shocking a pool full of leaves and debris turns all that organic matter into mush, tanks your chlorine instantly, and leaves you worse off than when you started. Net it, brush it, and vacuum it first.
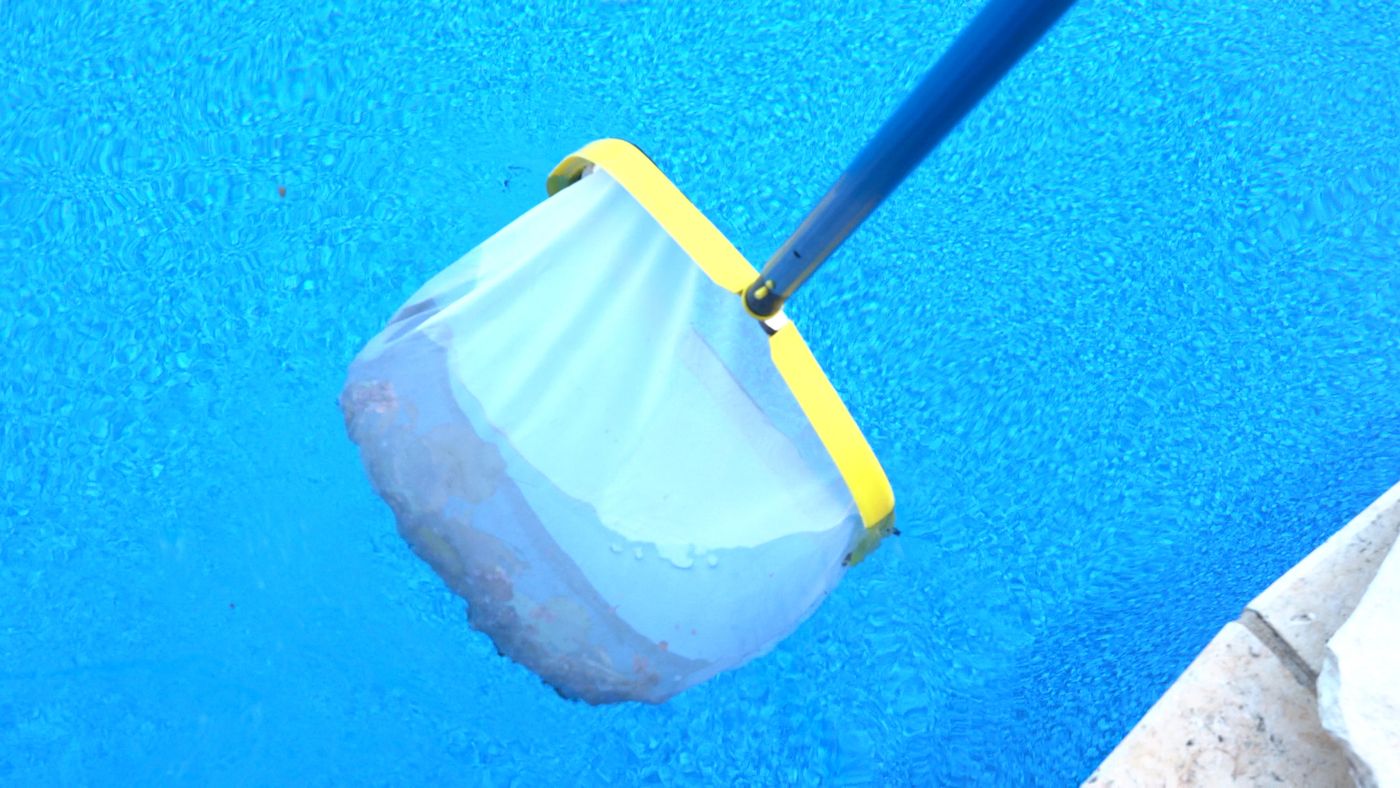
- Use a leaf rake to scoop out any floating or sunken debris.
- Brush the walls and floor thoroughly — vinyl liner gets a soft nylon brush, not wire. Brushing breaks up any algae film that's started to develop and gets it into suspension where your filter (and chlorine) can handle it.
- Vacuum the floor to waste if you have a sand filter and your water is green — this bypasses the filter entirely so you're not recirculating algae back into the pool.
Once the pool is physically clean, then you test. Then you dose. In that order.
Step 6: Test, Then Balance — In the Right Order
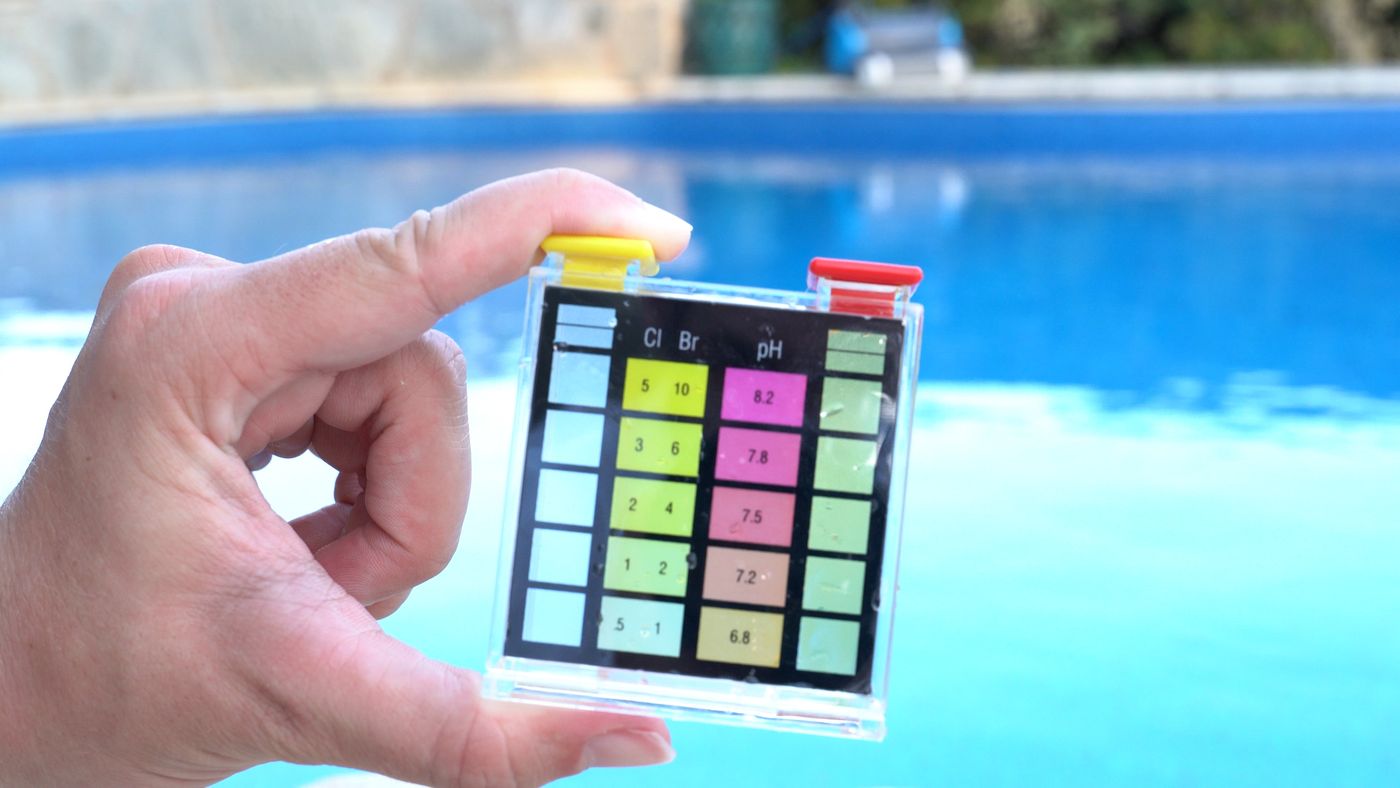
Drop-based test kit only for this part. Strips are better than guessing, but a real DPD or FAS-DPD kit gives you numbers you can actually act on. Test for all four of these before you add anything:
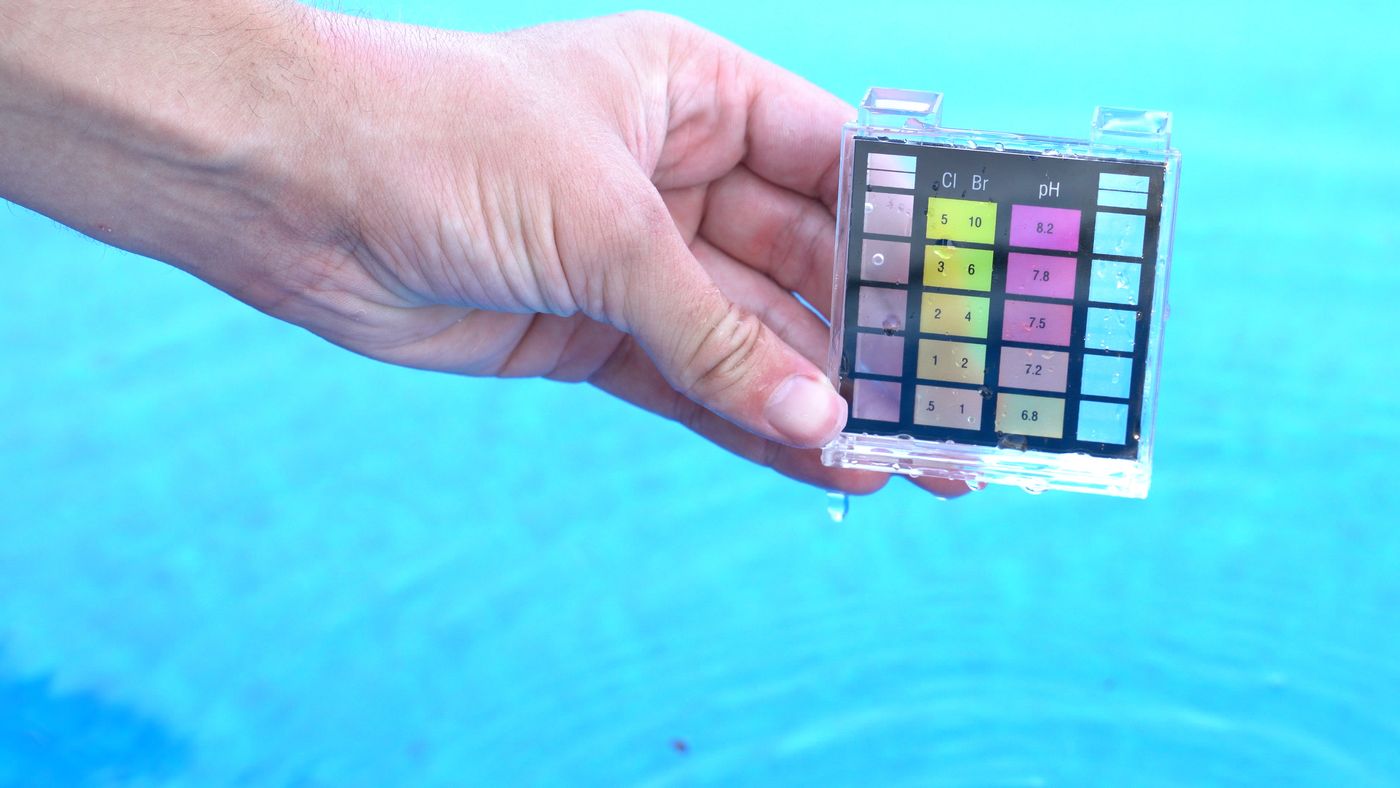
- Total Alkalinity (TA)
- pH
- CYA / Stabilizer
- Free Chlorine (FC)
Then dose in this order: TA → pH → CYA → Chlorine
TA stabilizes pH behavior. pH controls chlorine effectiveness. At pH 8.0, your chlorine is only about 20% effective — meaning 80% of whatever you add is essentially wasted. Get TA and pH right before you add chlorine, or you're pouring money into water that can't use it. Use my pool chemical calculator to get exact dosing amounts for your pool size — no guesswork.
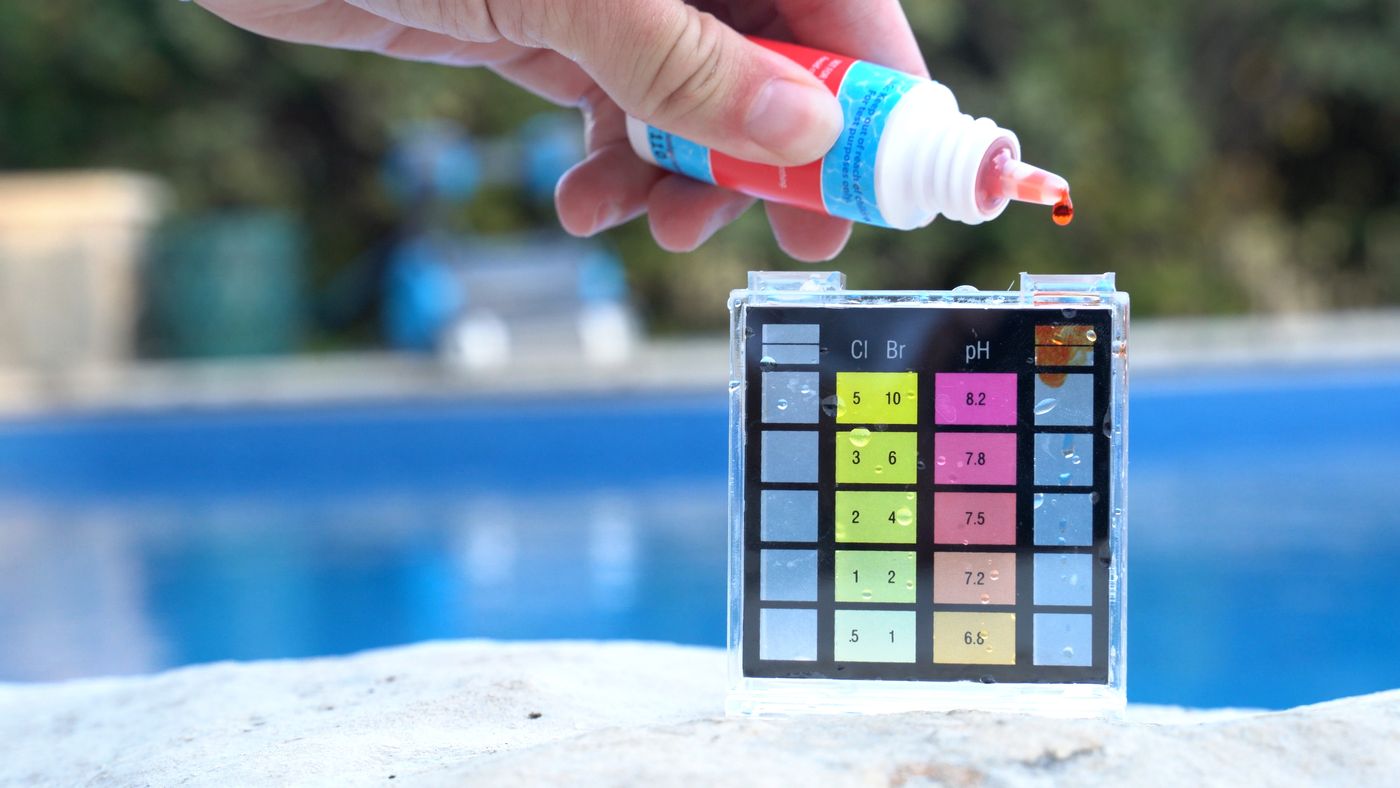
THE 20-MINUTE RULE: Wait at least 20–30 minutes between adding different chemicals, with the pump running. Concentrated chemicals linger near the return jet longer than you'd think. Stacking them back-to-back causes localized reactions and skews your test results. Patience here costs you nothing.
Pool Nerd Chemistry Targets
| Parameter | Target Range | How to Fix |
|---|---|---|
| pH | 7.2–7.4 (vinyl) | HIGH → Muriatic acid or dry acid / LOW → Soda ash (pH Up) |
| Total Alkalinity | 80–120 ppm | LOW → Sodium bicarbonate (baking soda) / HIGH → Muriatic acid + aeration |
| CYA / Stabilizer | 30–50 ppm | LOW → Granular CYA through skimmer / HIGH → Partial drain & refill |
| Free Chlorine | 2–4 ppm (w/ CYA) | LOW → Liquid chlorine / HIGH → Sun + time to naturally consume |
| Calcium Hardness | 200–400 ppm | LOW → Calcium chloride / HIGH → Partial drain & refill |
If you need help adjusting your pH, check out my guides on how to raise pool pH and how to lower pool pH. You can also plug your numbers into my pool pH calculator, alkalinity calculator, or muriatic acid calculator for exact dosing.
What to Buy (Opening Supplies)
Same opening shopping list as our inground pool opening guide—test kit, shock, acid, baking soda (15 lb or bulk bucket), liquid chlorine jugs, and 3" tabs if you run a feeder. The what you need checklist earlier on this page has the quick links so you can stock the shed before shock night.
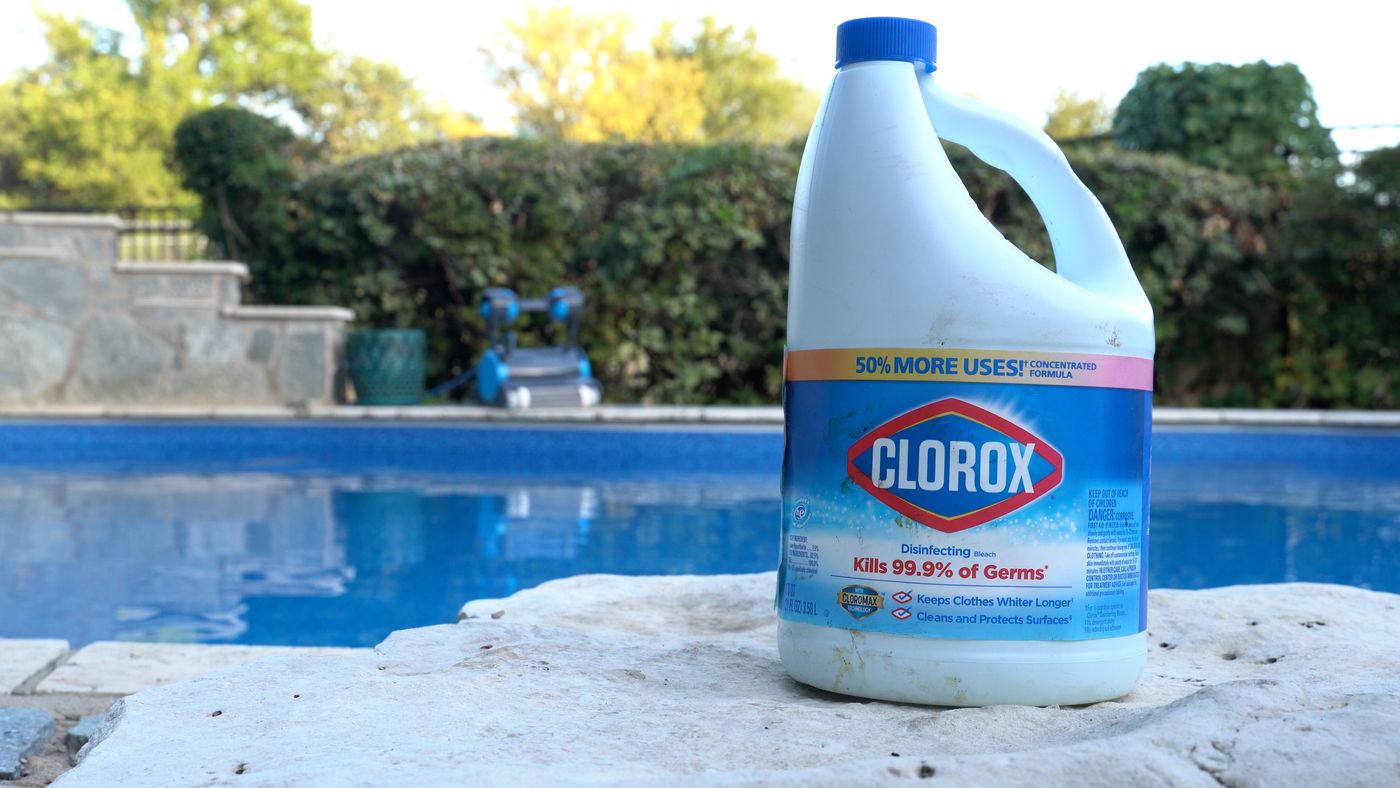
Opening Shock: How Much Chlorine to Actually Add
At opening, your goal is to hit roughly 10 ppm free chlorine to knock out anything that built up over winter — then let it filter down to your normal 2–4 ppm operating range over the next 24–48 hours. Always add chlorine in the evening. UV from sunlight burns off unprotected chlorine fast.
Not sure how many gallons your pool holds? Use my pool volume calculator to get an accurate number before dosing.
All doses below use 10% liquid chlorine at 42" water depth:
| Pool Size (approx. gallons @ 42" depth) | Liquid Chlorine to raise FC +3 ppm | Liquid Chlorine for opening shock (~10 ppm) | Baking Soda to raise TA +20 ppm | CYA to raise +30 ppm |
|---|---|---|---|---|
| 12' round (~2,960 gal) | ~11 fl oz | ~38 fl oz (~1 qt) | ~0.83 lb | ~0.89 lb |
| 15' round (~4,630 gal) | ~18 fl oz | ~59 fl oz (~0.46 gal) | ~1.30 lb | ~1.39 lb |
| 18' round (~6,660 gal) | ~26 fl oz | ~85 fl oz (~0.67 gal) | ~1.87 lb | ~2.00 lb |
| 24'x12' oval (~6,730 gal) | ~26 fl oz | ~86 fl oz (~0.67 gal) | ~1.88 lb | ~2.02 lb |
If your water is already green or visibly cloudy: double the shock dose and run filtration continuously until it clears. Don't cut corners here. For more detail on shocking, check out my complete guide on how to shock a pool, or use my pool shock calculator to dial in the exact amount for your pool.
First-Week Cadence: What to Expect
Opening day is the start, not the finish. Your first week is a short campaign. Here's the realistic breakdown:
Days 1–2: Test FC and pH morning and evening. Brush walls and floor daily.
Days 3–4: Recheck TA and CYA. If filter pressure is up 20–25% from your clean baseline, backwash or clean the cartridge.
Days 5–7: Water should be clearing. Dial FC to 2–4 ppm, vacuum settled debris. Still cloudy? Fix pH and filtration before reaching for a clarifier. Check out my guide on how to clear cloudy pool water if you're still struggling.
Stop Guessing — Upgrade to ORP Monitoring
Chlorine ppm doesn't tell you if your chlorine is actually working. pH, temperature, and CYA levels all affect sanitizing power — a ppm number alone doesn't capture any of it.
What commercial pools use is ORP — Oxidation-Reduction Potential. Measured in millivolts, ORP tells you the actual sanitizing power of your water. Above 700 mV, you're in great shape. Below 650 mV, it's time to act.
The ICO Smart Pool Monitor by Ondilo tracks ORP, pH, temperature, and more continuously — and sends dosing recommendations to your phone. Most owners cut their chemical spend by 30–50% in the first season because they stop reactive overdosing. Check it out at ThePoolNerd.com/deals.
Frequently Asked Questions
Why is my pool still cloudy after opening?
Short answer: your filter and chemistry aren't working together yet.
Here's what's usually happening:
- Your filter is clogged from winter gunk
- Your pH is too high (kills chlorine effectiveness)
- You don't have enough chlorine actually working
Fix it like this:
- Clean or backwash the filter (this is HUGE)
- Lower pH to ~7.2–7.4
- Bring chlorine up and keep it there
- Brush the pool daily
Reality check: Most cloudy pools are fixed by filtration + patience, not dumping more chemicals. For the full breakdown, check out my guide on how to clear cloudy pool water.
Do I actually need to shock my pool when opening?
You might, but not always.
- Clear water? → No, just balance and chlorinate
- Cloudy or green? → Yes, you'll need higher chlorine
Pool Nerd rule: Don't "shock because the internet said so" — shock because your water needs it. If you can see the bottom clearly, you're probably fine.
Why won't my pump prime?
This is one of the most common opening headaches. Usually it's one of these:
- Low water level (below skimmer)
- Air leak (loose hose or bad O-ring)
- Clogged basket
- Pump lid not sealed
Quick fix checklist:
- Fill water halfway up skimmer
- Tighten every connection
- Clean baskets
- Lube the pump lid O-ring
If you see bubbles coming back into the pool, you've got an air leak. Every time.
How long should I run my pump after opening?
First week = way more than normal.
- Opening phase: 8–12+ hours/day (sometimes 24/7)
- Once clear: 6–8 hours/day
If your pool is cloudy or green: run it non-stop until it clears. Period. Filtration is doing most of the work early on.
Why does my chlorine keep disappearing?
This is a big one — especially in Texas. You probably have low stabilizer (CYA).
Without CYA, sun burns off chlorine FAST and you keep adding more and wasting money.
Fix:
- Add stabilizer to ~30–50 ppm
- Then maintain chlorine
Once you do this, your chlorine will actually stick around.
My pool is green — what should I do first?
Don't panic — this is fixable. The correct order:

- Lower pH to ~7.2
- Add chlorine (don't be shy)
- Brush everything
- Run pump constantly
Biggest mistake: People add algaecide first. Wrong move. Chlorine is what actually kills algae. For the full recovery process, check out my guide on how to clean a green pool.
How long does it take to get clear water?
Depends how bad it is:
- Slight haze → 1–2 days
- Cloudy → 2–4 days
- Green swamp → 3–7+ days
The difference: Consistency. Most people fail because they stop brushing, stop filtering, and let chlorine drop. Stay on it, and it clears.
Can I swim right after opening?
Only if:
- Water is clear
- Chlorine is in range
- pH is balanced
If you shocked heavily: wait until chlorine drops to normal levels (usually under ~5 ppm). If it smells super strong or burns your eyes: don't swim yet.
Why is my filter pressure weird?
- Low pressure: blockage, air leak, or pump issue
- High pressure: dirty filter
Pool Nerd tip: Always know your clean starting pressure. That's your baseline for diagnosing everything later.
Should I replace my filter cartridge or sand?
Depends:
- Cartridge looks nasty / flattened → replace it
- Sand filter → usually fine unless 3–5+ years old
Opening week tip: Even a "good" filter can get overwhelmed by winter debris. Clean it more often than usual.
What's the biggest mistake people make opening their pool?
Easy: They try to fix everything with chemicals instead of fixing circulation first.
If your water isn't moving and filtering: nothing else matters.
That's it — you're open. Cover off without dumping the mess in. Equipment lubricated and reassembled. Water to mid-skimmer. Backwash sequence run. Pool physically clean before any chemicals touch it. Then TA → pH → CYA → shock — in that order.
Do those six steps in sequence and you'll be swimming in days, not weekends.
The information is for educational purposes only. Handling pool chemicals, specifically muriatic acid and chlorine, involves significant risk of injury or property damage. Always read the manufacturer's labels and MSDS sheets. Use this information at your own risk.
If you want to look into a pool water monitor like the ICO, head on over to my deals page, where I post all the best deals on top pool equipment and more.