
 Justin D.
Still have a green pool after adding shock? Before you buy more, there's one part of the process you might be missing: maintaining the chlorine level long enough to finish the job.
Welcome back to The Pool Nerd. I'm Justin, your resident pool aficionado. Today, I'm walking you through the SLAM method: what to buy, how much chlorine to add, and how to know when you're actually done.
We'll also cover where equipment like a water monitor, robotic cleaner, and UV system can help—and where they can't replace the basics.
Products and Tools Mentioned in This Guide


What Does SLAM Actually Mean?
SLAM stands for Shock Level And Maintain, a process popularized by Trouble Free Pool:
- S — Shock
- L — Level
- A — And
- M — Maintain
You raise free chlorine to a cleanup level matched to your pool's stabilizer, then maintain it while brushing and filtering. The important word is maintain. This isn't "pour in shock and check back next weekend."
Visible green algae is a reason to investigate a SLAM. But cloudy water, a strong smell, or a low ORP reading alone does not tell you what treatment is needed. Start with testing rather than treating every problem as algae.
This guide applies to any pool type, whether you have a chlorine or saltwater pool, inground or above-ground.
What You Need Before Starting
Have these essentials ready:
- A high-range FAS-DPD test kit, such as the Taylor K-2006, with tests for free chlorine, combined chlorine, pH, and cyanuric acid. "FAS-DPD" sounds complicated, but the chlorine test is a drop-count test rather than a shade-matching exercise.
- Liquid pool chlorine, your pool's volume, any necessary pH-adjustment chemicals, and the protective equipment specified on their labels.
- A leaf net, brush, manual vacuum, and functioning pump and filter.
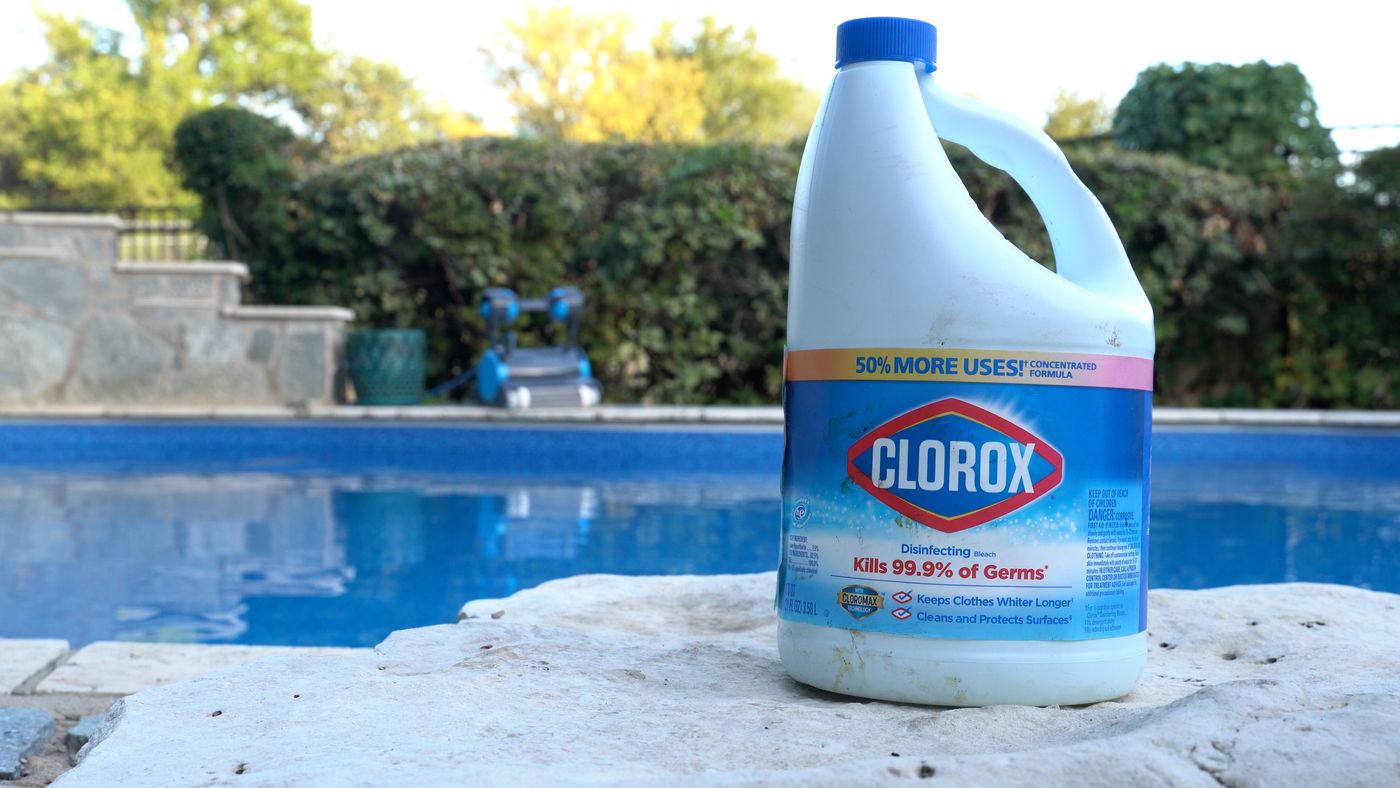
I prefer liquid chlorine because it doesn't add more stabilizer while we're cleaning up the pool. Check the concentration on the bottle; different strengths require different doses. If at any point you need help with how much chlorine to add, use The Pool Nerd's SLAM Pool Calculator.
An ICO monitor and a robot are optional—but they can help a ton in this process. Put your budget toward accurate testing and the cleanup essentials first.
Where ICO and ORP Fit In
ORP may be the most underused number in residential pool care, even though commercial aquatic centers use it worldwide.
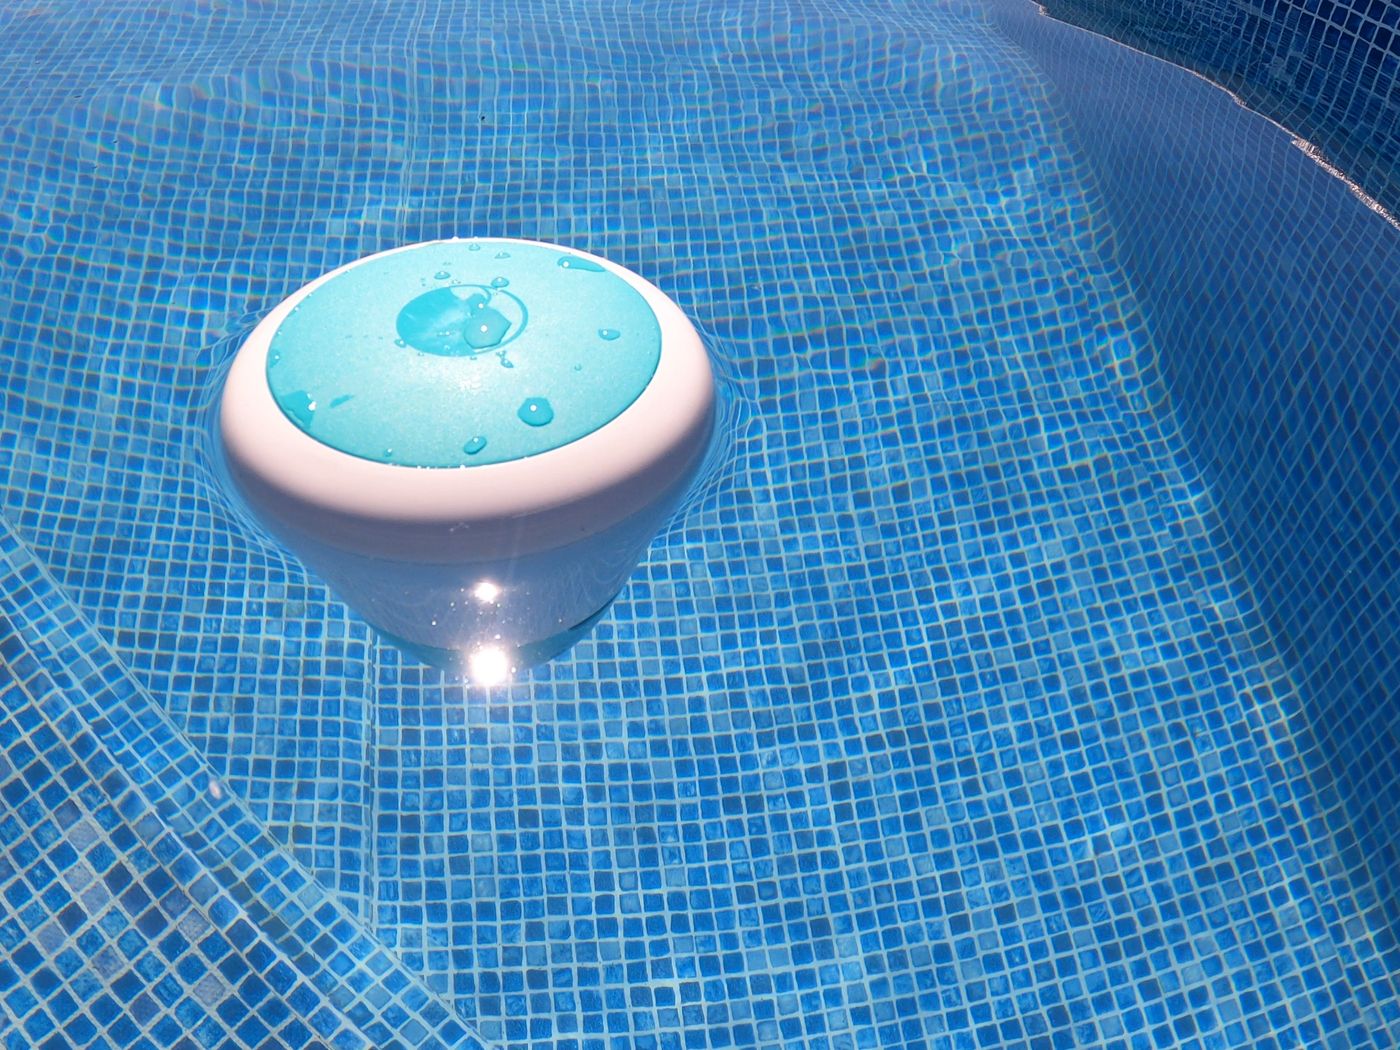
To keep track of my ORP between manual tests, I use the ICO pool water monitor. It takes automatic hourly readings of pH, ORP, and temperature and sends information to your phone. That gives me 24/7 visibility into my pool's pH and ORP trends without constantly breaking out the test kit.
ORP measures the water's oxidizing potential. That can provide useful context on how sanitized your water is, which is the foundation of cleaning up a green pool.
Think of ICO as an extra set of eyes: an unexpected change tells you to investigate. Your test kit tells you the chlorine level used to calculate the dose.
For my monitor recommendations, start with the best pool water monitors.
Step 1: Test the Water and Set Up Your Chemistry
Write down your pool volume, free chlorine, combined chlorine, pH, and CYA, also called stabilizer.
CYA protects chlorine from sunlight, but your cleanup chlorine target rises as CYA rises. That's why the same chlorine dose can work in one pool and disappoint in another.
We recommend around 30–40 ppm CYA for an easier outdoor SLAM. Test your water before adding stabilizer or assuming your pool is in that range.
If CYA is very high, discuss safe partial water replacement with a qualified pool professional before spending heavily on chlorine. Draining a pool improperly can cause serious structural damage, so never do it casually. Usually, draining and refilling is the only way to get your CYA down.
Next, adjust pH to approximately 7.2–7.4 before raising chlorine, provided that fits your finish manufacturer's requirements.
During treatment, follow your test kit's interference instructions; high chlorine can make some tests unreliable. Don't keep adding chemicals based on a questionable result.
Also, never mix chlorine and acid, or different chlorine products. Add chemicals separately, following each label's application and circulation instructions. Wear the specified protection, and keep chemicals secured away from children and pets.
Step 2: Remove Debris Before Treating the Algae
Scoop out leaves, empty baskets, and remove as much debris as possible. This will help a ton and reduce the amount of chemicals you need to add. Then brush the walls, floor, steps, and corners with a brush approved for your surface.
You want chlorine working on the contamination you cannot scoop out—not a pile of leaves.
Check circulation before proceeding. The pump needs to move water effectively through a working filter. Cleaning is part of the SLAM process, not something you save until the chemicals have done everything else. Make sure to clean or backwash your filter according to its manufacturer's instructions to ensure strong water flow.
Remove equipment and accessories that cannot tolerate the planned chlorine level. This includes checking the instructions for your robot and any floating electronics.
Now you're ready to calculate the first dose.
Step 3: Find Your Chlorine Target and Add the Initial Dose
Use your measured CYA, not a universal "shock" number.
For example, if your CYA is 30 ppm, your free-chlorine target is 12 ppm. At 40 ppm CYA, the target is 16 ppm. At 50 ppm CYA, it's 20 ppm.
If you need help, use the SLAM Pool Calculator.
These follow the standard SLAM calculation of free chlorine at approximately 40% of CYA. They are temporary cleanup targets—not normal swimming or everyday maintenance targets.
Now calculate how much chlorine takes you from your current reading to that target.
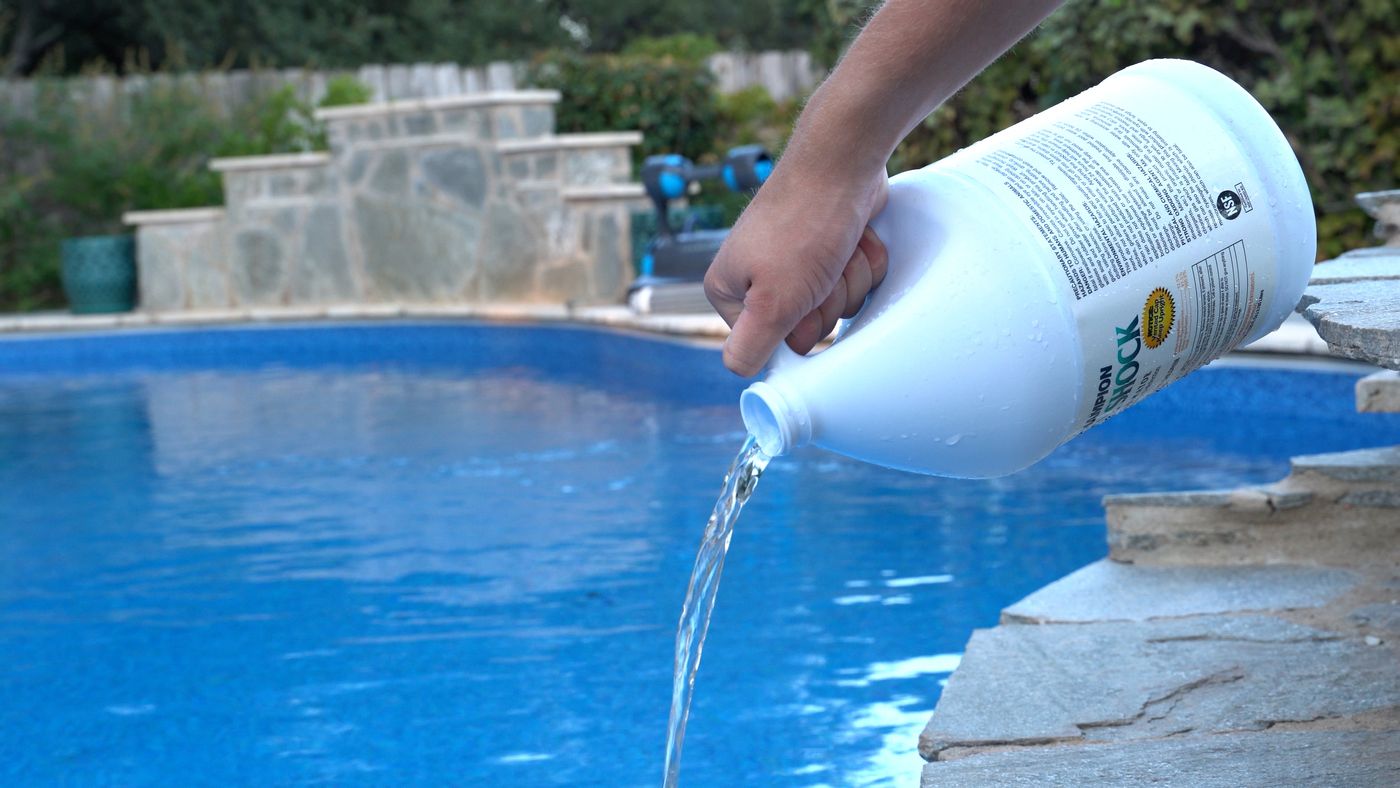
For example, imagine a 20,000-gallon pool, CYA of 40 ppm, and free chlorine of 2 ppm. The target is 16 ppm, so you need an increase of 14 ppm.
One gallon of fresh 10% liquid chlorine raises free chlorine in a 20,000-gallon pool by approximately 5 ppm. That makes the calculated initial dose about 2.8 gallons.
That's an example, not a recipe for every pool. Confirm your volume, chlorine strength, and starting reading in a pool-dosing calculator. Existing contamination may consume chlorine quickly.
Apply it with circulation running as the label directs. Allow thorough mixing, then retest rather than assuming the calculation guarantees the final reading.
Step 4: Maintain the Target—Don't Just Hit It Once
This is where the cleanup becomes a process instead of another shock treatment. You have to hit and maintain the target. This is what the M in SLAM stands for, and it may be the most important part of this whole guide.
Check free chlorine frequently at the beginning—about every two hours while you're available—and calculate enough chlorine to restore your target. At minimum, test and adjust morning and evening; longer gaps can slow progress when demand is high.
If your target is 16 ppm and the test shows 10 ppm, calculate a 6 ppm increase. Don't repeat the entire starting dose.
Keep a simple log of the time, test result, and amount added. That makes it easier to see whether chlorine demand is slowing.
Use ICO to follow trends alongside those tests, not to replace them. A falling ORP reading is a reason to check the water, not permission to add an arbitrary gallon.
Step 5: Keep Brushing, Vacuuming, and Filtering
Killing algae and removing it are separate jobs.
Keep the pump and filter operating throughout this SLAM process, with enough flow for effective circulation. Brush daily, especially steps, corners, and areas with poor circulation. Vacuum settled debris as needed.
Watch the filter's pressure and flow. Clean or backwash according to its manufacturer's instructions and pressure-rise limit—not automatically on a fixed daily schedule. Shut down and depressurize equipment before opening it.
As the pool improves, green water may become cloudy or gray before it clears. That is progress, not the finish line.
What about a robot like the Dolphin Premier?
A robotic pool cleaner like the Dolphin Premier can help vacuum debris, brush your pool floor and walls, and even act as a secondary filter in all of this. If you have one, make sure to run it as its instructions allow.
It also doesn't have to be the Premier. There are dozens of pool robots for all pools and budgets—you can compare them in my guide to the best robotic pool cleaners.
If progress stalls, recheck your pool volume, CYA result, chlorine strength, and filter performance before adding more products. A pool professional can help identify what you're missing.
Step 6: Pass All Three Completion Checks
Don't stop because the water looks better. Finish only when all three conditions are met:
- The water is clear, with no visible algae.
- Combined chlorine is 0.5 ppm or lower.
- Overnight free-chlorine loss is 1.0 ppm or less.
For the overnight test, after sunset, restore your chlorine target, allow it to mix, and record free chlorine using your FAS-DPD kit. Test again before sunlight reaches the pool the next morning.
Do not add chlorine between those readings. Disable automatic chlorine dosing and salt generation for the test while maintaining circulation. Subtract the morning reading from the evening reading: 16 ppm at night and 15.5 ppm in the morning is a 0.5 ppm loss.
Account for UV or ozone systems according to their instructions, since they can affect chlorine loss too.
A flat ORP graph does not replace this chlorine test.
If your pool fails any of these checks, continue the process and reassess. Some pools take a week or longer; let the results, not the calendar, decide when you stop.
When Can You Swim Again?
Keep swimmers out during the SLAM.
After passing the completion checks, let chlorine return to an appropriate maintenance range for your CYA that also meets the chemical label's swimming requirements. Confirm pH is within the recommended range and that you can clearly see the bottom.
Check the actual water chemistry before reopening it.
Keep the Algae From Coming Back
Once the pool is clear, shift from cleanup to consistency.
Maintain the correct everyday chlorine level for your CYA, keep pH balanced, and stay on top of debris and filtration. CDC recommends checking chlorine and pH at least twice daily, with additional testing during heavy use.
This is where I like a monitor most: not as a substitute for testing, but as a convenient way to notice changes between checks.
A properly sized UV-C setup, like the SpectraLight system, can add another layer of treatment as water passes through its chamber. Depending on the system, it can also help break down chloramines. But UV does not leave sanitizer throughout the pool, scrub algae off walls, or replace the need for chlorine.
You don't need to buy UV to complete a SLAM. Treat it as a potential long-term upgrade, not an emergency cure.
My Final Verdict
So what's my final verdict on the SLAM method?
The SLAM method is Pool Nerd Approved—but the "maintain" part is not optional.
Start with a reliable test. Match the cleanup target to your CYA. Dose, retest, brush, and filter. Then verify that you're finished before returning to normal maintenance.
For equipment recommendations, explore the best pool water monitors and my latest pool deals. Start with what your pool actually needs; the best upgrade is not always another bottle of chemicals.
Until then, enjoy that pool, and I'll see you next time.
This information is for educational purposes only. Handling pool chemicals involves significant risk. Always read the manufacturer's labels and instructions. Use this information at your own risk.


Comments
Loading comments…