
 Justin D.
Closing your pool should make next season easier. But skip the wrong step, and you could pull the cover off to find green water, leaking plumbing, or a heater that needs replacing.
And the biggest mistake pool owners make is thinking closing the pool means adding a few chemicals, throwing on a cover, and walking away.
It doesn’t.
You’re preparing the water to sit through the off-season. And anywhere freezing is possible, you’re also protecting the plumbing and equipment from damage. Those are two different jobs, and getting the chemistry right won’t save equipment that freezes full of water.
Hey there, I’m Justin, your resident pool aficionado, and today I’m going to show you how to close your pool, when you should actually do it, the five steps that matter most, and the mistakes I’d avoid.
Then, at the end, we’ll cover closing versus winterizing—because people use those terms interchangeably, but understanding the difference matters.
Let’s get into it.
Pool-Closing Products at a Glance
The water-testing, treatment, plumbing, and cover supplies used throughout this guide.

Ondilo ICO Pool Water Monitor
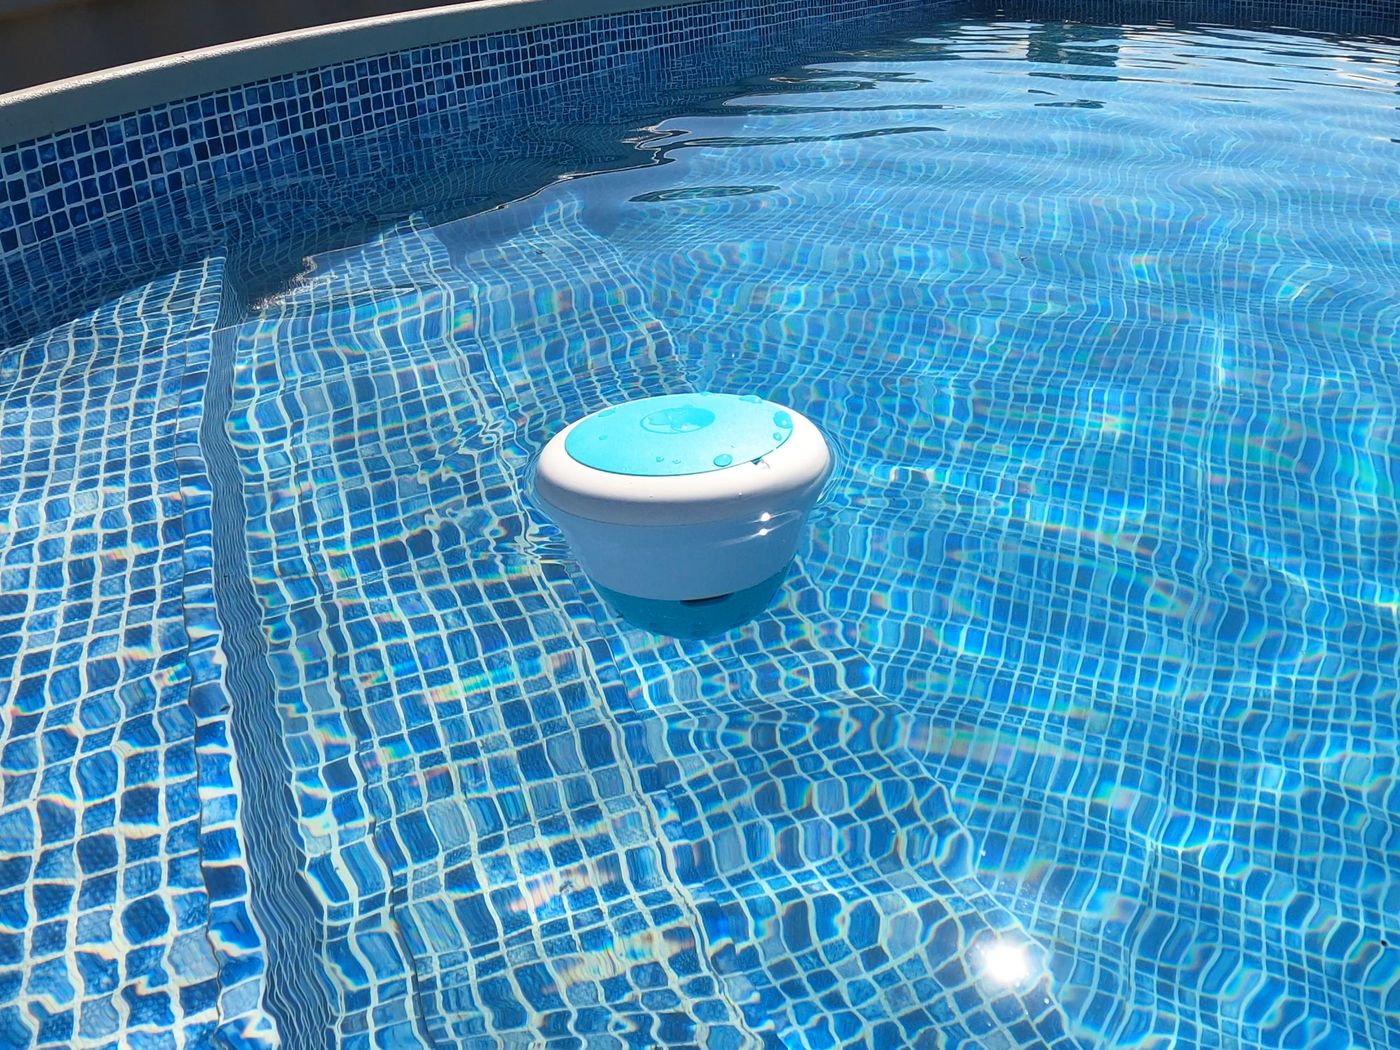
What it is: A floating smart monitor that samples pH, ORP (sanitizer effectiveness), and temperature on a schedule and sends trends to your phone.
Why you need it: You still need a real drop kit for parameters the ICO doesn’t replace (like TA and CYA), but hourly ORP/pH catches drift and dosing mistakes long before weekly strip checks do.
Read the full ICO review — Shop ICO direct (no Amazon listing for the hardware we run).

Taylor K-2005 Test Kit
What it is: A professional drop (titration) kit for chlorine, pH, alkalinity, calcium hardness, and cyanuric acid.
Why you need it: You can’t SLAM or balance blind—especially CYA, which handcuffs chlorine. This kit gives numbers you can trust, not strip guesswork.

Champion Muriatic Acid
What it is: Dilute hydrochloric acid—standard for lowering pH and, with the right method, total alkalinity.
Why you need it: High pH destroys chlorine efficiency. Always follow the label; never mix acid with chlorine.

Baking soda (alkalinity increaser)
What it is: Sodium bicarbonate—the same compound as pool-store “alkalinity increaser.” Arm & Hammer 15 lb is a practical mid-size bag; USP pure 50 lb bucket is the usual pick when you want the lowest $/lb; grocery or pool-store bags work if the label is plain bicarbonate.
Why you need it: It raises total alkalinity with a gentler pH bump than soda ash. Do not use soda ash here if you only need TA up.

Liquid chlorine (10–12.5%)
What it is: 10–12.5% liquid shock/sanitizer—sold by the jug; shipping availability depends on seller and hazmat rules in your area.
Why you need it: For many SLAMs it’s the workhorse: no extra CYA from the sanitizer itself, fast, easy to pour. Grab fresh jugs; heat and age weaken it.

Pool Line Blower
What it is: A purpose-built, high-volume pool blower that pushes water out of compatible return and skimmer lines.
Why this pick: It is designed for pool-line blowouts and avoids improvising with an unregulated compressor. Use the procedure approved for your plumbing.

DeWalt Shop Vac 9 Gallon
What it is: A wet/dry shop vacuum that can supply blowing airflow through accessible pool plumbing.
Why this pick: On compatible systems, it is a practical blower alternative that is also useful for equipment-pad cleanup. Confirm it can produce the airflow your setup requires.
Gizzmo 4102
What it is: A threaded, compressible skimmer insert made to absorb some expansion if water freezes in the skimmer.
Why this pick: It adds freeze protection to the skimmer body after the line has been cleared and protected; it does not replace winterizing the plumbing.

Champion Pool Antifreeze
What it is: A pool-labeled antifreeze intended for plumbing applications specified by the pool or product manufacturer.
Why this pick: It provides extra protection where the approved closing procedure calls for it. Use only pool-approved antifreeze—never automotive antifreeze.

Vizava Winterizing Plugs
What it is: An assortment of tapered plugs for sealing compatible return and skimmer fittings after the lines are cleared.
Why this pick: Multiple sizes help match the fittings on your pool so cleared lines can be sealed before water flows back in. Verify the required plug size first.

Little Giant Pool Cover Pump
What it is: A submersible pump designed to remove standing rainwater and snowmelt from compatible solid pool covers.
Why this pick: It helps manage water that collects on top of a solid cover. Follow the cover and pump instructions and keep watching the pool’s water level.
When Should You Close Your Pool?
I wouldn’t close the pool just because Labor Day passed or nobody has been swimming lately.
I’d watch the water temperature.
For a seasonal shutdown, I generally aim for pool water that stays below about 60 degrees Fahrenheit, or roughly 15.5 degrees Celsius.
And consistently is the important part. One cold night doesn’t mean the water has cooled down and stayed there.
The reason is algae.
Covering warm water and stopping normal circulation puts more pressure on whatever sanitizer you added before closing. Cooler water makes algae growth less favorable, but it doesn’t eliminate the need for clean, properly treated water.
A question I get a lot is, can I close a green pool? No, you should never close a green pool. If you need help getting it clean again, make sure to follow my guide at: thepoolnerd.com/how-to-clean-a-green-pool
Until closing day, keep maintaining the pool. Don’t stop adding chlorine for three weeks and then expect a closing treatment to fix everything.
But don’t wait so long that freezing weather catches you with unprotected equipment, either. The temperature guideline isn’t permission to ignore an approaching freeze.
What You Need Before You Start
Have your cleaning equipment, water-testing supplies, treatment chemicals, pool cover, and equipment manuals ready.
Before you start, have everything on this checklist ready:
- Cleaning equipment: A skimmer net, pool brush, and vacuum or robotic pool cleaner.
- A reliable test kit: For checking your water chemistry before adding chemicals.
- A pool water monitor (optional): Useful for tracking trends, but you’ll still need to test the parameters it doesn’t measure.
- Treatment chemicals: Whatever your test results show you need to balance and treat the water.
- Your pool cover: Including the hardware needed to secure it properly.
- Equipment manuals: The shutdown and storage instructions for your pump, filter, heater, and accessories.
- Winterizing plugs and fittings: The correct sizes for your plumbing if you’re doing a full winter shutdown.
You can find my water monitor recommendations at ThePoolNerd.com/best-pool-water-monitors.
Check what you have before starting. You don’t want to discover you’re missing a fitting halfway through draining the equipment.
Step 1: Clean the Pool
Before you shut anything down, get the pool as clean as possible.
You never want to close a green pool and hope it magically goes away when you take the cover off in spring.
Skim the surface, brush the walls, clean the steps and waterline, and remove the leaves from the bottom.
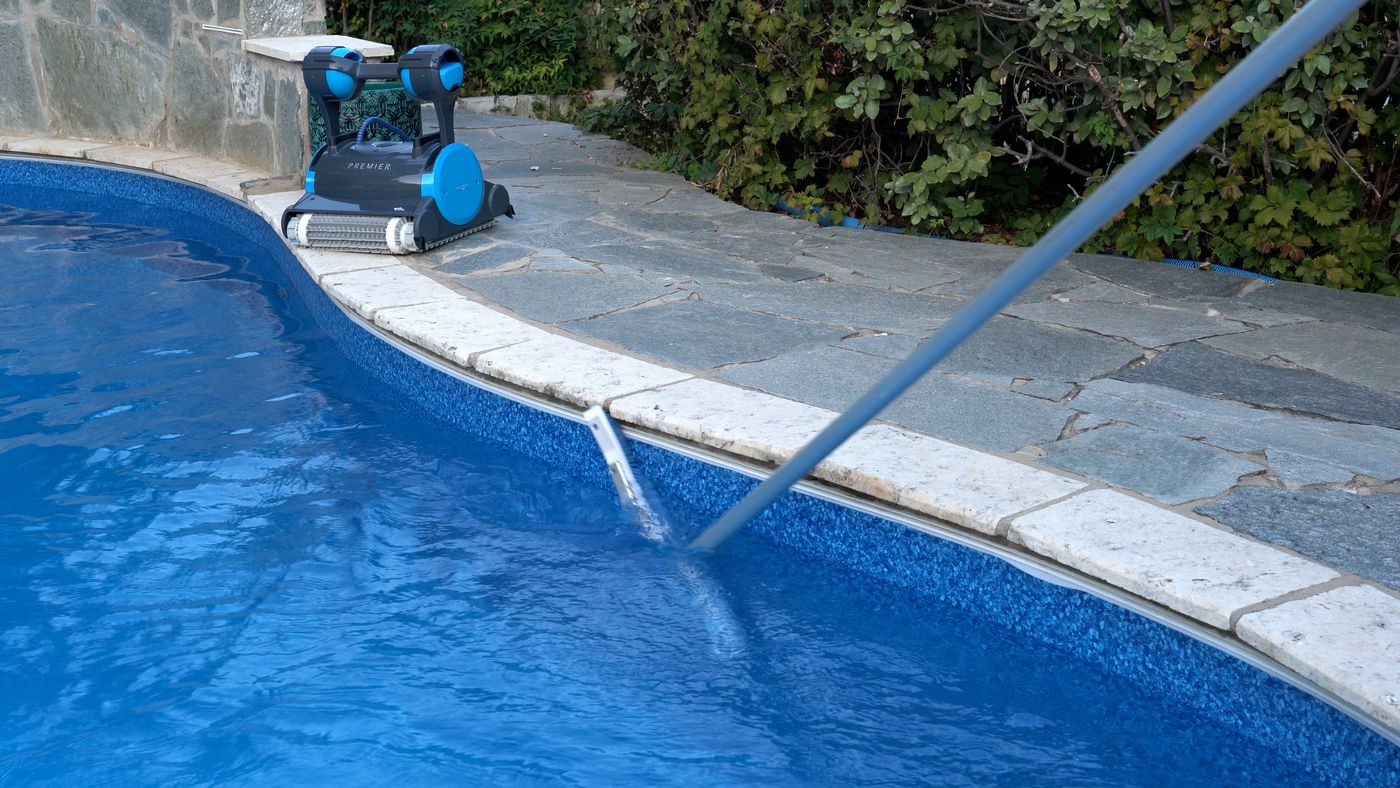
Then run your robotic pool cleaner.
If your robot has a finer filter option, this is when I’d use it. On a compatible Dolphin, for example, I’d use the NanoFilters for that final cleanup. I want more than the big leaves removed. I want the fine dirt, pollen, and silt out, too.

Whatever stays in the pool becomes something your sanitizer has to deal with. Removing that material first gives your closing treatment less work to do.
Empty the skimmer and pump baskets, and clean the main filter as needed.
For a cartridge filter, that means cleaning the cartridges. Sand and DE filters need their manufacturer’s cleaning procedure. If a DE filter will keep operating while you circulate chemicals, follow its instructions for recharging it after cleaning.
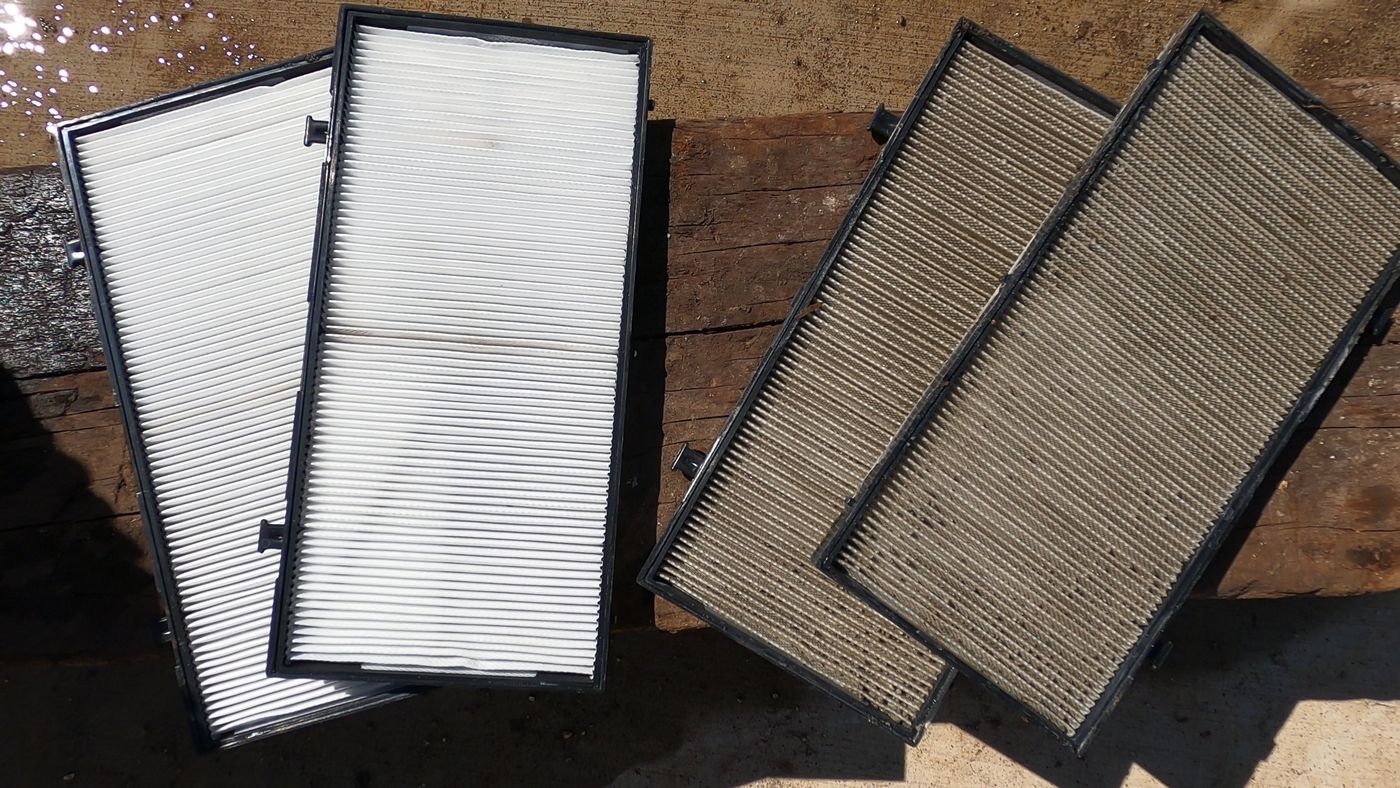
Before opening any pump or filter, shut off the power and release system pressure according to the manual.
The goal is straightforward: don’t leave months of accumulated debris behind when you close.
Step 2: Balance and Treat the Water
Once the pool is clean, then I’d deal with chemistry.
This is where closing gets made more complicated than it needs to be.
You’ve probably seen kits with shock, algaecide, stain treatment, scale treatment, and a floating dispenser.
Some of those products may have a place. But I wouldn’t automatically add five chemicals just because the box says “winter.”
Start by testing your pool’s water chemistry.
Check pH, free chlorine, alkalinity, calcium hardness, and cyanuric acid. Your pool surface and equipment requirements should guide the adjustments—not one universal recipe for every pool.
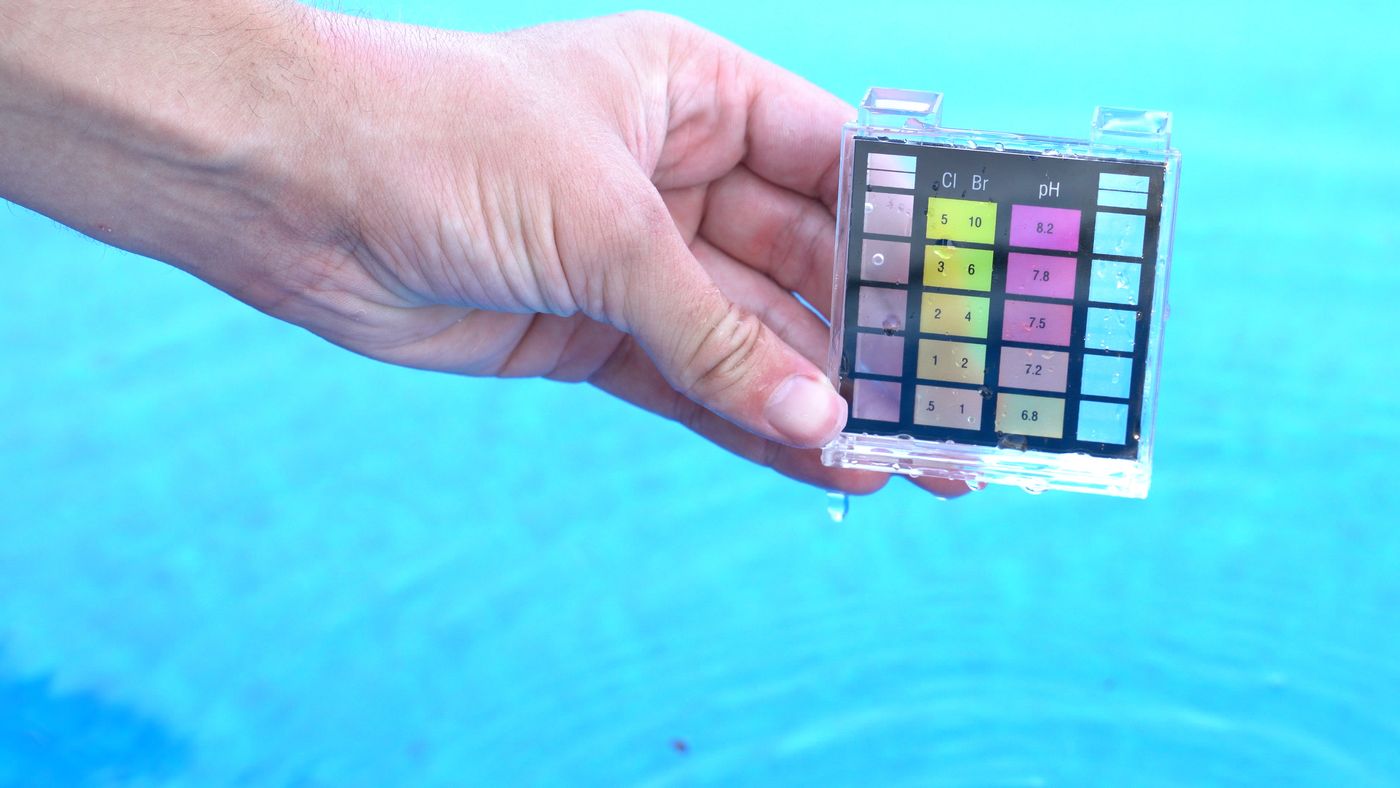
For pH, I’d generally look for a balanced reading around 7.4, provided that fits the guidance for your pool. I wouldn’t deliberately push it unusually low before leaving the water for the season. Low pH can increase corrosion risk, while high pH affects chlorine performance.
Get alkalinity and calcium hardness into the appropriate ranges, too. That matters for protecting the pool and equipment, not just making the test results look good.
Then address chlorine.
My preference is liquid chlorine, usually sodium hypochlorite. It lets me add chlorine without adding more stabilizer along with it.
I’m not a huge fan of leaving an ordinary trichlor floater under the cover all winter. I’d rather make deliberate adjustments before closing than leave a concentrated chlorine source drifting around unattended.
Use your test results, pool volume, and product label to determine the treatment. Also check the cover manufacturer’s requirements before covering freshly treated water.
And while I like monitoring ORP, ORP isn’t a direct chlorine reading. It changes with pH, stabilizer, temperature, and other conditions. Don’t keep adding chlorine simply to force the display to one particular number. My full explanation is at ThePoolNerd.com/orp-pool
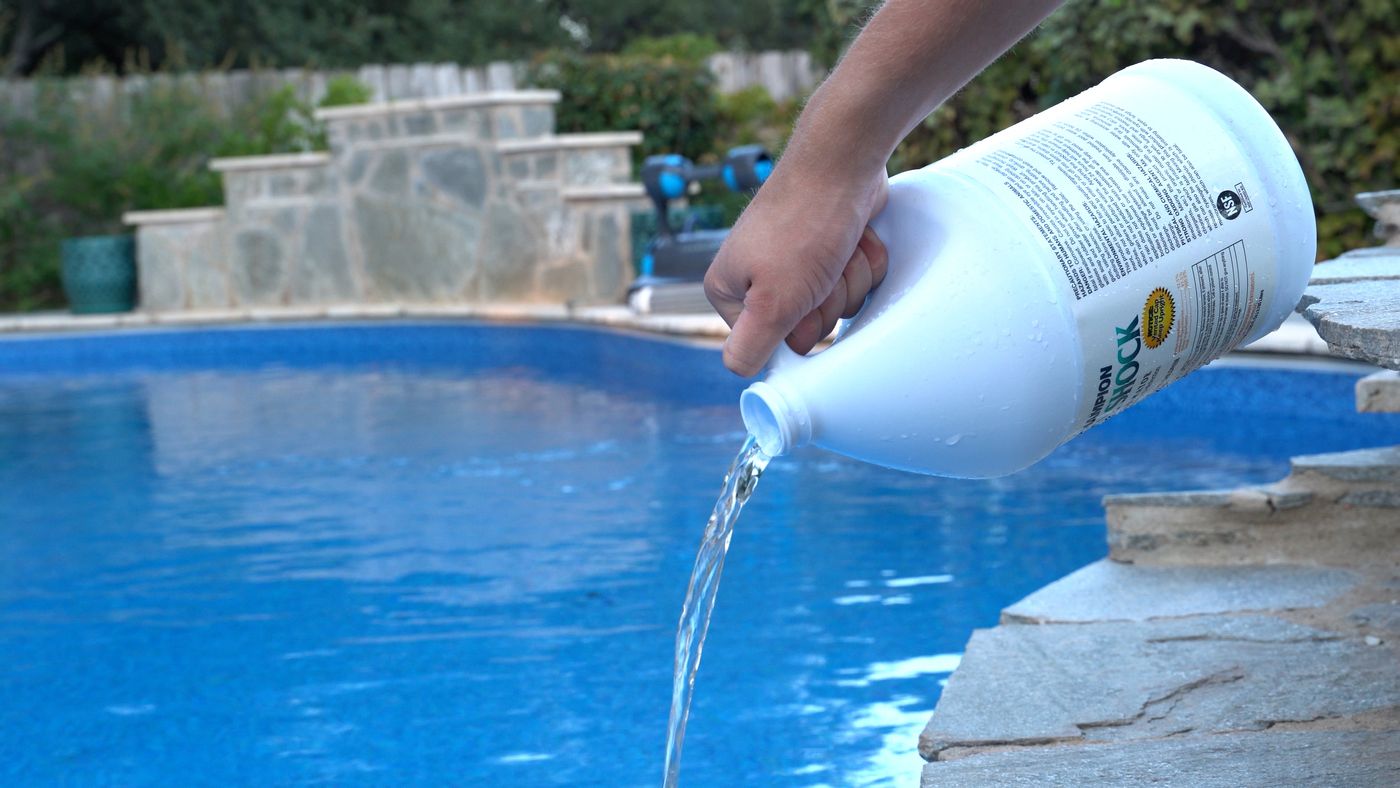
Give the treatments their required circulation time before shutting down. Follow the labels for dosing, separation between products, and safe handling. Never mix chlorine and acid together.
Then retest.
The point isn’t to add as much chemical as possible. It’s to close with clean, balanced, properly treated water—not a last-minute chemical experiment.
Step 3: Set the Water Level and Protect the Plumbing
This is the step that changes the most depending on your climate and equipment.
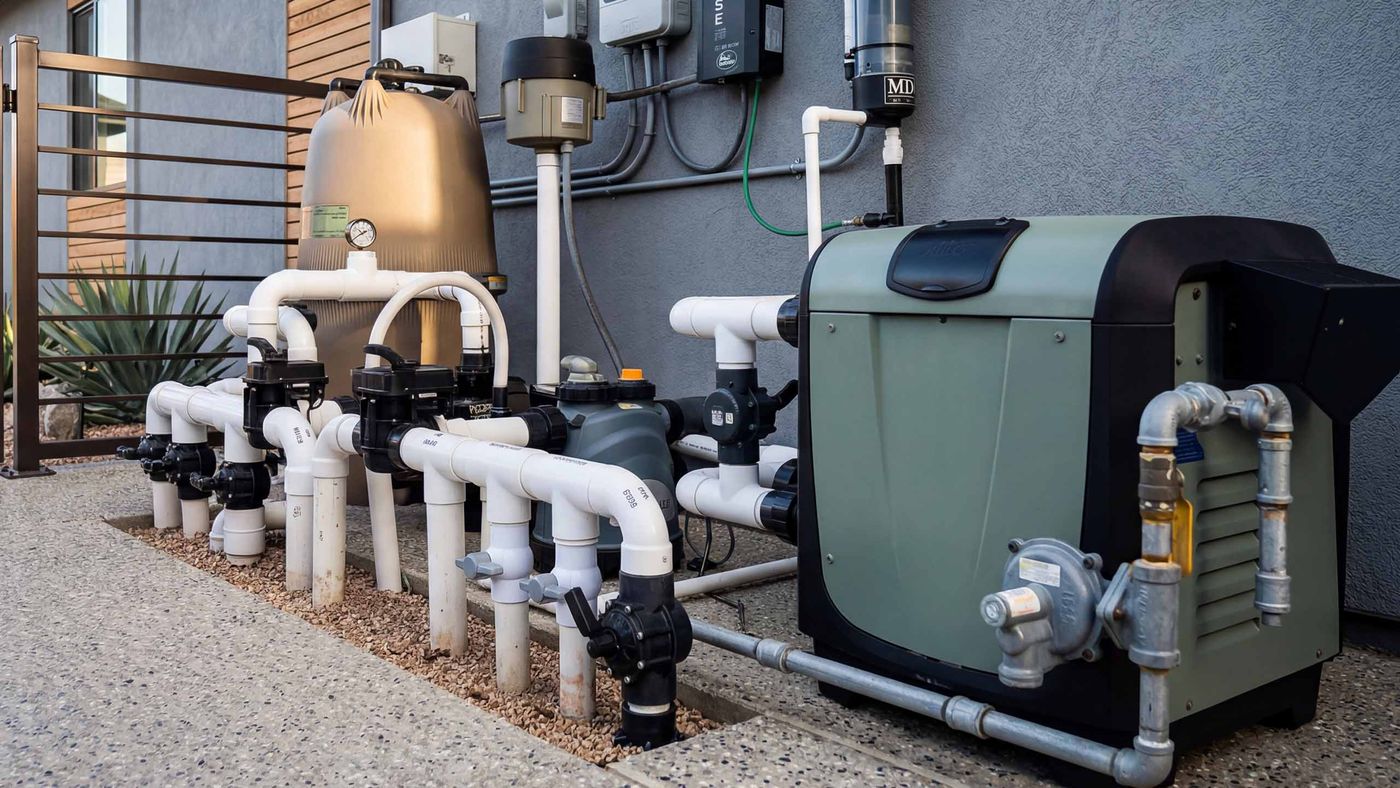
For a full seasonal shutdown where freezing is possible, the plumbing and equipment need to be winterized—not simply switched off.
Start with the water level.
How far you lower it depends on the pool, winterizing fittings, and cover. Some setups require water below certain openings. Others allow a higher level.
Follow the instructions for your pool.
Don’t automatically drain several feet because that’s what a neighbor does. Safety covers can depend on the water beneath them for support under snow loads, so lowering it too far creates its own problems.
Once chemical circulation and any required water-level adjustment are finished, shut off and secure power to the equipment being taken out of service. Make sure a timer or automation schedule cannot restart a drained pump. Release system pressure before opening equipment.
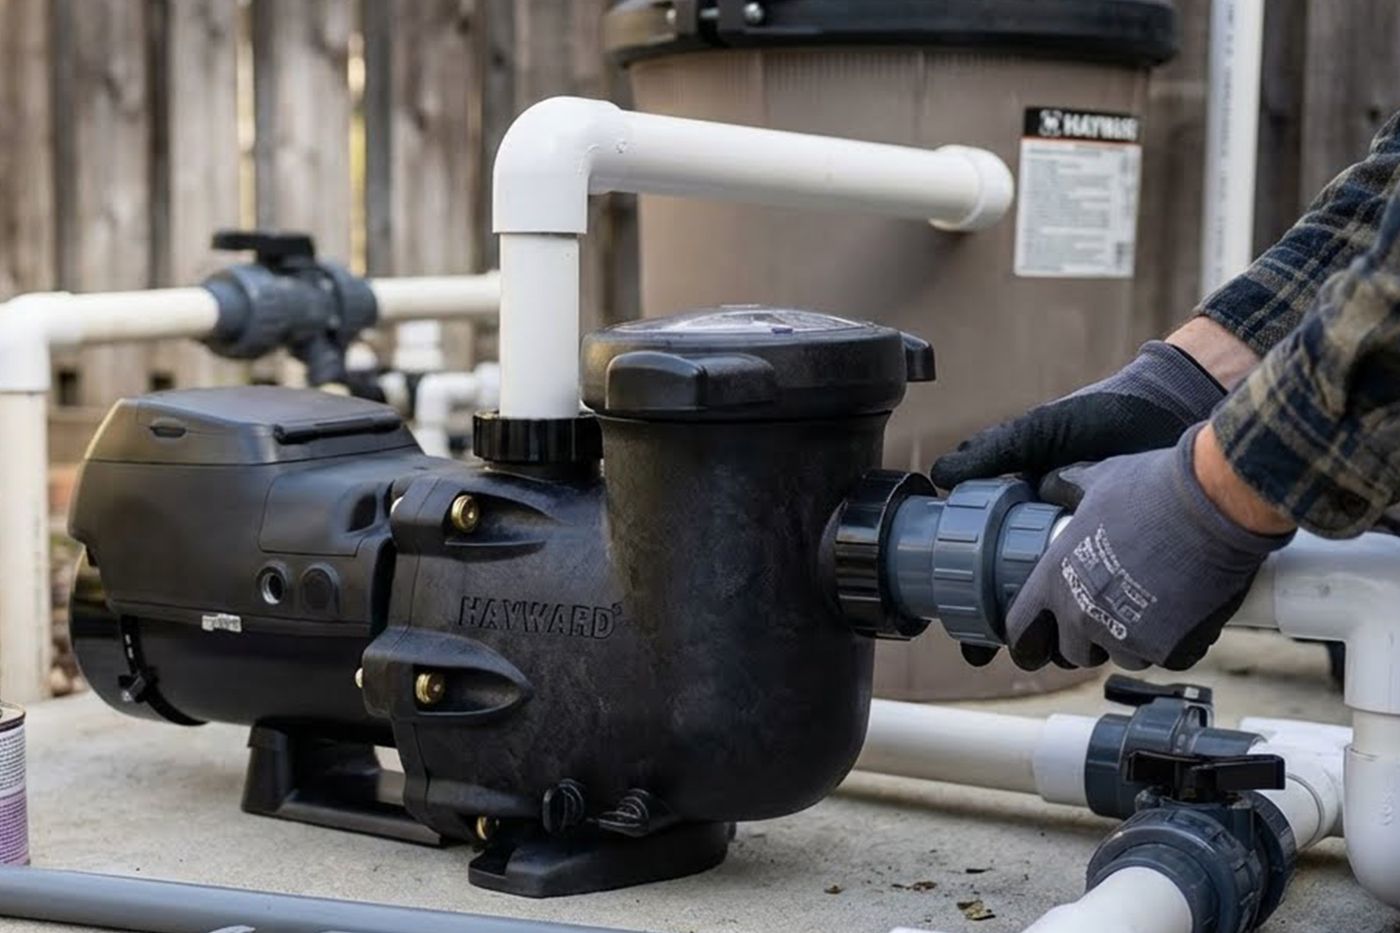
Then deal with the lines.
For many inground pools, that means blowing water out of the return lines and skimmer lines, then sealing them with the correct winterizing fittings.
On an appropriate setup, returns are plugged while air is still moving through them so water cannot immediately flow back in.
The main drain is different. It may need a properly established air lock that keeps water from refilling the vulnerable portion of the line. That only works when the plumbing and valves can actually hold that air lock.
This is not where I’d guess.
Use the approved equipment and procedure for your system. Don’t connect an unregulated compressor or pressurize a filter tank to improvise a blowout. Pool equipment can separate violently under pressure. If you don’t understand the plumbing layout, have a qualified pool professional handle this part.
For the skimmer, an appropriate freeze-protection device, such as a correctly installed Gizzmo, can help protect the skimmer body. But that doesn’t replace clearing and protecting its plumbing.
Pool-approved antifreeze may be part of the procedure for some systems. Use only a product specifically approved for that application, and follow its label. Never use automotive antifreeze.
Next, move through the equipment pad.
Drain the pump through all required drain openings. Drain and clean the filter according to its manual. Address feeders, booster pumps, and any additional equipment that can trap water.
And pay particular attention to the heater.
A heater can retain water internally even when the plumbing around it looks empty. Follow its actual winterization instructions rather than assuming disconnecting one pipe finishes the job.
Step 4: Remove and Store Equipment
Now remove anything that doesn’t need to stay in the pool.
That includes removable ladders, accessories, floating dispensers, and cleaning equipment. Rinse and dry your solar cover before storing it somewhere protected.
Your robotic cleaner should already have completed its final cleaning cycle.
Take it out, clean the filters, rinse the robot, drain it, and follow its storage instructions. Keep the power supply dry and protected, too.
For a salt system, follow the manufacturer’s winterizing procedure for the cell and flow components. Don’t assume they’re protected just because the generator is switched off.
An inline UV system needs attention as well. With something like a SpectraLight, follow the manual for draining and protecting the chamber and quartz sleeve.
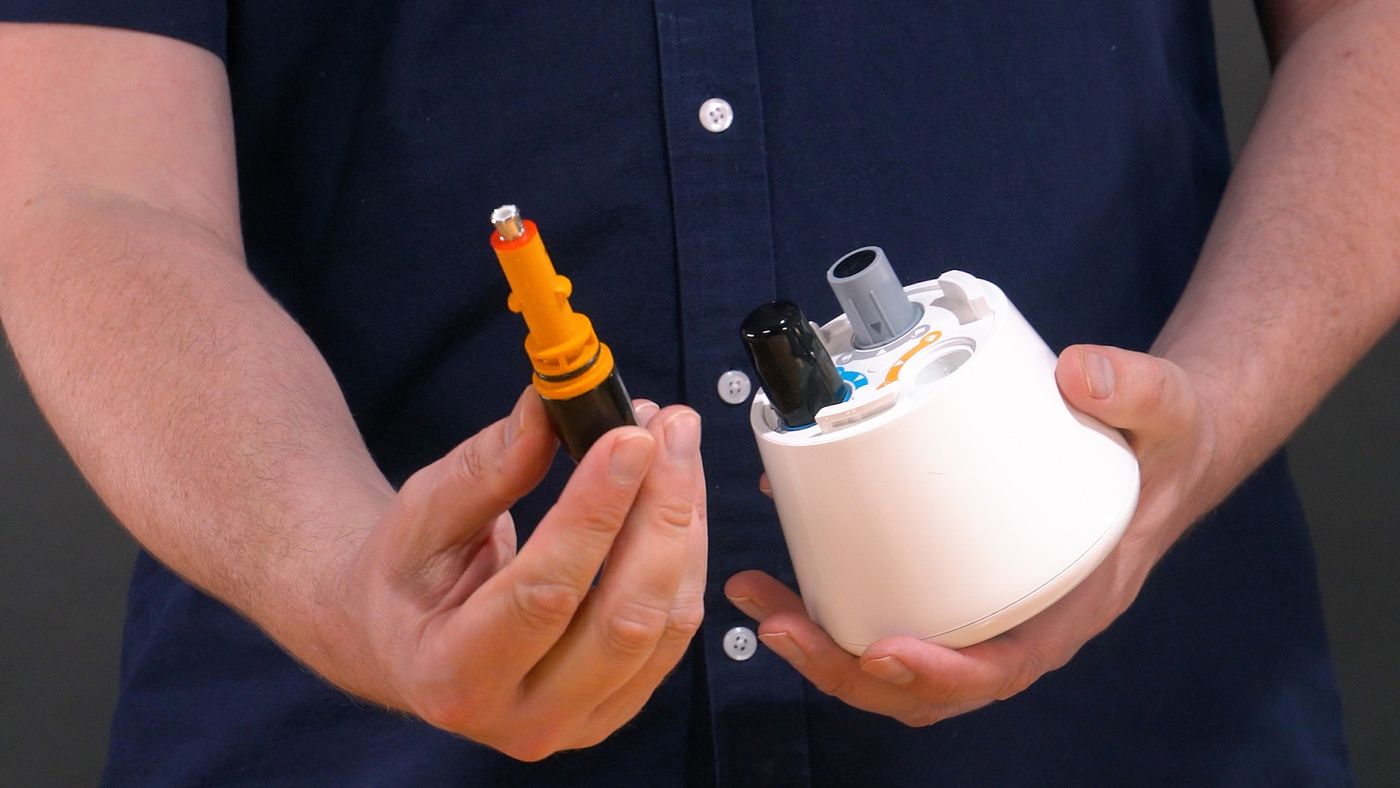
And take out your floating water monitor.
For an ICO, storage includes protecting the pH and ORP probes with their caps and the recommended KCl storage solution. Don’t rinse it and leave those sensors exposed to dry out. Follow Ondilo’s instructions for charging, switching off, and indoor storage.
Step 5: Cover the Pool
Now you can cover it.
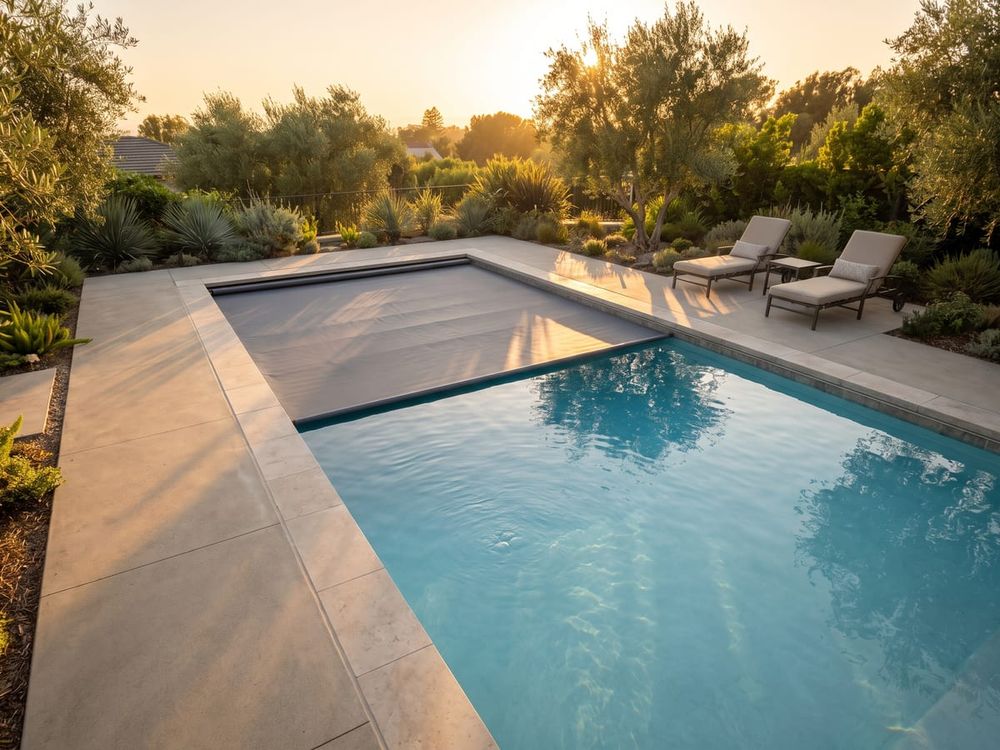
For a pool that closes every winter, I prefer a properly fitted, anchored safety cover.
But make sure it’s actually a safety cover—not simply a product described as a “winter cover.” A basic tarp-style cover is not interchangeable with a cover designed and tested for safety.
Inspect the material, straps, springs, and anchors before installation. Secure everything according to the manufacturer’s instructions.
Mesh and solid covers work differently.
Mesh allows water to pass through, and its ability to block sunlight depends on the material. Solid covers block light but need a way to manage water collecting on top, whether that’s an approved drainage system or a cover pump.
With a solid cover, follow the cover-pump instructions and monitor the pool’s water level as well. A pump on a damaged or submerged cover can sometimes remove pool water—not just rainwater.
And closing doesn’t mean you never check the pool again.
Inspect the cover after storms, remove accumulated debris safely, and watch for changing water levels. Arrange water checks and treatment as required, especially during warm spells and as spring approaches.
Keep children and pets away from the cover. Even a safety cover is not a surface to walk or play on.
The Biggest Pool-Closing Mistakes to Avoid
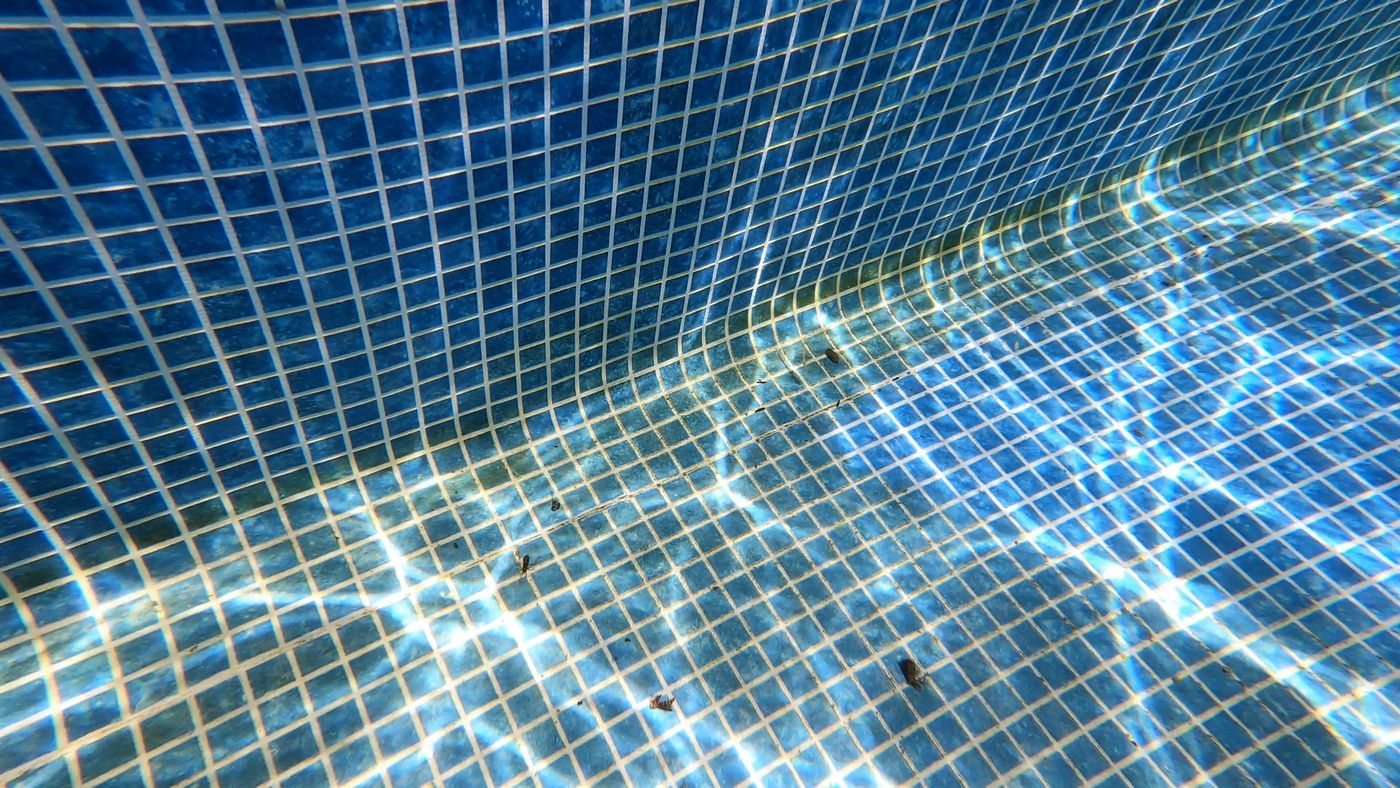
The first mistake I see way too often when closing a pool is covering a dirty or green pool.
Fix the water problem before closing. Don’t hide it until spring.
Another is treating closing chemicals like freeze protection. Perfect water chemistry will not protect a pump or heater left full of water in freezing conditions.
Then there’s draining too much water.
For a permanently installed pool, don’t empty it just to close it. Removing the water can leave the structure vulnerable to surrounding ground pressure. Lower it only as required for your pool and closing setup.
I’d also avoid assuming every piece of equipment drains the same way.
One forgotten heater connection or accessory can undo an otherwise careful shutdown. Work through the equipment individually.
And finally, don’t install the cover and ignore it for months.
A small cover problem or falling water level is easier to address before it becomes a much bigger one.
Closing vs. Winterizing Your Pool: What’s the Difference?
People often use “closing” and “winterizing” to describe the same end-of-season service.
In a cold climate, that makes sense. A proper closing generally includes winterization.
But here’s the practical distinction:
Closing is preparing the pool for the off-season. Winterizing is the freeze-protection work that may need to be part of that process.
Cleaning, balancing the water, storing accessories, and installing the cover prepare the pool for reduced use or a seasonal shutdown.
Clearing and protecting the lines, draining vulnerable equipment, and protecting the skimmer address freezing.
They overlap, but they aren’t two different chemical treatments.
In a mild climate, you might stop swimming while keeping the pool operational. You continue filtering, cleaning, testing, and maintaining sanitizer. That is different from a fully shut-down, winterized pool.
What I would not do is stop all circulation and sanitation simply because the cover is on.
And a generally mild climate doesn’t mean freeze protection can be ignored.
Equipment with a freeze-protection setting may automatically run designated pumps or features when temperatures fall. But those settings depend on the system being correctly configured and able to operate. They aren’t the same as draining and winterizing the equipment—and a pump cannot circulate water during a power outage.
So decide which approach you’re taking: maintaining an operational pool through the off-season, or completing a proper seasonal shutdown.
Don’t accidentally end up halfway between the two.
My Final Verdict
Closing your pool comes down to preparing the water, protecting the equipment, and keeping the pool secure until you’re ready to use it again.
Get it clean. Balance and treat the water. Complete the plumbing and equipment shutdown your climate requires. Store the accessories properly. Then install and maintain the cover.
The goal is to make opening day uneventful.
You want to remove the cover and get back to enjoying the pool—not start diagnosing everything that went wrong while you weren’t looking.
Save this video before closing day so you can pull it up when you’re standing at the equipment pad.
For more straightforward pool-maintenance videos like this, subscribe to The Pool Nerd.
And for the equipment I use and the best deals I can find on covers, cleaners, chemicals, and other pool gear, head over to ThePoolNerd.com/deals.
Until next time, keep nerding out and enjoy that pool.

Comments
Loading comments…