No pool owner loves to winterize their pool. And most pool owners don’t even know WHEN to winterize their pool.
But it is a vital piece of maintaining and keeping your pool ready for the next year. If you don’t winterize properly, you can end up with a cracked heater, leaking plumbing, or a green swamp. So, I am going to show you how to avoid all that in just a few simple steps.
And the biggest mistake people make is thinking winterizing is all about chemicals.
It’s not.
The chemistry matters, but a big part is your pool's plumbing. If water gets trapped inside your pipes, pump, filter, or heater and freezes, that’s when things start breaking. So, I’ll show you how to avoid all that and more.
Hey there, I’m Justin, your resident pool aficionado, and today I’m going to show you exactly how I’d winterize a pool, when you should actually close it, the five steps that matter most, and a few mistakes that can cost you a lot of money when spring comes around.
And if you’re closing your pool soon, save this video. This is one of those jobs where having the steps in front of you while you’re doing it makes life a whole lot easier.
Let’s get into it.
Winterizing Products at a Glance
The water-testing, chemistry, plumbing, and cover supplies used throughout this guide.
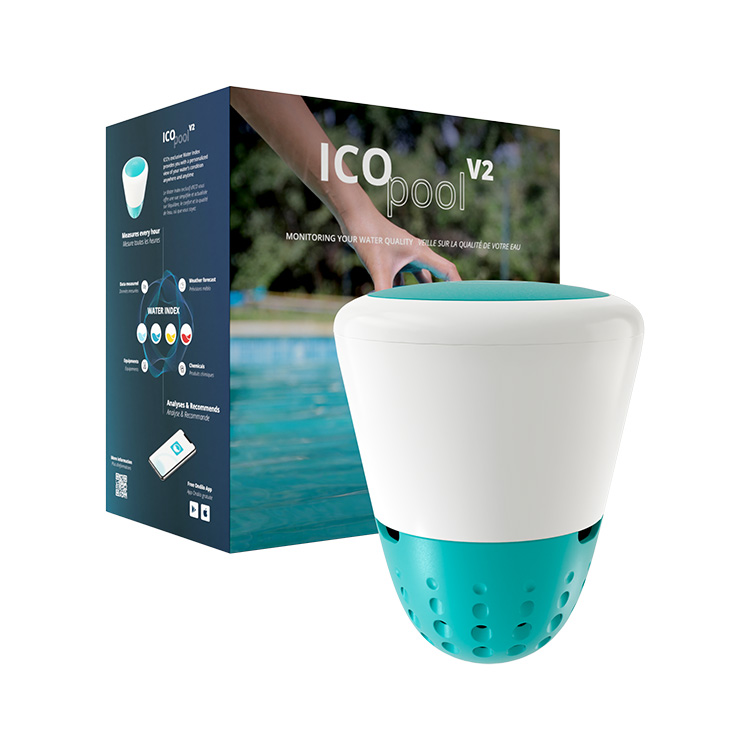
Ondilo ICO Pool Water Monitor
What it is: A floating smart monitor that samples pH, ORP (sanitizer effectiveness), and temperature on a schedule and sends trends to your phone.
Why you need it: You still need a real drop kit for parameters the ICO doesn’t replace (like TA and CYA), but hourly ORP/pH catches drift and dosing mistakes long before weekly strip checks do.
Read the full ICO review — Shop ICO direct (no Amazon listing for the hardware we run).
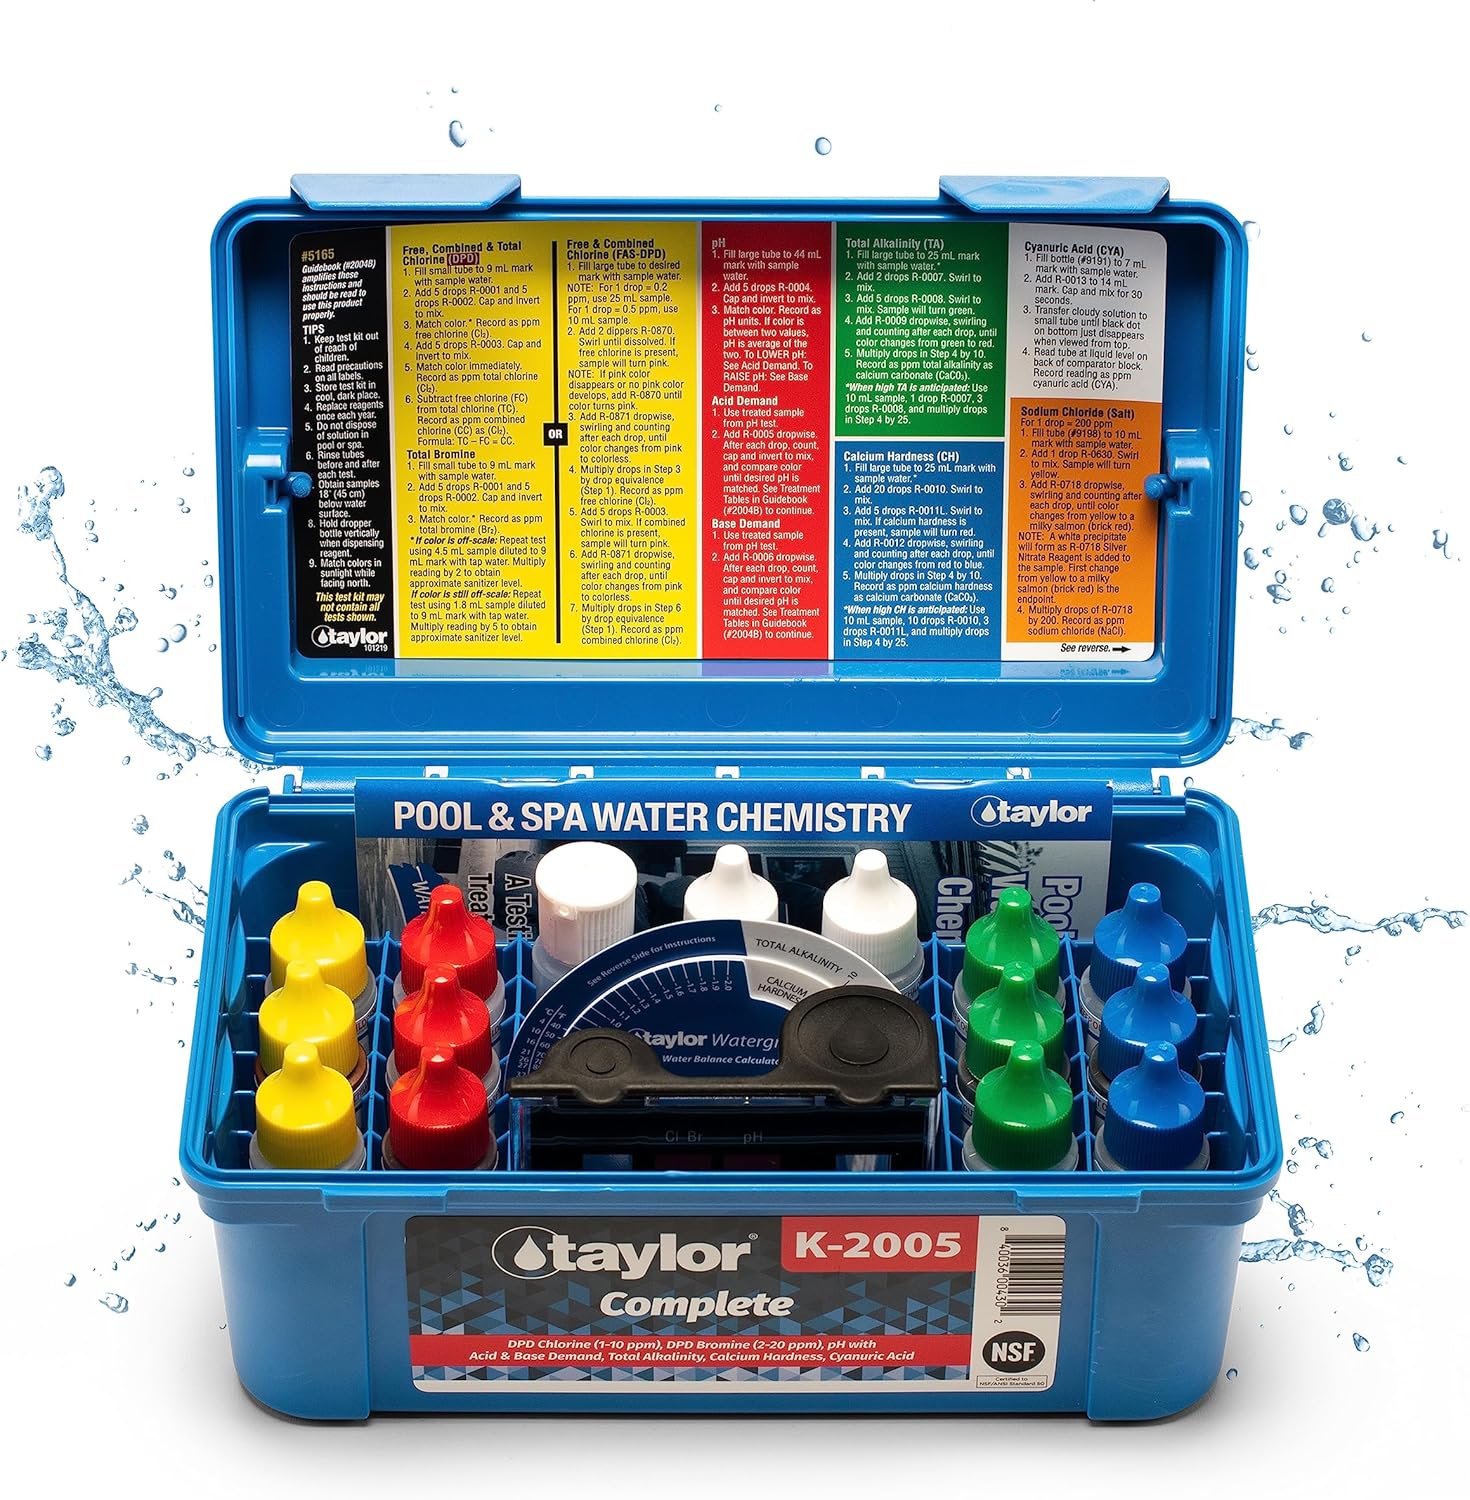
Taylor K-2005 Test Kit
What it is: A professional drop (titration) kit for chlorine, pH, alkalinity, calcium hardness, and cyanuric acid.
Why you need it: You can’t SLAM or balance blind—especially CYA, which handcuffs chlorine. This kit gives numbers you can trust, not strip guesswork.
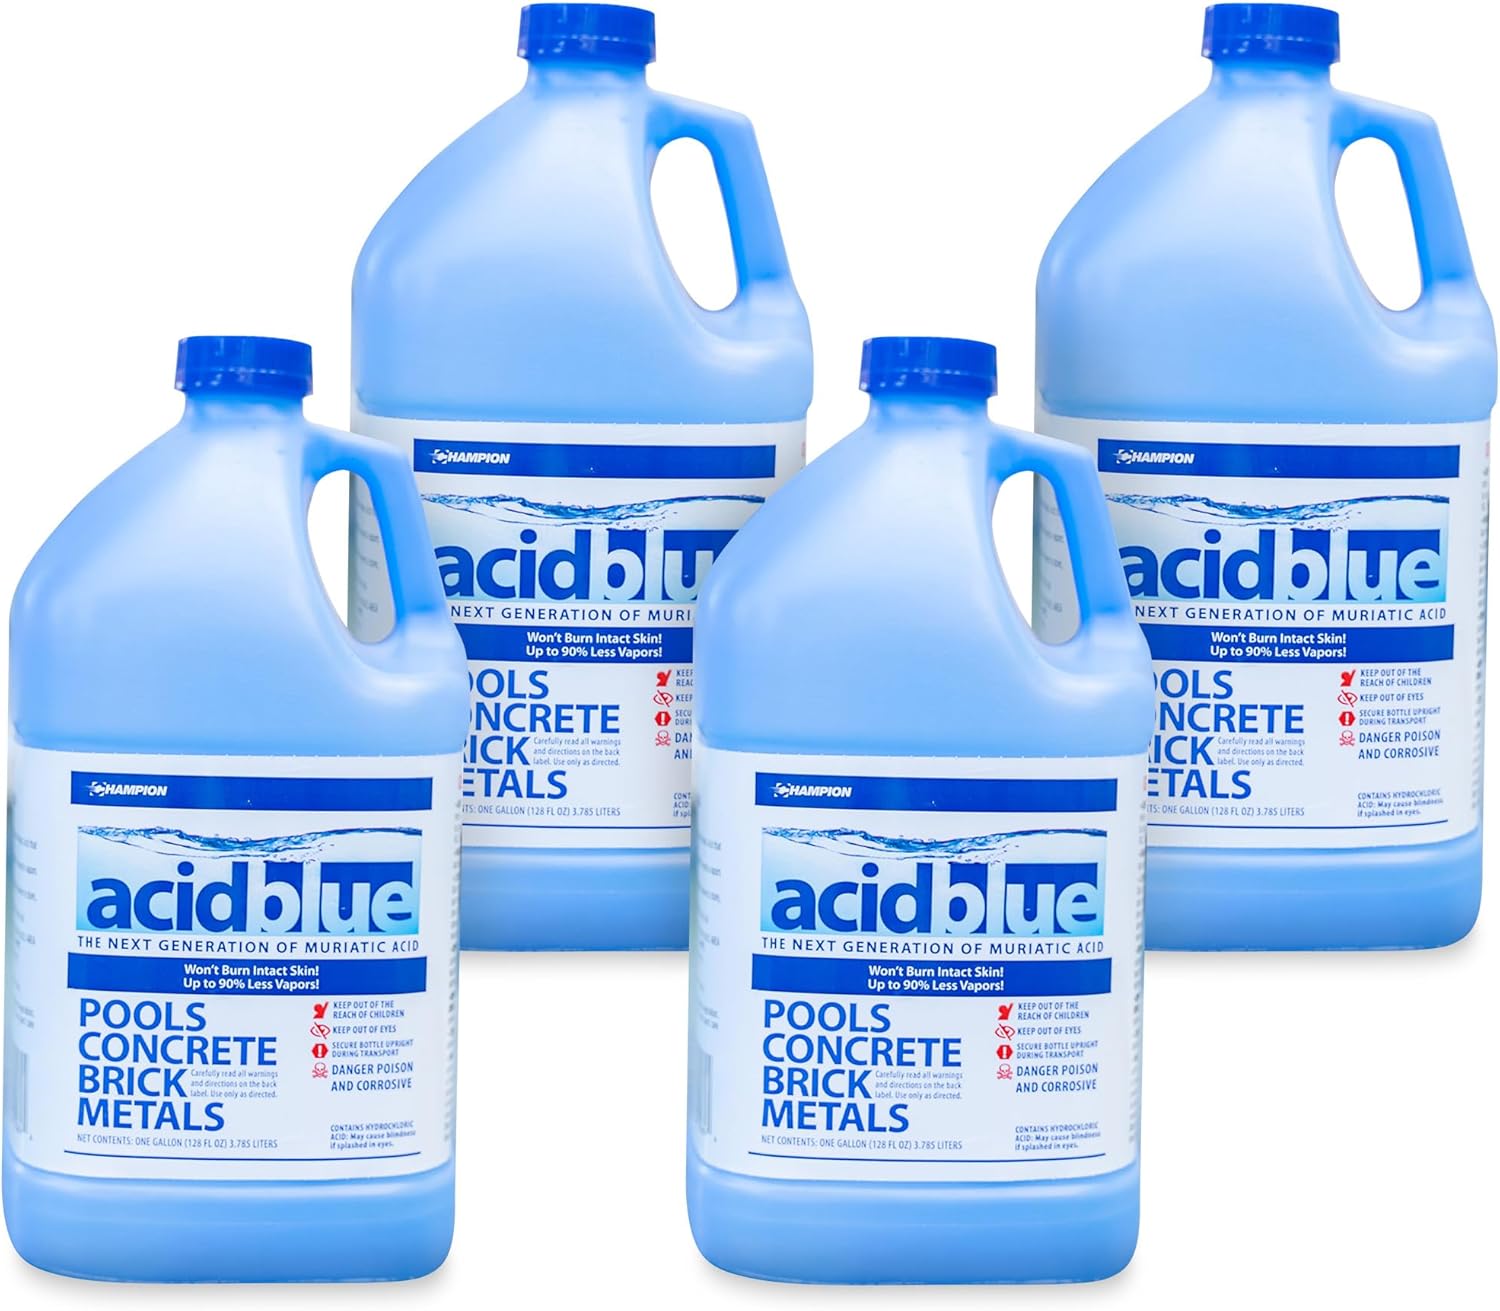
Champion Muriatic Acid
What it is: Dilute hydrochloric acid—standard for lowering pH and, with the right method, total alkalinity.
Why you need it: High pH destroys chlorine efficiency. Always follow the label; never mix acid with chlorine.
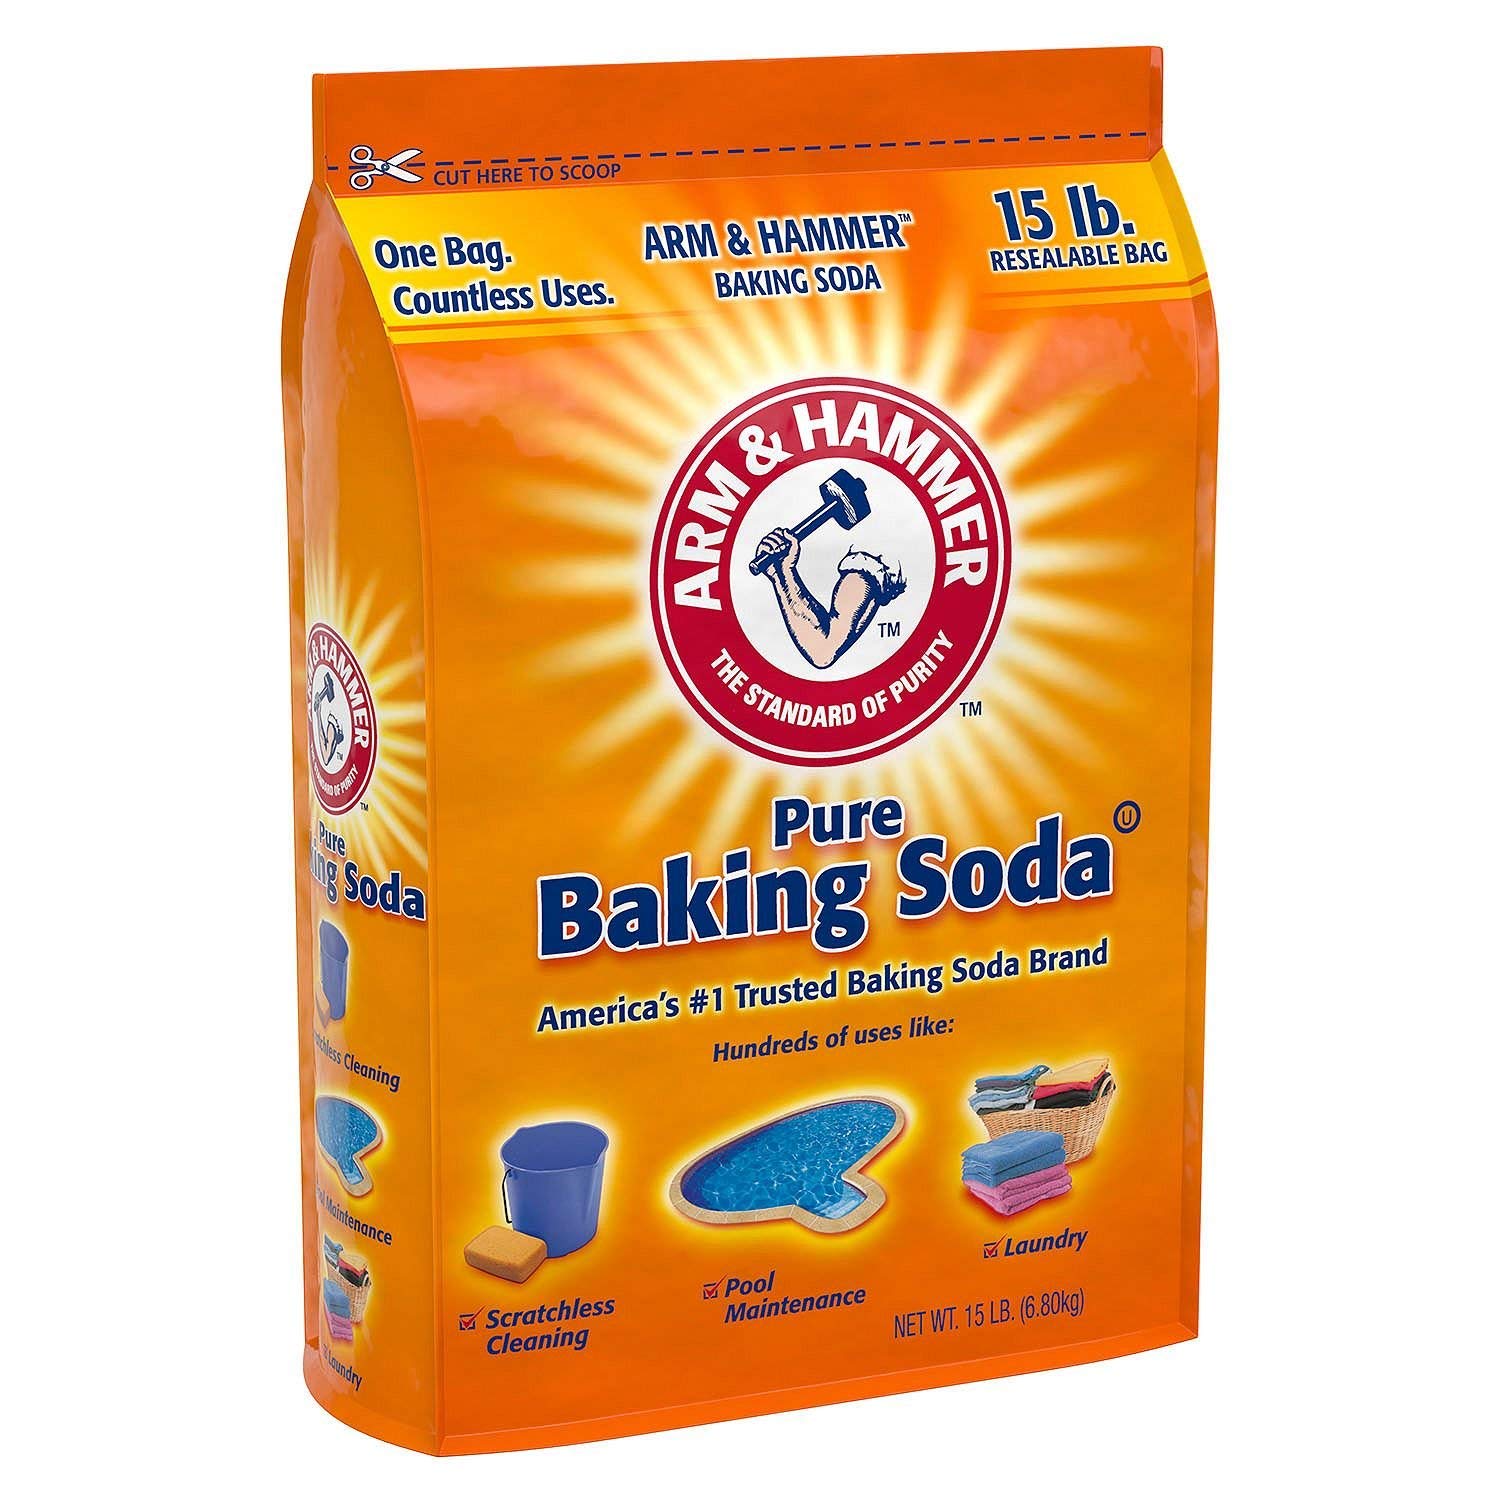
Baking soda (alkalinity increaser)
What it is: Sodium bicarbonate—the same compound as pool-store “alkalinity increaser.” Arm & Hammer 15 lb is a practical mid-size bag; USP pure 50 lb bucket is the usual pick when you want the lowest $/lb; grocery or pool-store bags work if the label is plain bicarbonate.
Why you need it: It raises total alkalinity with a gentler pH bump than soda ash. Do not use soda ash here if you only need TA up.
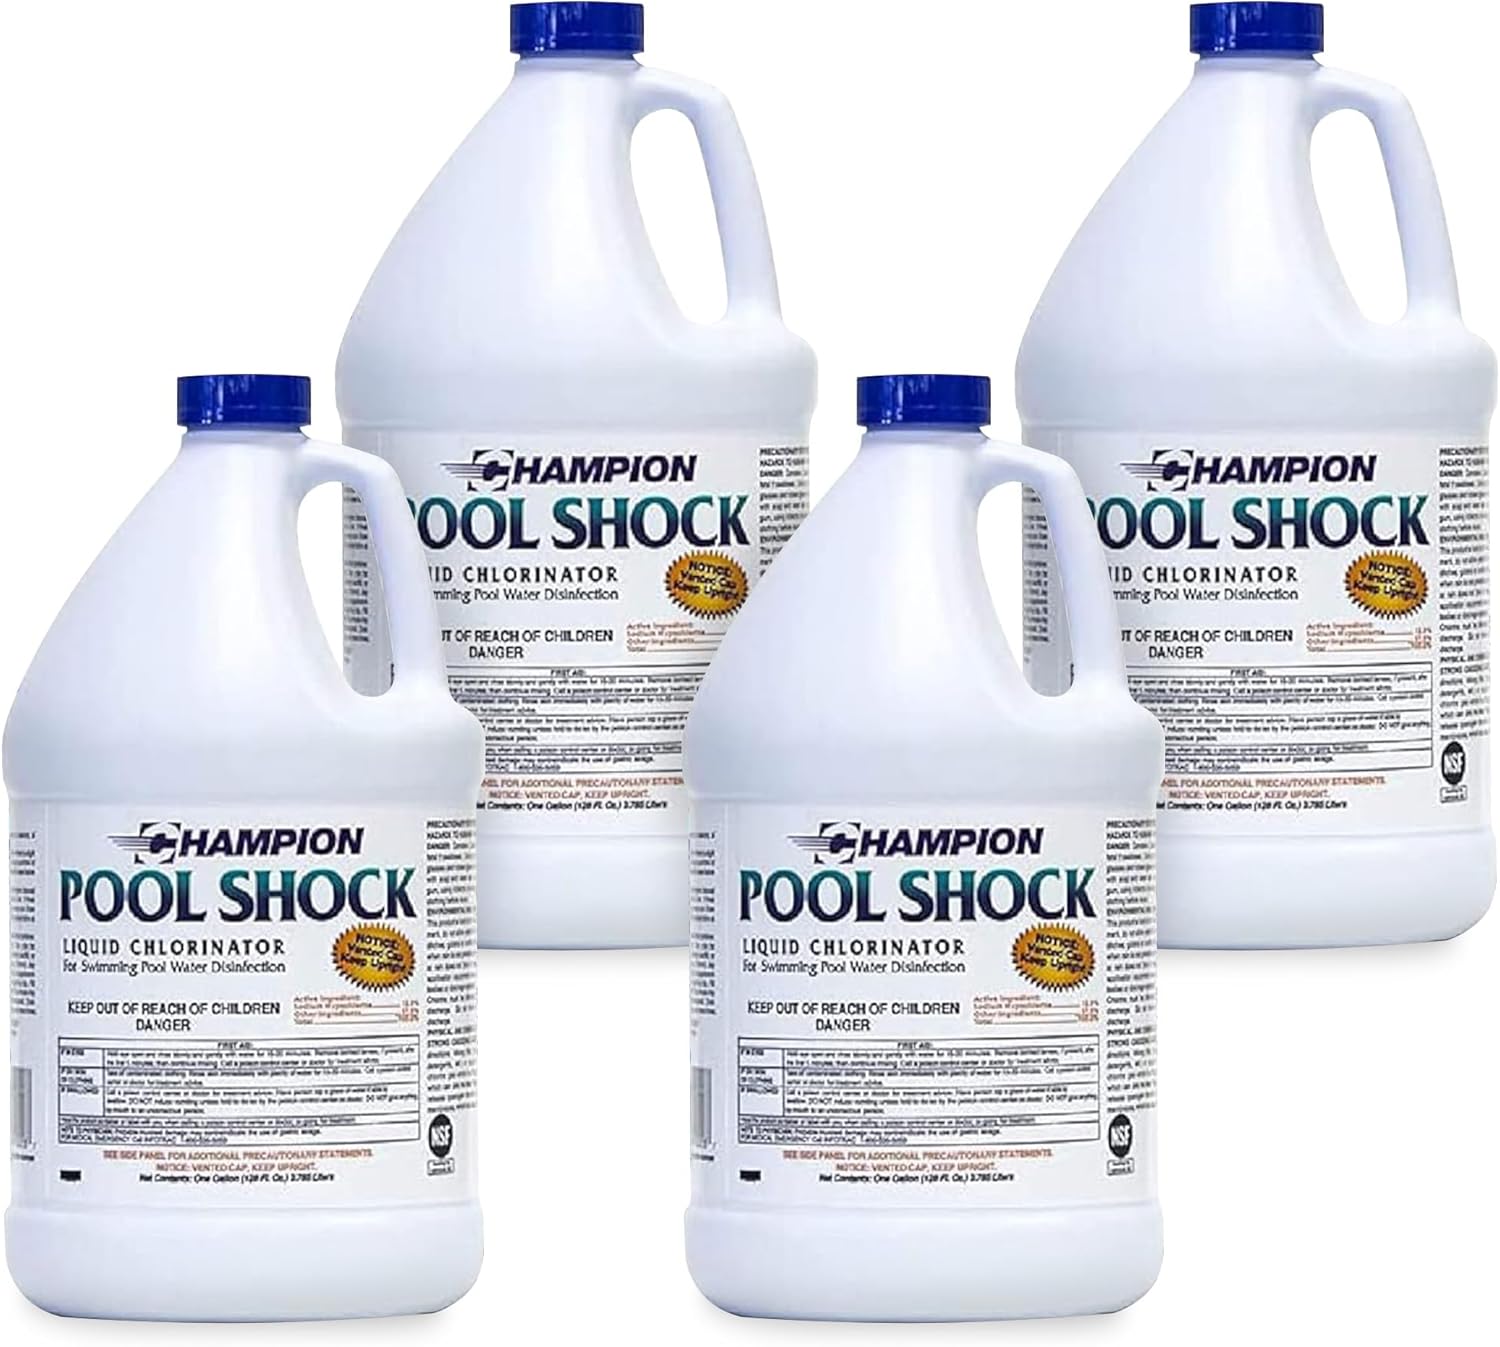
Liquid chlorine (10–12.5%)
What it is: 10–12.5% liquid shock/sanitizer—sold by the jug; shipping availability depends on seller and hazmat rules in your area.
Why you need it: For many SLAMs it’s the workhorse: no extra CYA from the sanitizer itself, fast, easy to pour. Grab fresh jugs; heat and age weaken it.
When Should You Winterize Your Pool?
Before you touch the plumbing, the first thing to get right is timing.
A lot of pool owners close as soon as swimming season is over. Labor Day passes, the weather cools off a little, leaves start falling, and the cover goes on.
But I wouldn’t use the calendar.
I’d use the water temperature.
Ideally, you want your pool water consistently below about 60 degrees Fahrenheit (or around 15.5 degrees Celcius) before you close it.
And consistently is important. One cold night doesn’t count. The actual pool water needs to cool down and stay there.
The reason is algae.
If you cover a pool while the water is still 70 or 75 degrees, you’re taking warm water, shutting down normal circulation, and expecting whatever chlorine you added at closing to protect it for months.
Eventually that chlorine gets used up. And if the water is still warm enough, algae can start growing underneath the cover.
Once the water falls below roughly 60 degrees, algae activity slows way down and your chlorine demand drops with it. That gives you a much better chance of opening to a clean pool in the spring.
So whether that happens in September, October, or November doesn’t really matter. The important part is getting the steps on how to winterize right – not when.
So, watch the water temperature, not the calendar.
POOL NERD PRO TIP
If you use something like an Ondilo ICO, just watch the water-temperature trend in the app. Once the pool drops below 60 and stays there consistently, that’s a much better signal to close than whatever the weather forecast says as water tempature is not the same as the air tempature
Step By Step – How To Winterize Your Pool
Step 1: Clean the Pool
Before you shut anything down, get the pool as clean as possible. You never want to winterize a green pool.
Whatever you leave in there now is going to sit there for months.
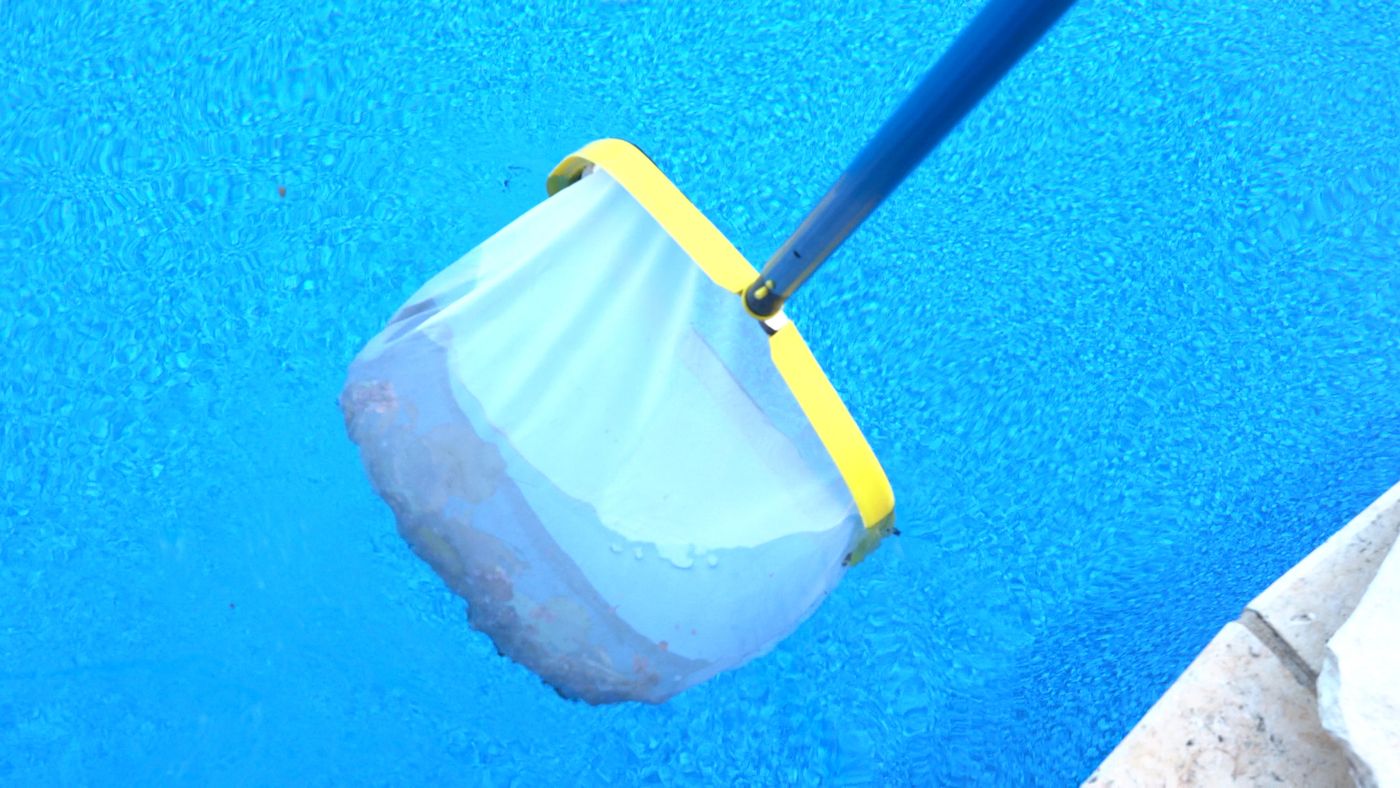
So skim the surface, brush the walls, clean the steps and waterline, and then run your robotic pool cleaner.
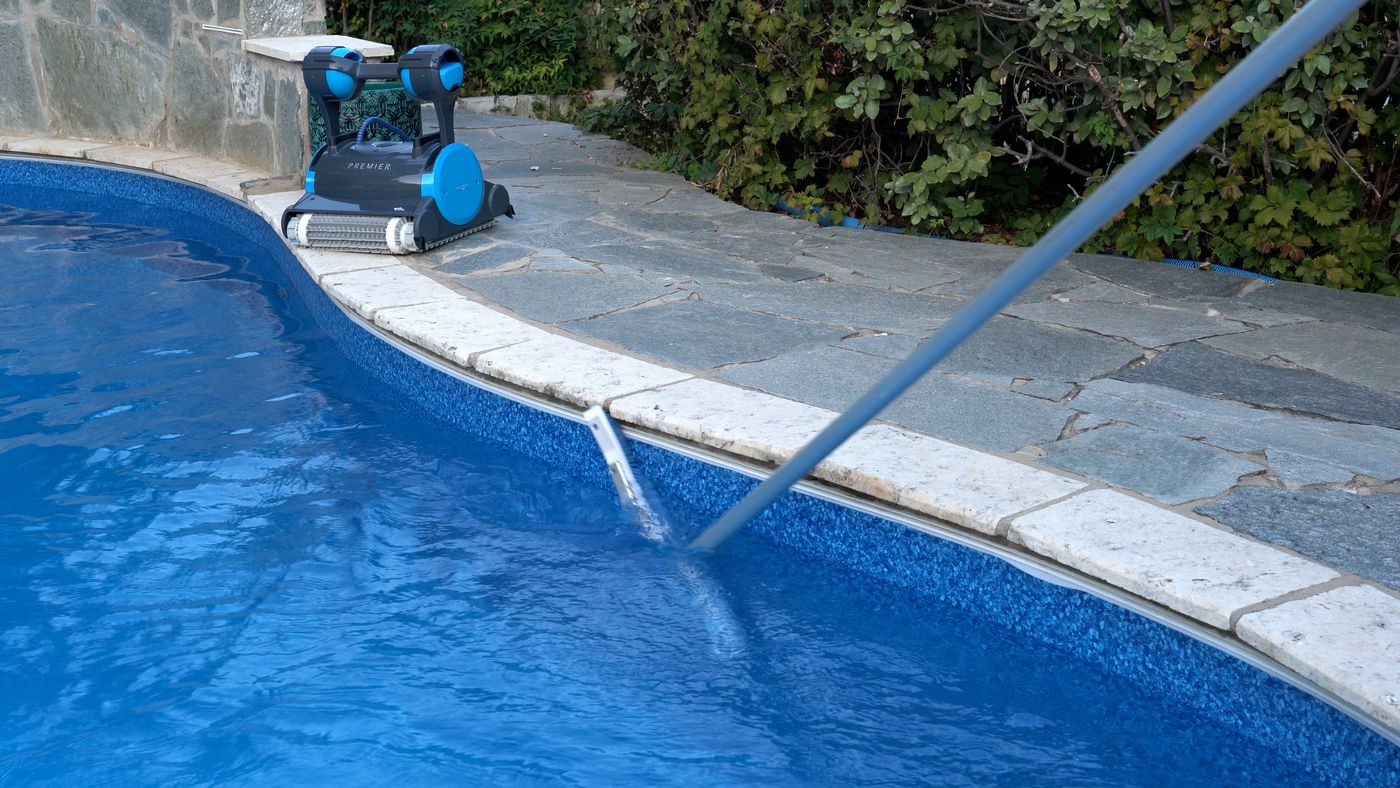
If your robot has a finer filter option, I’d use it here. On some Dolphin cleaners, for example, I’d run the NanoFilters because I want more than just the big leaves. I want the dirt, pollen, silt, and fine organic material out too.
That stuff matters because it creates chlorine demand. Every leaf and every pile of dirt left behind gives your sanitizer something else to work on all winter.
I’d also clean your main pool filter before closing.
If you have a cartridge filter, pull the cartridges and rinse them thoroughly. If you have sand or DE, give it a proper backwash.
You don’t want to shut the system down with months of dirt sitting inside the filter.
The cleaner the pool is going into winter, the easier the opening should be.
Step 2: Balance the Water
Once the pool is clean, then I’d deal with chemistry.
This is also where I think winterizing gets made way more complicated than it needs to be.
You’ve probably seen those big winterizing kits with shock, algaecide, stain treatment, scale treatment, and some kind of floating dispenser.
I’m not saying every product in those kits is useless, but I also wouldn’t automatically dump five chemicals into the pool just because the box says “winter.”
The basic chemistry still matters more.
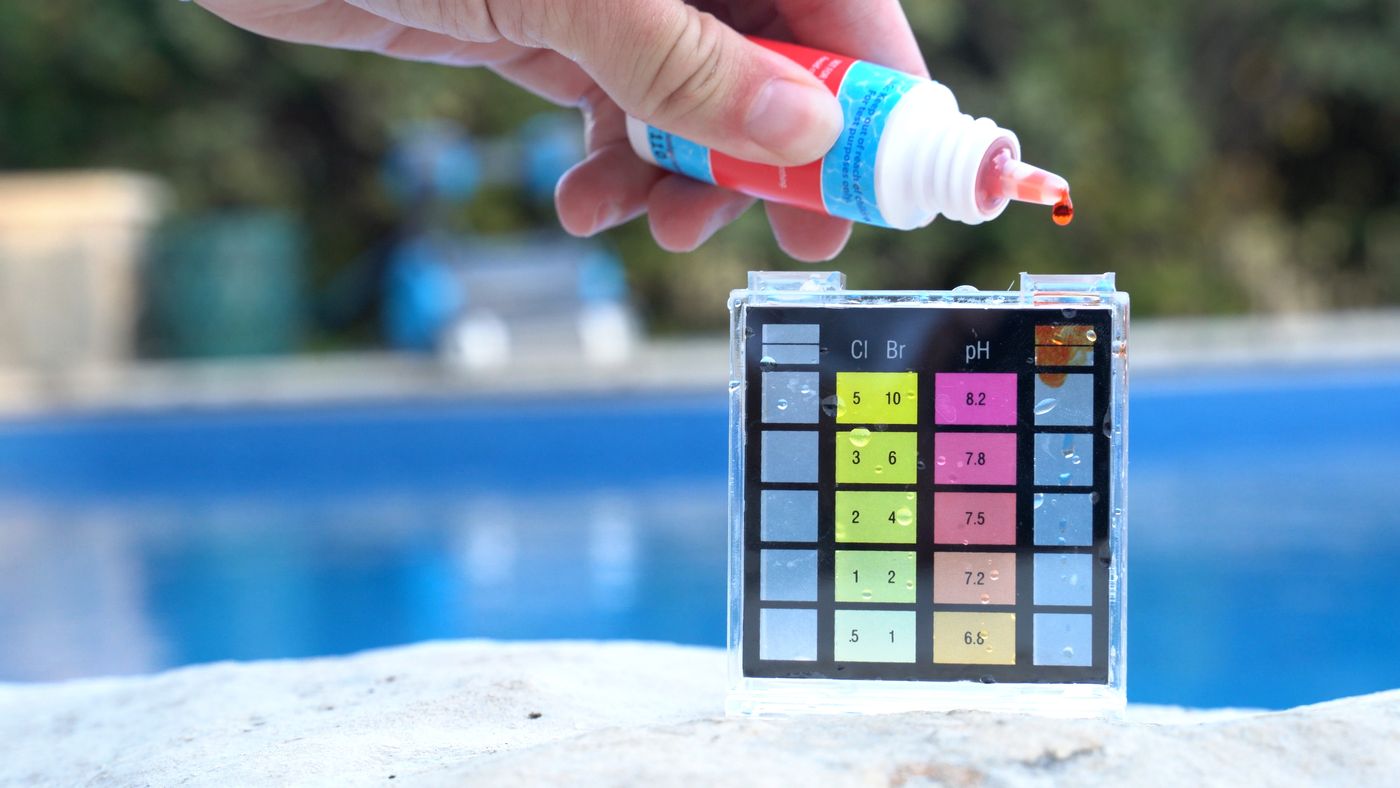
I want the pH where it should be, alkalinity in range, and enough chlorine in the water to carry it into the colder months.
Start with pH.
For vinyl and fiberglass pools, I’d generally aim around 7.0 to 7.4.
For gunite, closer to 7.2 to 7.4.
If the pH is too high, muriatic acid is what I’d use to bring it down. If alkalinity needs to come up, sodium bicarbonate works just fine — which is basically what you’re buying in a lot of products labeled “Alkalinity Increaser.”
Then I’d handle chlorine.
My normal guideline is free chlorine around 7.5 percent of your CYA level – which should result in an ORP of 750mv to 850mv, and heading into winter I’d rather be comfortably within that range than barely hanging onto the bottom of it.
And don’t forget, if you don’t know how or what ORP is, make sure to check out my page on orp at ThePoolNerd.com/orp where I cover what it is, why it is important, and how to measure it.
For chlorine, I like liquid chlorine — usually 10 to 12.5 percent sodium hypochlorite.
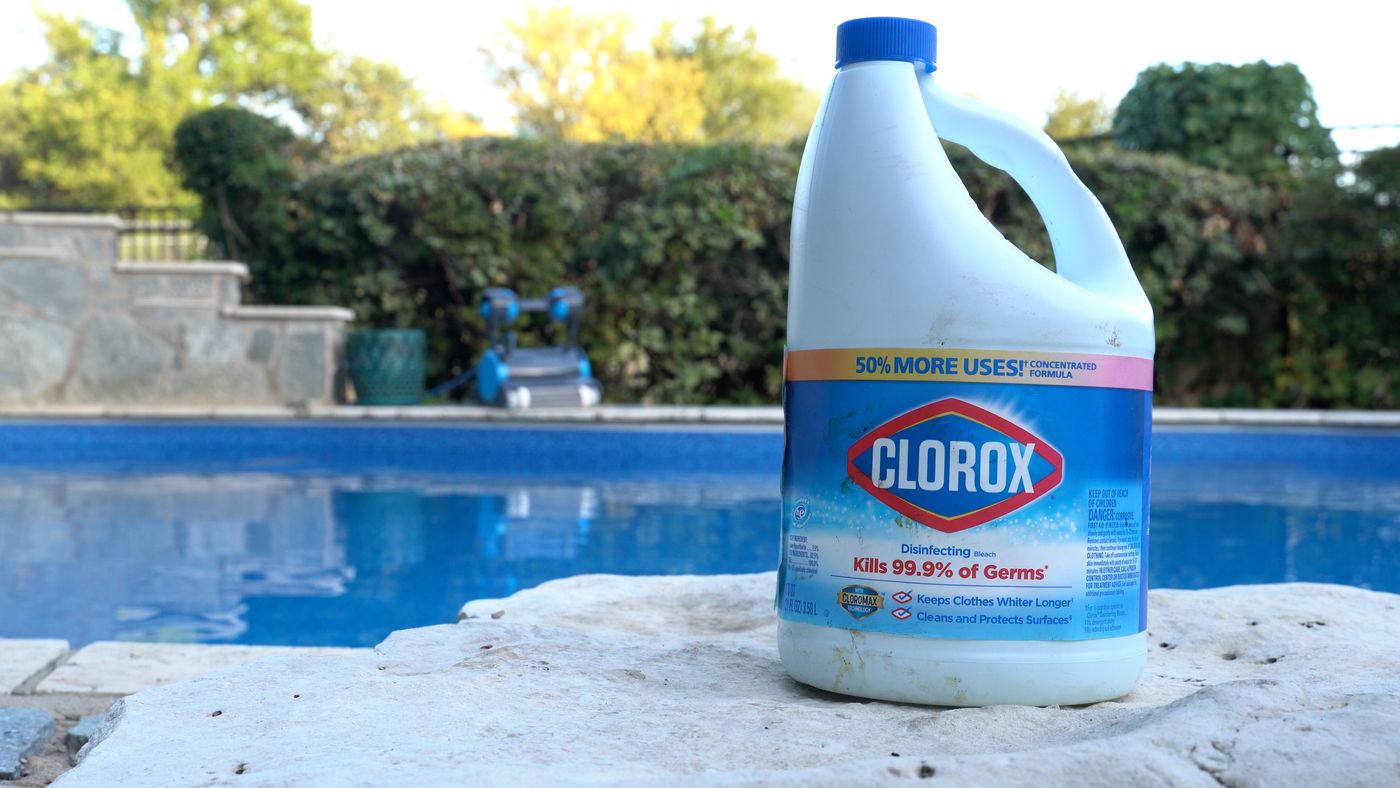
It adds chlorine without continually adding more CYA.
That’s also why I’m not a huge fan of leaving a trichlor floater under the cover all winter. Every tablet that dissolves adds stabilizer, and now you’ve got a concentrated chlorine source drifting around your pool for months.
I’d rather start with properly balanced water and a strong chlorine level.
That’s really all I’m trying to accomplish here.
But balancing your pool’s chemistry is only part of the job. The next step is the one that protects the expensive stuff: your pool equipment.
Step 3: Blow Out the Plumbing and Drain the Equipment
If you live somewhere that freezes, this is the most important part of the entire process.
The ice sitting on top of your pool usually isn’t what causes the expensive damage.
It’s water trapped inside your plumbing and equipment.
Water expands by roughly nine percent when it freezes. Inside a pipe, pump housing, valve, or heater, that expansion can crack things very quickly.
So depending on your setup, the first thing you may need to do is lower the water level.
How far depends on the pool and the cover. With some mesh safety covers, you may lower the water several inches below the skimmer. Other setups use winterizing plugs that let you leave the water higher.
Follow the requirements for your specific pool and cover rather than using one universal level.
Then blow out the plumbing.
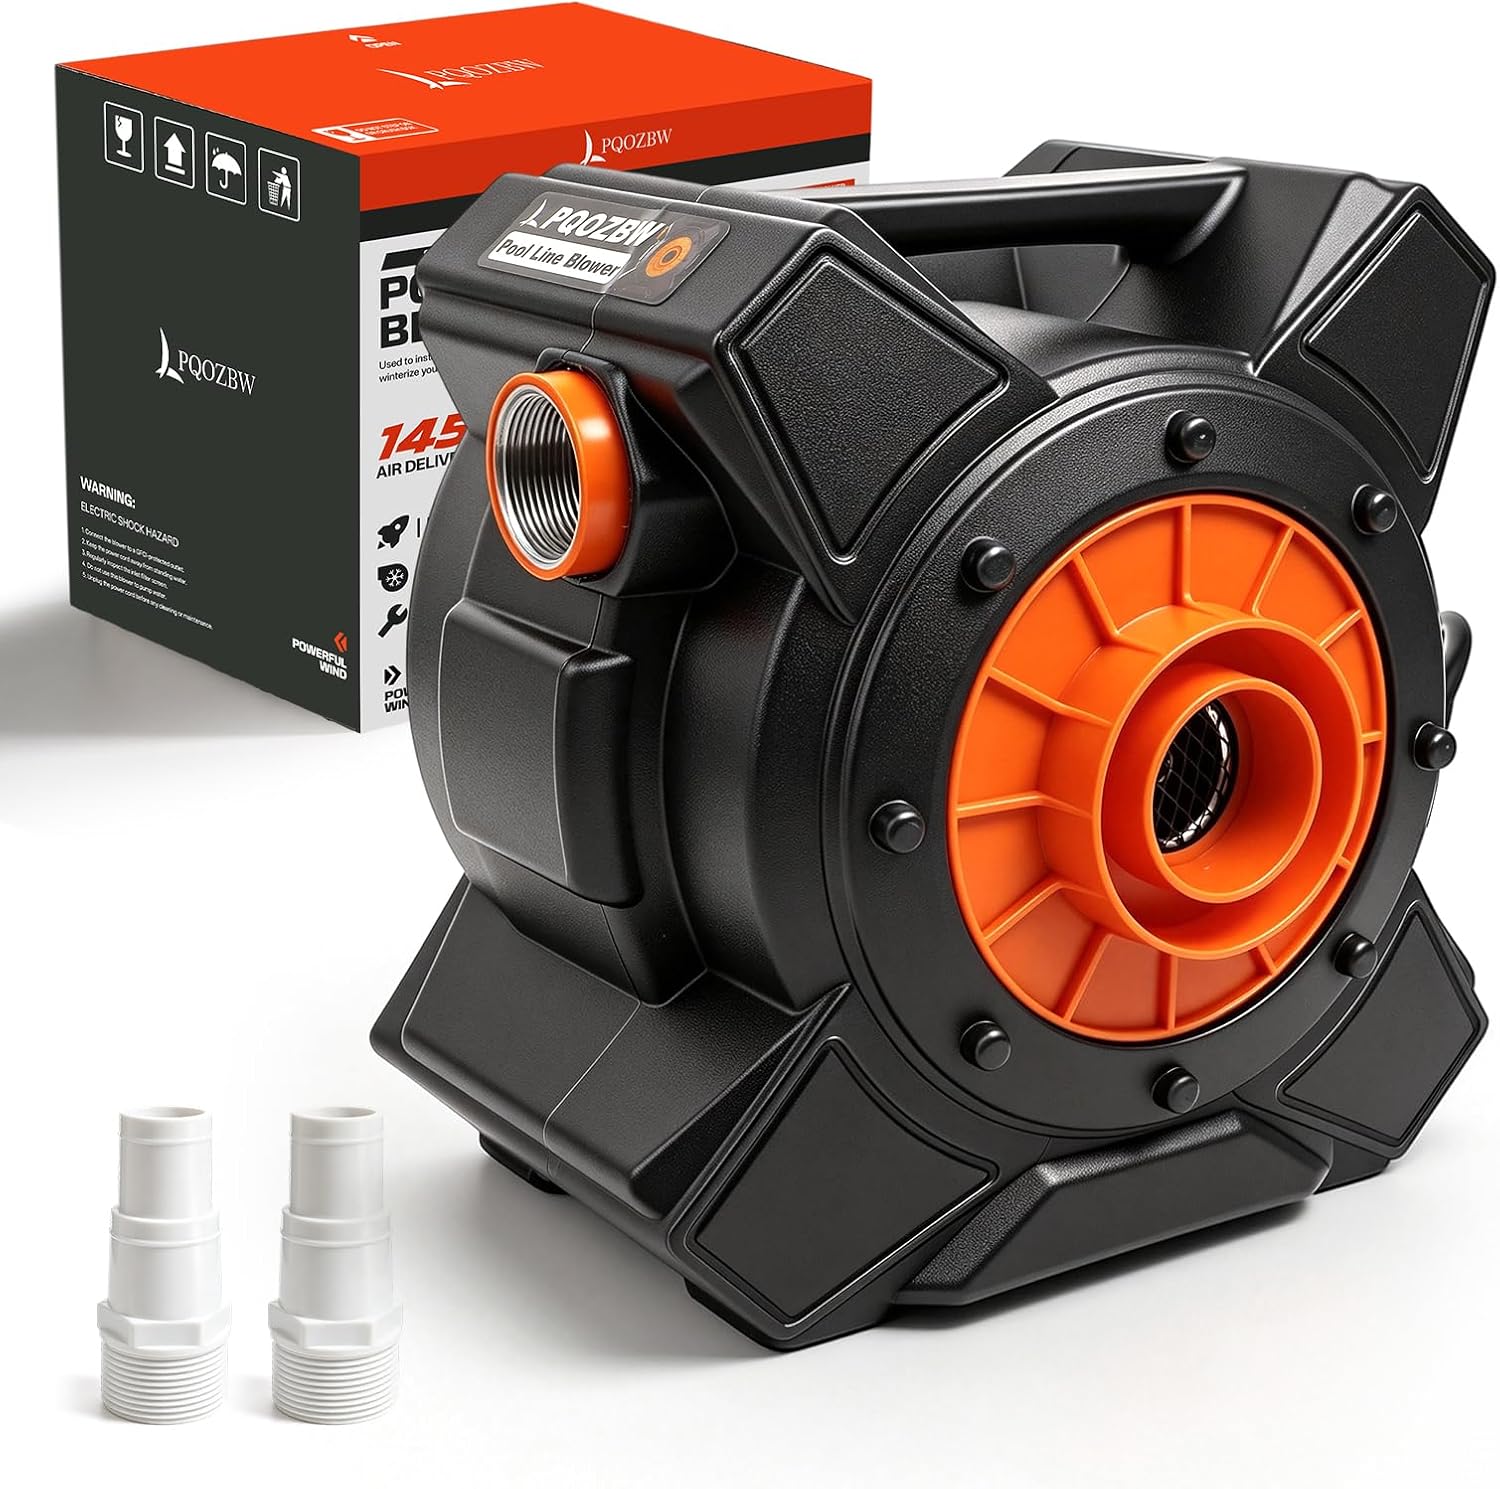
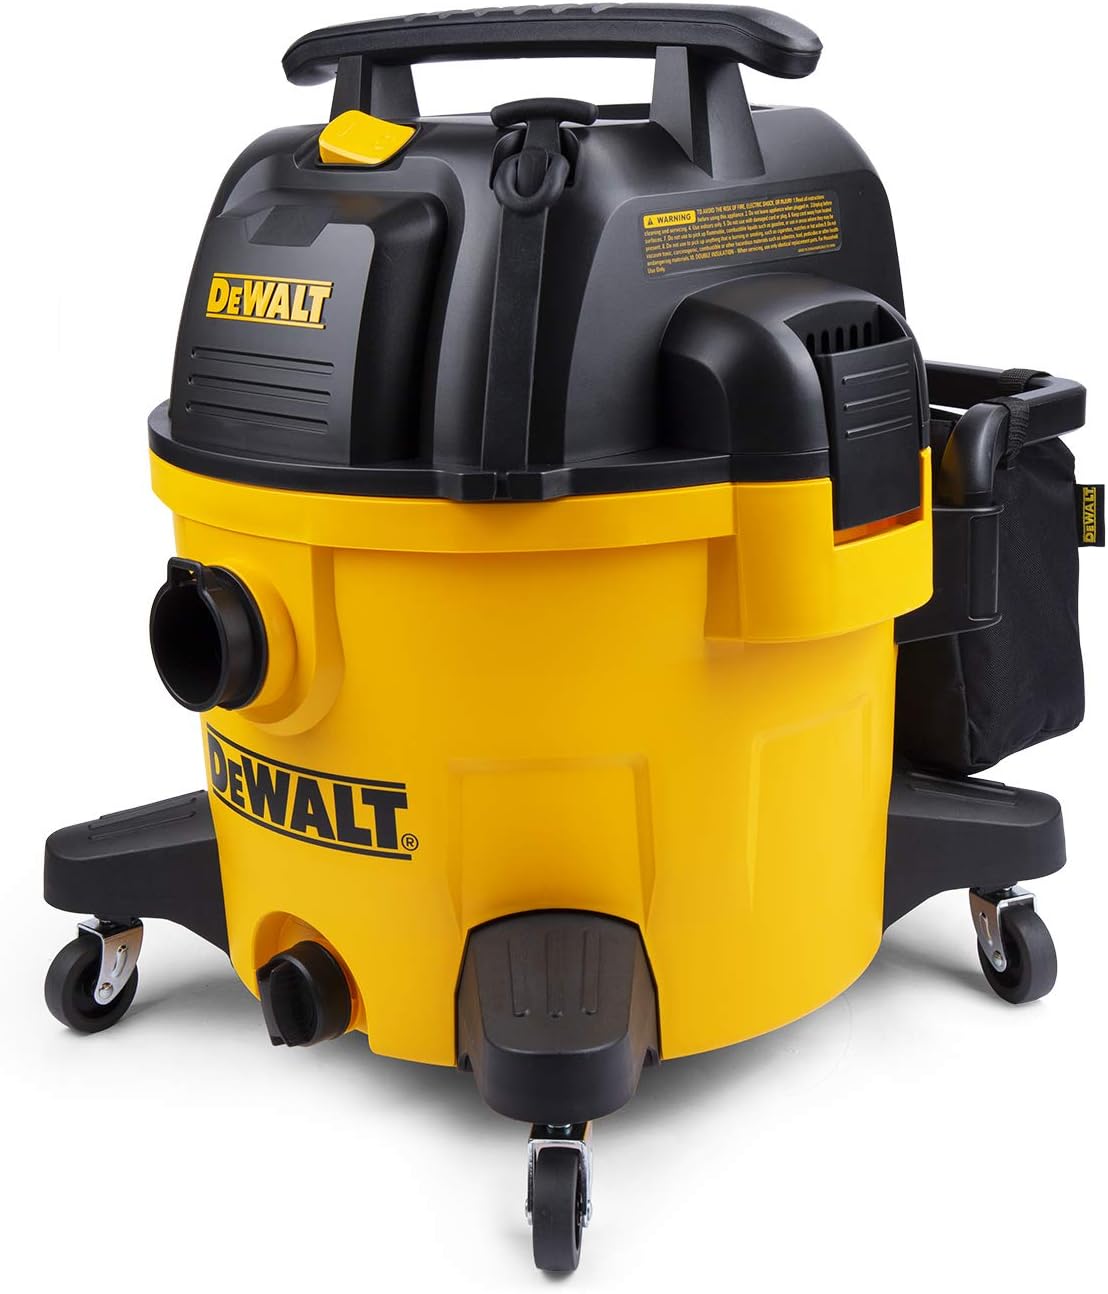
A proper pool blower is ideal, although a strong shop vac can work on some systems.
You’re forcing air through each line until the water is pushed out.
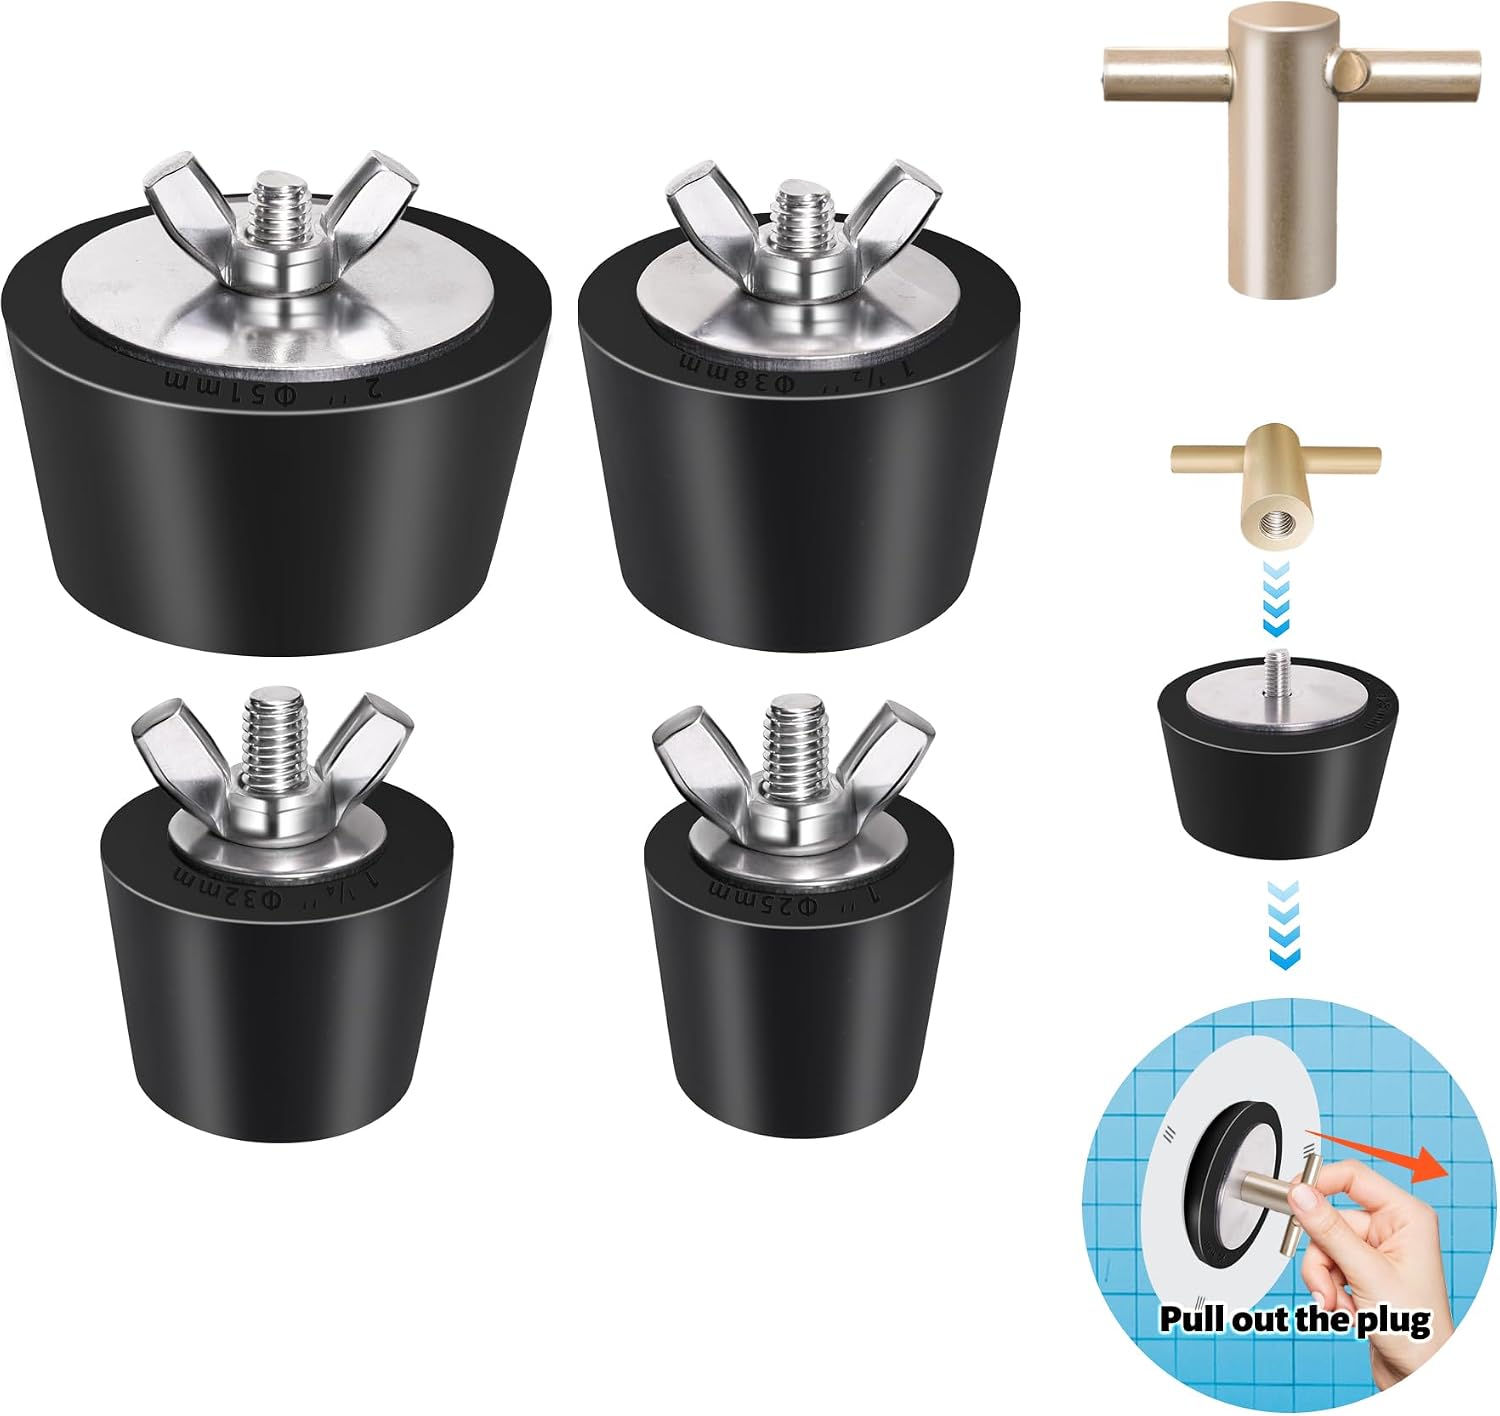
For the returns, keep blowing until you get a steady stream of bubbles, then plug each return while the air is still flowing.
Do the same thing with the skimmer line.
The main drain is a little different because you can’t physically plug it underwater.
Instead, blow air through the main-drain line until you see strong bubbles coming from the drain, then close the valve while the blower is still running.
That traps air in the line and creates an air lock.
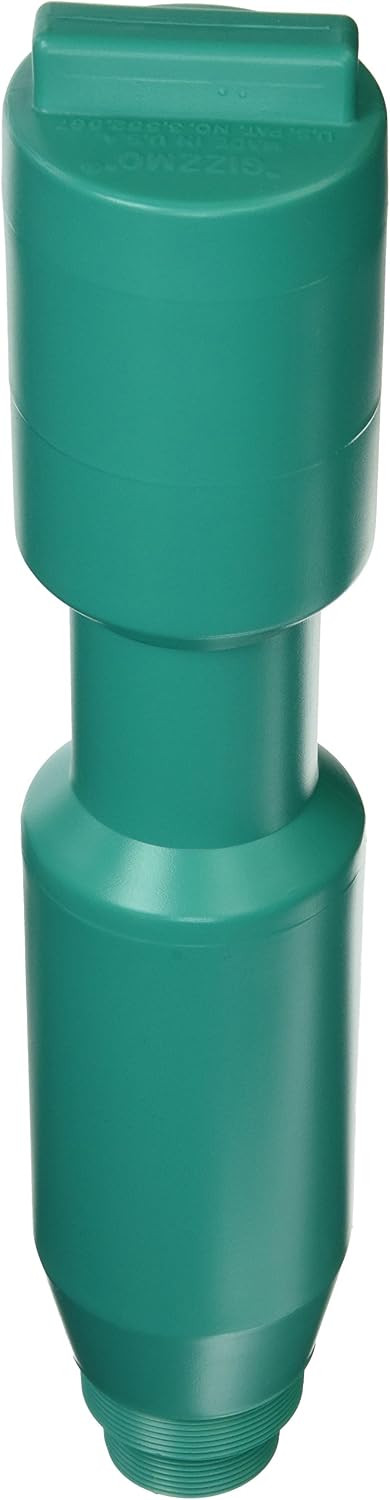
For the skimmer, I’d also use something like a Gizzmo which is freeze protection device. If water does freeze in there, it gives the expanding ice something to compress instead of putting that pressure directly on the skimmer body.
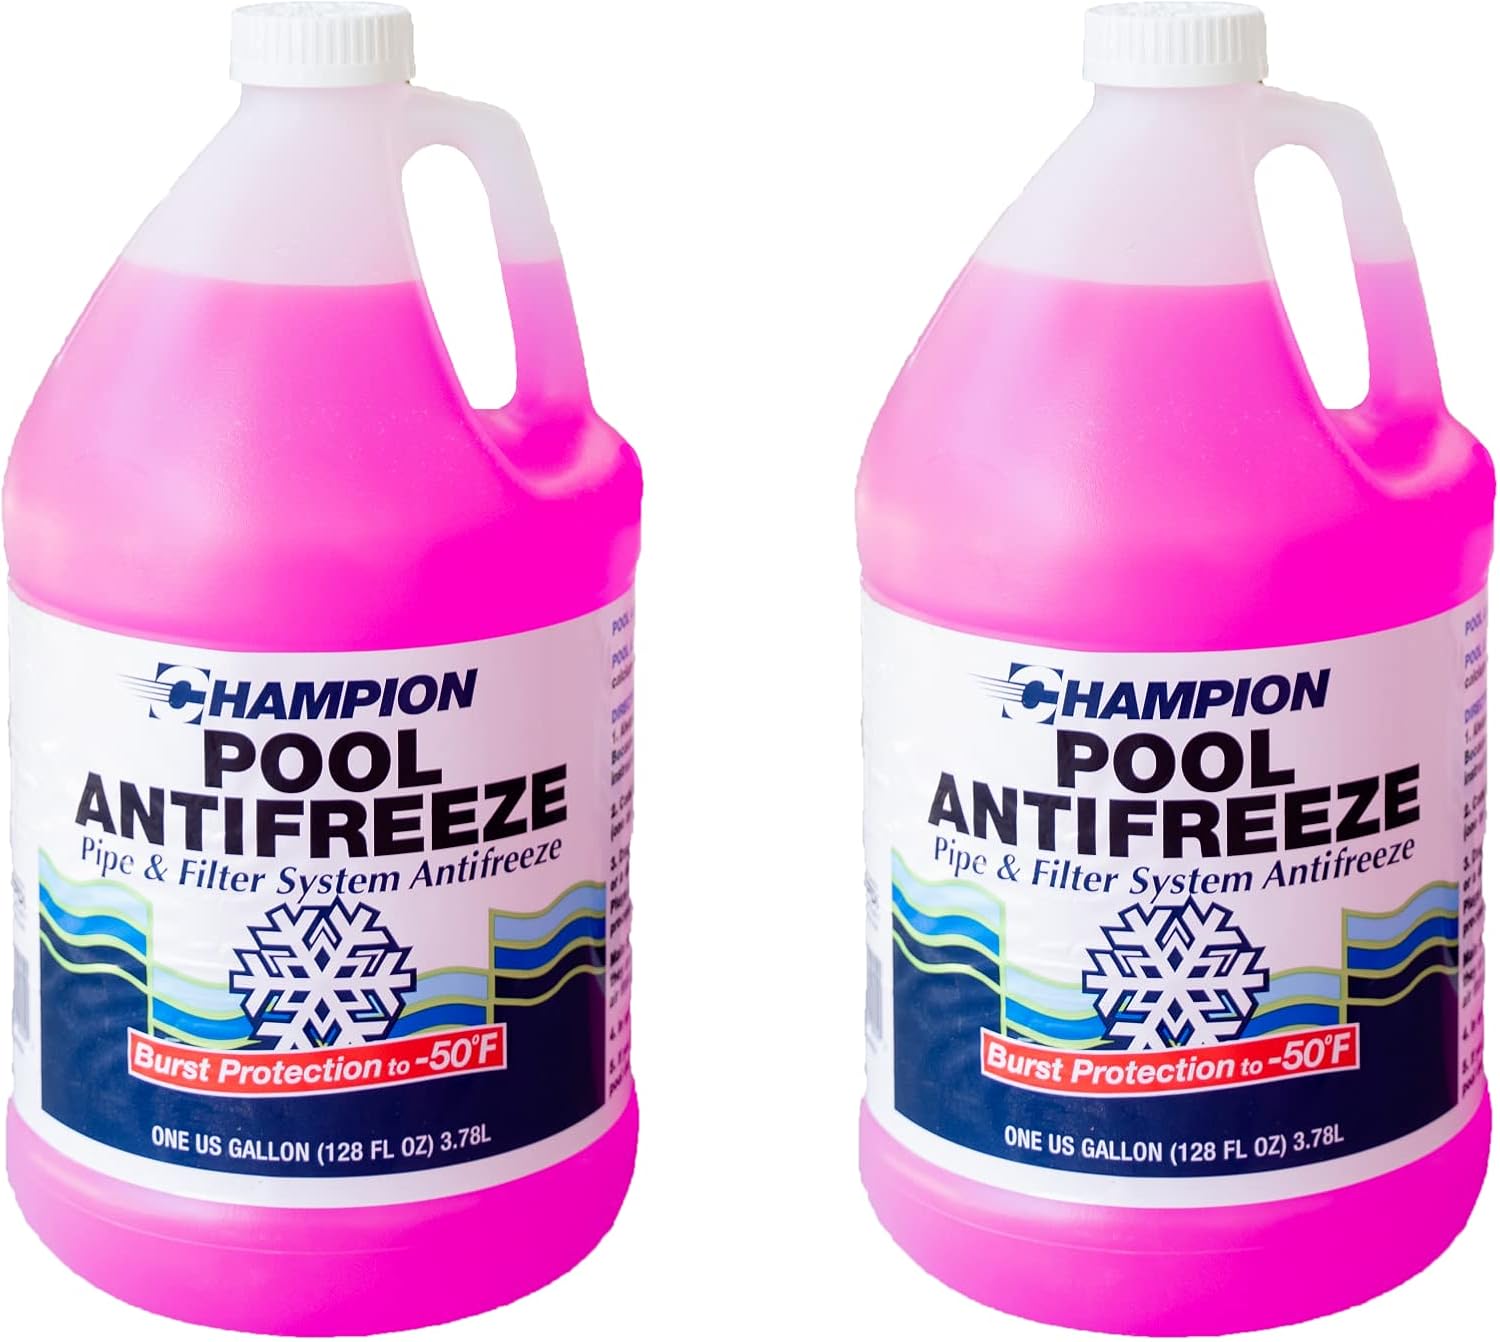
Pool antifreeze can also be useful if you have a line that’s difficult to clear completely.
But I wouldn’t use antifreeze instead of blowing the lines. Think of it as extra insurance.
And make sure it is pool antifreeze, usually propylene glycol.
Do not use automotive antifreeze. Automotive antifreeze can contain ethylene glycol, which is toxic and absolutely does not belong anywhere near your pool.
Once the plumbing is clear, move to the equipment pad.
Pull the drain plugs from the pump. A lot of pumps have two, so make sure you get both.
Drain the filter and leave the air relief open.
Drain any chlorinator or feeder.
And then check your heater.
This is one place where I would actually stop and look at the manufacturer’s manual. Different heaters can trap water internally, and a cracked heat exchanger can turn into a very expensive spring repair.
One little trick I always recommend is putting every drain plug you remove inside the pump basket.
Then when you reopen the pool months later, everything is sitting in one place.
If you remember one thing from this video, remember this:
Water trapped inside plumbing and equipment is what gets expensive.
POOL NERD PRO TIP
Before you touch anything on the equipment pad, take a few pictures with your phone.
Get the valve positions, the plumbing layout, and where everything is connected.
It takes thirty seconds and makes opening the pool in spring a lot easier.
Step 4: Remove and Store Equipment
Once the plumbing is protected, remove anything that doesn’t need to stay in the pool.
Ladders and handrails come out.
Solar covers should be rinsed, dried, and stored somewhere protected.
And your robotic pool cleaner definitely comes out.
Run it one last time, clean the filter, rinse the robot, let it dry, and store it indoors.
There’s no reason to leave an expensive robotic cleaner sitting in freezing water all winter.
I’d keep the power supply somewhere dry as well.
If you have a salt system, check the manufacturer’s winterizing instructions for the cell. Some stay installed, while others may need to be removed or drained depending on the system.
If you have an inline UV system like a SpectraLight, make sure the housing is completely drained according to the manual. Water freezing around a quartz sleeve is not something you want to discover in spring.
And if you use an ICO or another floating water monitor, take that out too, rinse it, and store it properly.
Step 5: Cover the Pool
Now you can finally cover it.
For pools that get closed every winter, I’m a big fan of anchored safety covers.
They cost more than a basic tarp-style cover, but they stay tensioned across the pool, handle wind much better, and obviously add a major safety benefit.
They can also make your spring opening much easier because you’re keeping more leaves and debris out of the water.
A traditional tarp-style cover can still work, especially if you’re trying to keep costs down, but they need more attention. They can sag, collect water, collect leaves, and become a problem in strong wind if they aren’t secured properly.
Regardless of the cover, your goal is the same: keep sunlight and organic debris out.
Sunlight breaks down chlorine, and debris creates more chlorine demand.
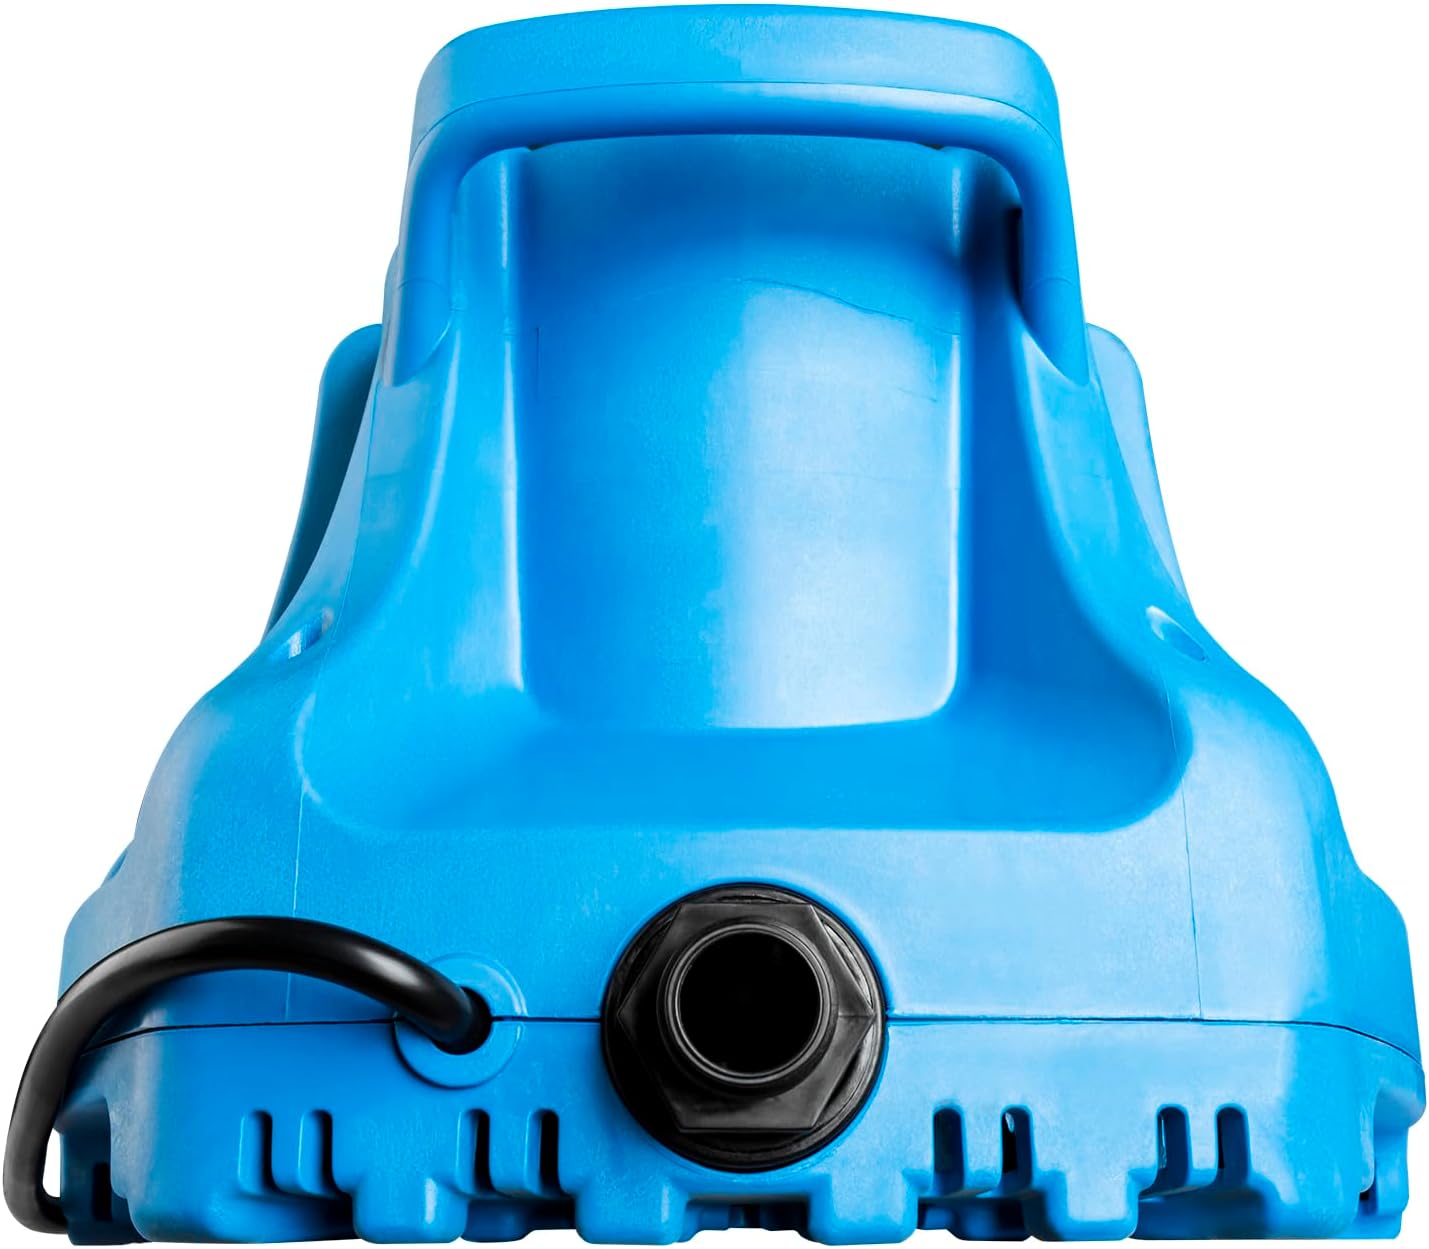
If you have a solid cover, use a small cover pump as needed to remove rainwater and snowmelt.
If you have a mesh cover, water passing through is normal. Just check the tension occasionally through the winter.
If you’re already doing everything else correctly, a good cover is one of the easiest ways to protect all that work until spring.
The Biggest Winterizing Mistakes to Avoid
There are a few mistakes I’d really try to avoid.
First, closing too early. Warm water gives algae a head start. If anything wait longer rather than winterizing too early. This is one of the rare case you may want to be more of a procrastinator.
Second, assuming a plumbing line is clear when you aren’t sure. If you didn’t get good airflow, blow it again.
Third, forgetting the equipment itself. You can clear every return line perfectly and still crack a heater if you leave water trapped inside it.
Another big one is draining the entire pool.
Do not empty your pool for winter.
The water inside the pool helps counter groundwater pressure outside the shell. Removing that weight can create serious problems, especially with fiberglass and vinyl pools.
Only lower the water as much as your winterization setup requires.
And finally, don’t confuse chemicals with winterizing.
You can have perfectly balanced water and still destroy a pump if it freezes full of water.
My Final Verdict
So what’s my final verdict on winterizing your pool?
Winterizing really comes down to a pretty simple goal.
Leave the pool clean enough that it can sit for months without turning into a mess, and remove water from anything that can crack when it freezes.
Clean the pool.
Balance the water.
Blow out the lines.
Drain the equipment.
Cover it properly.
If you do those five things well, opening the pool in spring should be pretty boring — and boring is exactly what you want.
If you’re in a warmer climate where hard freezes are rare, you may not need to traditionally close the pool at all. Keep the chemistry balanced, make sure the pump can run during cold weather, and use whatever freeze protection your equipment requires.
But if you’re in real freeze country, don’t rush this job. Spending an extra ten minutes making sure a line is actually clear is a whole lot cheaper than replacing a pump or heater in April.
If you’re closing your pool this year, save this video so you can pull it back up when you’re standing at the equipment pad.
And if you want more straightforward pool-maintenance videos like this, subscribe to The Pool Nerd.
For the equipment I use and the best deals I can find on pool covers, cleaners, chemicals, and other pool gear, head over to ThePoolNerd.com/deals.
Until next time, keep nerding out and enjoy that pool.