
 Justin D.
The most important part of adding liquid chlorine happens before you open the jug: you need to know how much your pool actually needs and how to add it safely.
Hey guys, welcome back to The Pool Nerd. I'm Justin, your resident pool aficionado.
Today, I'm showing you why liquid chlorine is my first choice for everyday sanitizing, how to calculate the right amount, and exactly how to add it. No chemistry degree required. We're going to test, calculate, pour, and check our work in five simple steps—and I'll show you the system that can automate the pouring at the end.
If you are still deciding between liquid, tablets, and granular products, start with my complete guide to how to add chlorine to your pool. This guide focuses specifically on liquid chlorine.
Products Mentioned in This Guide
You only need fresh liquid chlorine, accurate testing, and the protection required by the label to get started. The other chlorine types are comparisons; acid is a separate pH treatment; injection and ICO monitoring are optional upgrades.

Liquid chlorine (sodium hypochlorite)
What it is: 10–12.5% liquid shock/sanitizer—sold by the jug; shipping availability depends on seller and hazmat rules in your area.
Why you need it: No extra CYA from the sanitizer itself, fast to pour, easy to distribute with the pump running. Grab fresh jugs; heat and age weaken it.
Shipped jugs: If you want pool-grade liquid delivered, Champion 12.5% liquid chlorine (1 gal) is a common online option—still verify strength on the label and dose by testing.

Taylor K-2006 Test Kit
What it is: The FAS-DPD drop kit the pros carry—free and combined chlorine, pH, alkalinity, calcium hardness, and CYA, all from drops instead of guess-strips.
Why you need it: Use it every few weeks to confirm your smart monitor, and a couple times a season to check CYA—the one number the float doesn't track. Drops over strips, every time.
Pick your version: Taylor K-2006 (chlorine pools) or the K-2006 Salt (salt pools)—same kit, the salt version adds a salinity test.

In The Swim 3" Chlorine Tablets
What it is: Slow-dissolving sanitizer pucks (usually trichlor) for feeders/floaters—adds CYA over time.
Why you need it: Fine for steady maintenance when CYA isn’t already high; back off if CYA creeps up.

Sodium dichlor (stabilized granular)
What it is: Stabilized chlorine shock—each dose adds CYA along with chlorine.
Why you might use it: Spas, very low-CYA pools, or occasional small doses when you want granules that dissolve fast.
Why to limit it: On a tab-fed or already-stabilized pool, dichlor stacks CYA fast—often you should prefer liquid or cal-hypo for shock instead.

In The Swim Cal-Hypo Pool Shock
What it is: Calcium hypochlorite granular shock—high chlorine, adds calcium, no CYA.
Why you need it: Strong oxidizer for recovery and breakpoint; pre-dissolve; watch calcium if hardness is already high.

Champion Muriatic Acid
What it is: Dilute hydrochloric acid—standard for lowering pH and, with the right method, total alkalinity.
Why you need it: High pH destroys chlorine efficiency. Always follow the label; never mix acid with chlorine.

In The Swim pH Reducer (dry acid)
What it is: Sodium bisulfate (dry acid)—lowers pH (and can pull TA down when used in controlled steps).
Why you need it: Easier to handle and store than jugs of muriatic acid for small, precise corrections; still an acid—never mix with chlorine, follow the label, and retest after circulation.
Optional upgrade — automate measured liquid doses Stenner Classic 45 Series Injection Pump

Stenner Classic 45 Series Injection Pump
What it is: A serviceable peristaltic pump that pulls liquid chlorine from a chemical-rated tank and meters it into the return plumbing while water circulates.
Why this pick: It is a proven DIY route to smaller, steadier chlorine doses without adding CYA or calcium. A complete setup also needs a vented tank, chemical-resistant tubing, an injection fitting, and controls that prevent dosing into still water.

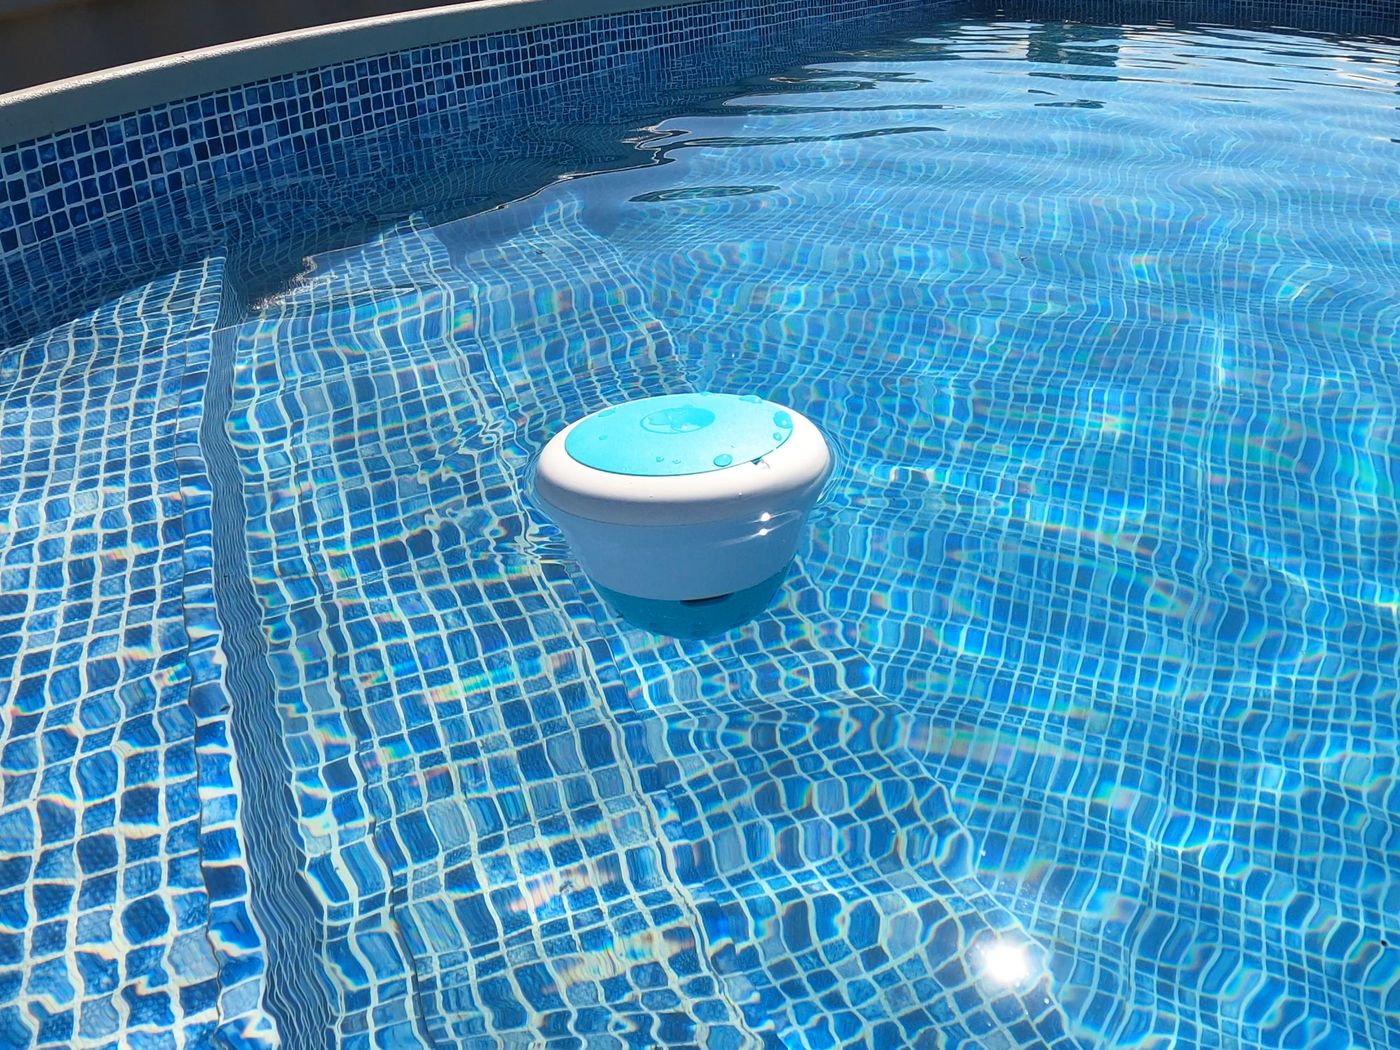
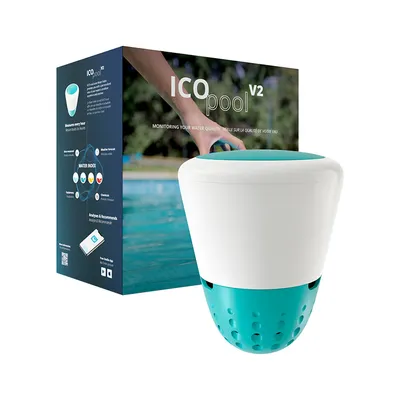
Ondilo ICO Pool Water Monitor
What it is: A floating smart monitor that samples pH, ORP (sanitizer effectiveness), and temperature on a schedule and sends trends to your phone.
Why you need it: You still need a real drop kit for parameters the ICO doesn’t replace (like TA and CYA), but hourly ORP/pH catches drift and dosing mistakes long before weekly strip checks do.
Read the full ICO review — Shop ICO direct (no Amazon listing for the hardware we run).
Why Liquid Chlorine Is My Daily Driver
Here's my recommendation: use liquid chlorine for routine chlorination. Do not build your entire maintenance plan around tablets.
The reason is what comes along with the chlorine.
Traditional trichlor tablets add cyanuric acid, also called CYA or stabilizer. Stabilizer helps protect chlorine from sunlight, but every tablet adds more—whether your pool needs it or not.
Keep feeding tablets without enough water replacement, and CYA can build up. At higher CYA, the same free-chlorine reading no longer produces the same disinfecting conditions. Correcting excessive stabilizer can mean replacing part of your pool water.
That is why I treat tablets as a short-term backup, not my everyday strategy. Even for a vacation, check that your stabilizer level can handle the extra addition. Dichlor granules add stabilizer, too. Cal-hypo adds calcium.
Liquid chlorine adds neither.
You can raise chlorine without also raising stabilizer or calcium, then adjust those levels separately when your tests show you need them. That is the control I want.
Do not get distracted by a bottle that says "liquid shock." Suitable pool chlorine can handle ordinary maintenance, too. The dose and the job determine how you use it—not just the big word on the label. My pool shock vs. chlorine guide explains the distinction.
I'd rather keep sanitizer where it belongs than wait for green water and spend the weekend fixing it.
What You Need
Have these ready before you start:
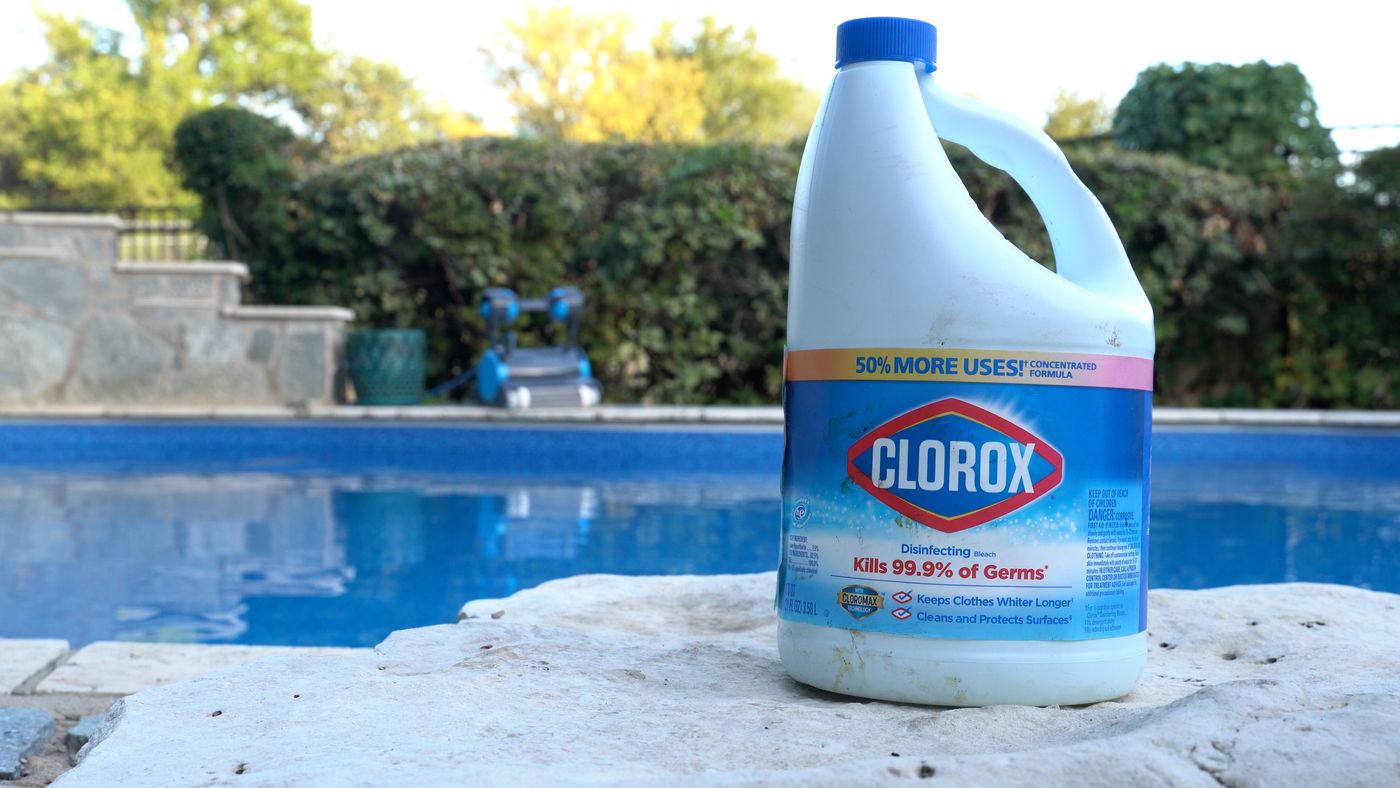
- Fresh, pool-labeled liquid chlorine. Check whether yours is 10%, 12.5%, or another strength.
- A reliable test kit. I recommend a Taylor K-2006 for free chlorine, pH, stabilizer, and the other main water-balance tests.
- Your pool's volume in gallons. Get it from the builder's records or calculate it with the pool volume calculator.
- Splash goggles and chemical-resistant gloves. Follow any additional protective-equipment directions on the bottle.
- A dedicated chemical-resistant measuring container when needed. Use nothing from the kitchen and nothing previously used for acid.
That is your basic setup. You do not need a smart monitor to get started.
Step 1: Test Before You Add Anything
Start with free chlorine. That is the chlorine reading used to determine whether your pool needs more sanitizer.
Do not substitute total chlorine or judge the water by how clear it looks. Clear water can still contain germs. Take your sample about elbow-deep, away from return jets, and follow your kit's instructions.
Next, make sure you know your CYA level. For many manually chlorinated outdoor pools, 30–50 ppm is a useful starting range. "Ppm" means parts per million—the units shown on your test results.
Your chlorine target needs to account for that stabilizer level, the product directions, and how much chlorine the pool loses between doses. A minimum reading is not a target that gives you room for tomorrow's sunshine and swimming.
Your first action: write down your free chlorine, pH, and current stabilizer level.
You do not have to run every test in the kit before every addition. But check chlorine before dosing, and recheck after heavy swimming or major weather changes. Do not assume last weekend's results describe today's water.
Step 2: Check Your pH—Don't Automatically Add Acid
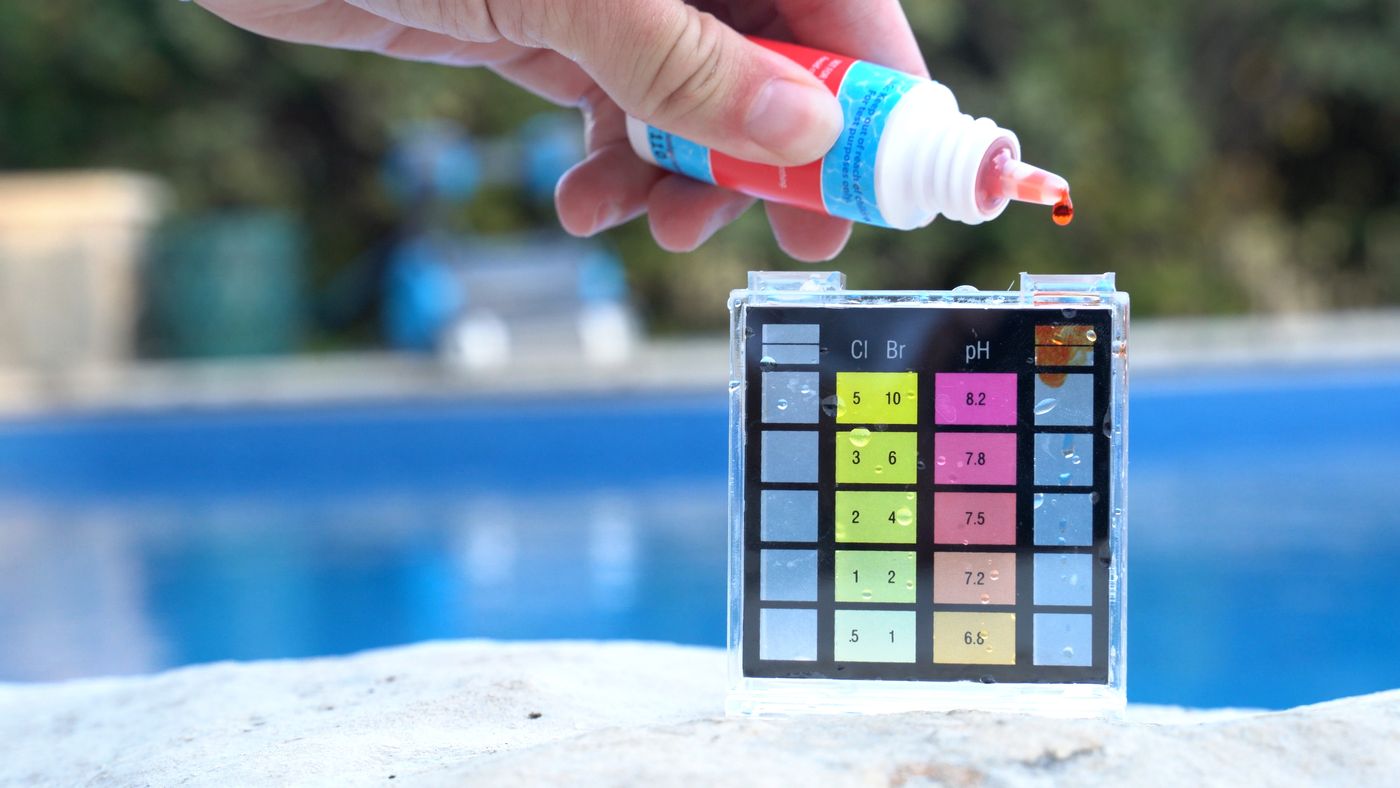
Think of pH as a measure of how acidic or alkaline your water is. It matters for swimmer comfort, pool equipment, and chlorine chemistry.
For everyday care, I generally aim around 7.4–7.6, within the broader 7.2–7.8 range commonly used for pools. Your pool finish, sanitizer label, and overall water balance matter, too.
Here is the simple decision: if pH is already in the right range, leave it alone.
Liquid chlorine is alkaline, and adding it can initially raise pH. But much of that effect can be offset as the chlorine gets used up. You do not automatically need acid every time you add chlorine.
When pH genuinely needs correcting, handle that as a separate job. Use the pool pH calculator or pool acid calculator instead of guessing.
Critical Safety Warning
Never mix acid and chlorine. The reaction can release dangerous chlorine gas. Do not put them in the same bucket, use the same measuring container, or pour them into the pool together. Keep the water circulating and let each addition fully disperse, following both products' separation directions.
Your second action: correct pH only when the test says it needs correcting.
Step 3: Calculate the Dose—Don't Guess
This is where you stop eyeballing the jug.
Use the pool chlorine calculator to work out your dose. Have four numbers ready:
- Your pool's volume in gallons
- Your current free chlorine
- Your target free chlorine
- The strength printed on the bottle
That last number matters. A 12.5% product is stronger than a 10% product, so the amounts are not interchangeable.
Here is an example:
You have a 10,000-gallon pool, and you have determined that free chlorine needs to rise by 2 ppm.
That takes approximately 26 fluid ounces of 10% liquid chlorine or 21 fluid ounces of 12.5% liquid chlorine.
Not a gallon. Not an entire jug. Just the calculated amount.
A 20,000-gallon pool needs roughly twice as much for that same increase. These are approximate doses; match your calculation to the actual product and its directions.
And remember: a 2 ppm increase is not the same thing as a 2 ppm final target. You are calculating how much the reading needs to rise.
Your third action: calculate the dose, then measure it.
Step 4: Turn On the Pump and Pour Slowly
Now for the easy part.
Check the bottle's application directions. Get everyone out of the pool, put on your goggles and gloves, and turn on the pump. Make sure water is actually moving.
For a product labeled for direct pool addition, find circulating water near a return jet—the fitting blowing water back into the pool. Use the deep end when the bottle directs you there.
Bring the container opening close to the water's surface, without submerging it, and pour the measured amount slowly into the moving water.
Keep it off your clothes, coping, metal fittings, and pool wall. Do not dump concentrated chlorine onto a shallow step or into one big puddle.
Do not pour it into the skimmer, pump basket, floater, or tablet feeder. A tablet feeder is not a funnel for liquid chlorine.
There is no need to invent a bucket-mixing routine for something that is already liquid. Never mix it with acid, another chlorine product, or any other pool chemical.
Your fourth action: pump running, measured dose, slow pour into circulating water.
Step 5: Let It Mix, Then Retest
Leave the pump running so the chlorine can mix throughout the pool. Follow the mixing and waiting directions on the bottle.
Then test again.
Take the sample away from where you poured. Testing the concentrated patch beside the return will not tell you what is happening throughout the pool.
Before anyone swims, follow the product's waiting instructions and confirm chlorine and pH are within its permitted swimming ranges.
Do not rely on "it has been a few minutes." Let the test confirm the result.
If chlorine is not where you expected, check the pool volume, bottle strength, measurement, and mixing time before adding more.
Your fifth action: verify the result instead of assuming the dose worked.
Liquid Chlorine Injection
Here is how you make liquid chlorine even easier: automate the pouring.
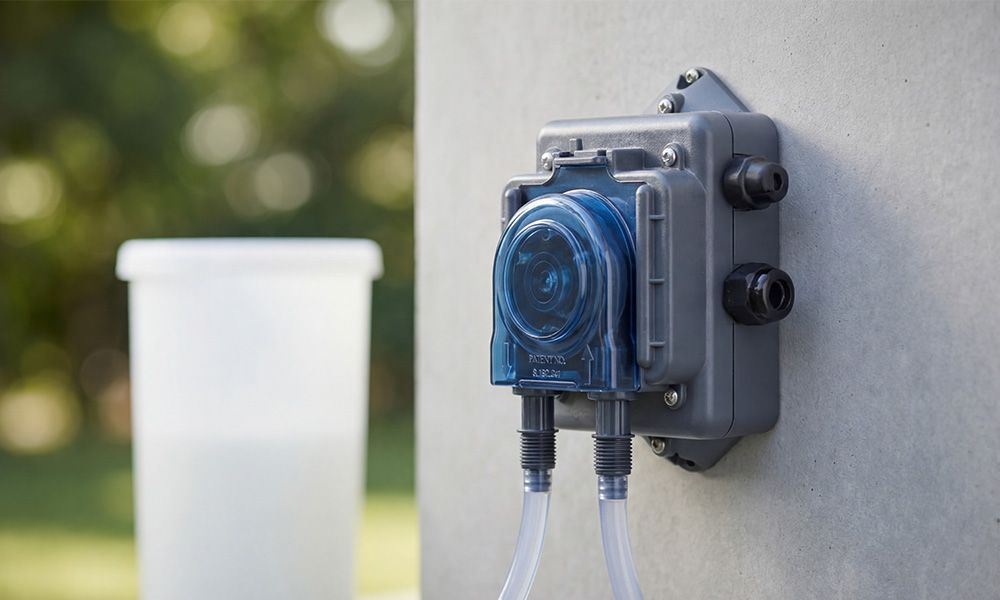
A liquid chlorine injection system pulls chlorine from a storage tank and feeds small, measured amounts into the pool's plumbing while the water is circulating.
Instead of walking outside with a jug every day, you have a system delivering controlled doses throughout the day. That can help keep chlorine steadier instead of letting it drop and then playing catch-up. Once the system is properly installed and dialed in, the daily dosing chore is handled for you.
You still refill the tank, test the water, and maintain the equipment—but you are no longer personally measuring and pouring every addition. That is the appeal: the control of liquid chlorine with much less daily work.
For a breakdown of how these systems work, what to look for, and which setups make sense for your pool, see my guide to the best liquid chlorine injection systems.
Where ORP and an ICO Monitor Help
If you are tired of breaking out the test kit daily, a smart water monitor can help you notice changes between manual tests.
An ICO water monitor tracks pH, temperature, and ORP. ORP stands for oxidation-reduction potential. For this routine, think of it as another signal about the water's oxidizing conditions—not a direct chlorine measurement.
ORP responds to chlorine's oxidizing effect, but it is also influenced by pH, CYA, temperature, and contaminants. It is not a one-to-one substitute for a free-chlorine test.
Many commercial pool systems use ORP as an operational control signal. A commonly used target zone is roughly 650–750 mV, subject to the controller, sanitizer, CYA level, local requirements, and manufacturer guidance. Continue the manual tests required for free chlorine, CYA, and overall water balance.
You can find all the models I have tested and recommend in the best pool water monitors guide.
Pool Nerd Tip: Keep Your Chlorine Fresh
There is one tradeoff you need to plan for: liquid chlorine loses strength over time, especially in heat and sunlight.
Buy amounts you will reasonably use rather than building a stockpile for the entire year. Store it upright in its original container somewhere cool, shaded, ventilated, and inaccessible to children and pets. Keep it separate from acid and other incompatible chemicals, following the label.
Liquid chlorine also contributes salt over time. The advantage is no added stabilizer or calcium, not that nothing ever accumulates.
And it still requires a routine. Liquid chlorine is not a weekly treatment you pour in and forget.
My Final Verdict
What is my final verdict on adding liquid chlorine to your pool?
Liquid chlorine should be your routine—not your rescue plan.
Know your pool's gallons. Test the water. Check pH. Calculate the amount you need. Add it slowly with the pump running. Then retest.
That is how you replace "I hope that was enough" with a dose you can actually explain.
For your next addition, head to the pool chlorine calculator with your test results and bottle strength ready. If you need to compare liquid chlorine with tablets and granular products first, read how to add chlorine to your pool.
Before buying testing supplies, an injection pump, or a water monitor, check the current recommendations on my deals page.
Until next time, enjoy that pool. I'll see you in the next one.
Related Reading
- How to Add Chlorine to Your Pool — Liquid, tablets, and granular chlorine compared
- Pool Chlorine Calculator — Calculate the exact dose from your test results
- How Much Chlorine Should Be in Your Pool? — Choose a target before calculating the increase
- How to Raise Free Chlorine — Diagnose and correct a low free-chlorine reading
- Stop Using Chlorine Tablets as Your Main Sanitizer — Why CYA builds up with routine tablet use
- Best Liquid Chlorine Injection Systems — Automate routine liquid dosing
- Best Pool Water Monitors — Compare smart pH and ORP monitors
- Pool Shock vs. Chlorine — Understand routine sanitation versus a high treatment dose
This information is for educational purposes only. Handling concentrated pool chemicals can cause serious injury or property damage. Always follow the product label and safety data sheet, wear the specified protective equipment, and never mix chlorine with acid or any other pool chemical.


Comments
Loading comments…